16 GO XLR User Manual
6. Navigating the Mixer Tab
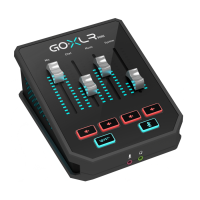
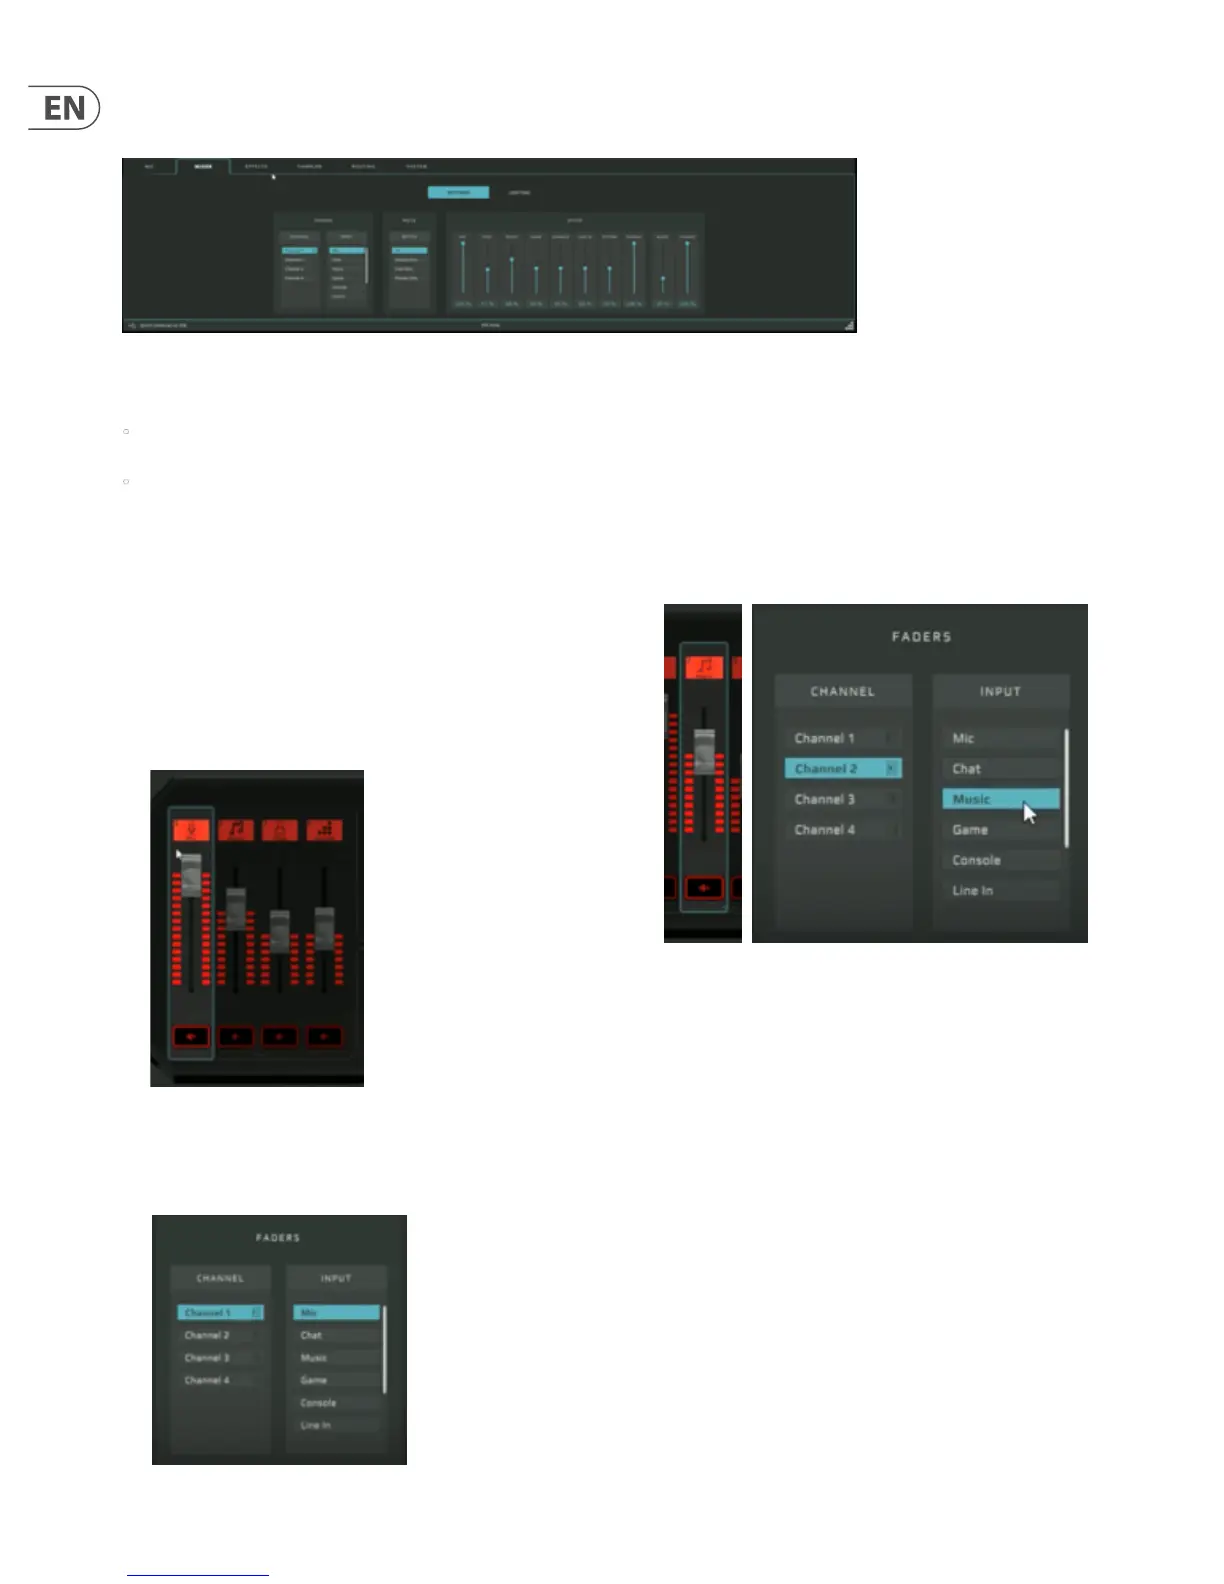
The Mixer Tab is where you assign devices to the four hardware faders, designate what will appear on the slider screens and work with the Mute buttons.
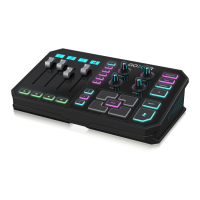
Mixer tab
The Mixer Tab has two main sub-sections, the Settings tab and the Lighting tab.
• Settings—This sub-section shows fader assignments and labels, options for how the Mute buttons function, as well as a mixer section showing levels for all
audio devices, including devices not assigned to a hardware fader.
• Lighting—The Lighting sub-section controls color, text and icon settings for the fader screens, as well as LED colors and arrangement for the fader LEDs.
You can also assign custom colors to the Mute buttons so you can know at a glance whether a channel is open or muted. (For more about the Lighting functions,
see XXX on pg.X.)
6.1 Assigning Audio Devices to Faders
To assign and set up each of the four faders in the Mixer section,
follow these steps:
1. Activate a fader by clicking on that fader in the Live View panel in the upper
right of the app window, or go to the Faders window in the Mixer tab and
click on Channel 1, Channel 2, and so on. If you choose to click on a fader in
Live View, that fader’s settings will automatically appear in the Mixer
tab below
2. Go to the Input box list to choose a device for this fader, such as Mic, Chat,
Music and so on. This device assignment will then appear as a text label on
the matching fader screen, and the selected fader will control the mix level
for that particular device.
3. Click on the next Channel and repeat Steps 1-3.
4. Continue until you have assigned audio devices to all four available channels.
Pro Tip: When you set up a mix, we recommend you set your primary Mic level
rst, and then balance levels for all other devices versus the Mic level. This way,
you can always hear yourself clearly in the broadcast stream.
 Loading...