8 8
2 Installation
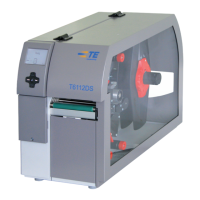
2.2 Unpacking and Setting-up the Printer
Lift the transfer printer out of the box.
Check transfer printer for damage which may have occurred during transport.
Set up printer on a level surface.
Remove foam transportation safeguards near the printhead.
Check delivery for completeness.
Contents of delivery:
• Transfer printer
• Power cables
• USB cable
• Documentation
• Documentation on CD-ROM
i
Notice!
Please keep the original packaging in case the printer must be returned.
!
Attention!
The device and printing media will be damaged by moisture and wetness.
Set up transfer printers only in dry locations protected from splash water.
2.3 Connecting the Device
The standard available interfaces and connectors are shown in gure 4.
2.3.1 Connecting to the Power Supply
The printer is equipped with a wide area power unit. The device can be operated with a supply voltage of
230 V~/50 Hz or 115 V~/60 Hz without adjustment.
1. Check that the device is switched off.
2. Plug the power cable into the power connection socket (30).
3. Plug the power cable into a grounded socket.
2.3.2 Connecting to a Computer or Computer Network
!
Attention!
Inadequate or no grounding can cause malfunctions during operations.
Ensure that all computers and cables connected to the transfer printer are grounded.
Connect the transfer printer to a computer or network by a suitable cable.
For details of the conguration of the individual interfaces Accessory CD.
2.4 Switching on the Device
When all connections have been made:
Switch the printer on at the power switch (29).
The printer performs a system test, and then shows the system status Ready in the display.
If an error occurs during the system test, the symbol and type of error are displayed.