11
To play your iPod / iPhone through the SR-3DAB, you must first
insert the adapter for your model of iPod / iPhone.
1
Select the Dock Adapter that fits your iPod /
iPhone.
“nano” for 1st and 2nd generation iPod nanos.
“iPhone / Classic 160GB” for iPhones and 160 GB iPod
Classic models.
“20GB + U2” for 20 GB iPods with Click Wheels, U2
Special Edition iPods, 30 GB iPods with video and 80 GB iPod
Classic models.
“60GB (color) + Photo 40GB / 60GB” for 40 GB iPods
with Click Wheels, iPods with color displays, 60 GB iPods
with video and 160 GB iPod Classic models.
• U
se the adapter supplied with the iPod / iPhone or a
commercially available one to use other iPod / iPhone types.
2
Before using, open the dock cover. Insert the
adapter into the SR-3DAB dock.
Fit the front edge of the adapter into the dock, and then
press the back edge of the adapter into the Dock until
a “click” is heard indicating that the adapter is inserted
correctly.
• To remove the adapter, hold its left and right sides and gently
pull it up.
Compatible iPod / iPhone Software
If your iPod / iPhone will not work with the SR-3DAB or with
the remote control unit, a software update might solve the
problem.
Visit the Apple website and download the latest iPod/
iPhone software.
http://www.apple.com/ipod/download/
Getting started with an iPod or iPhone
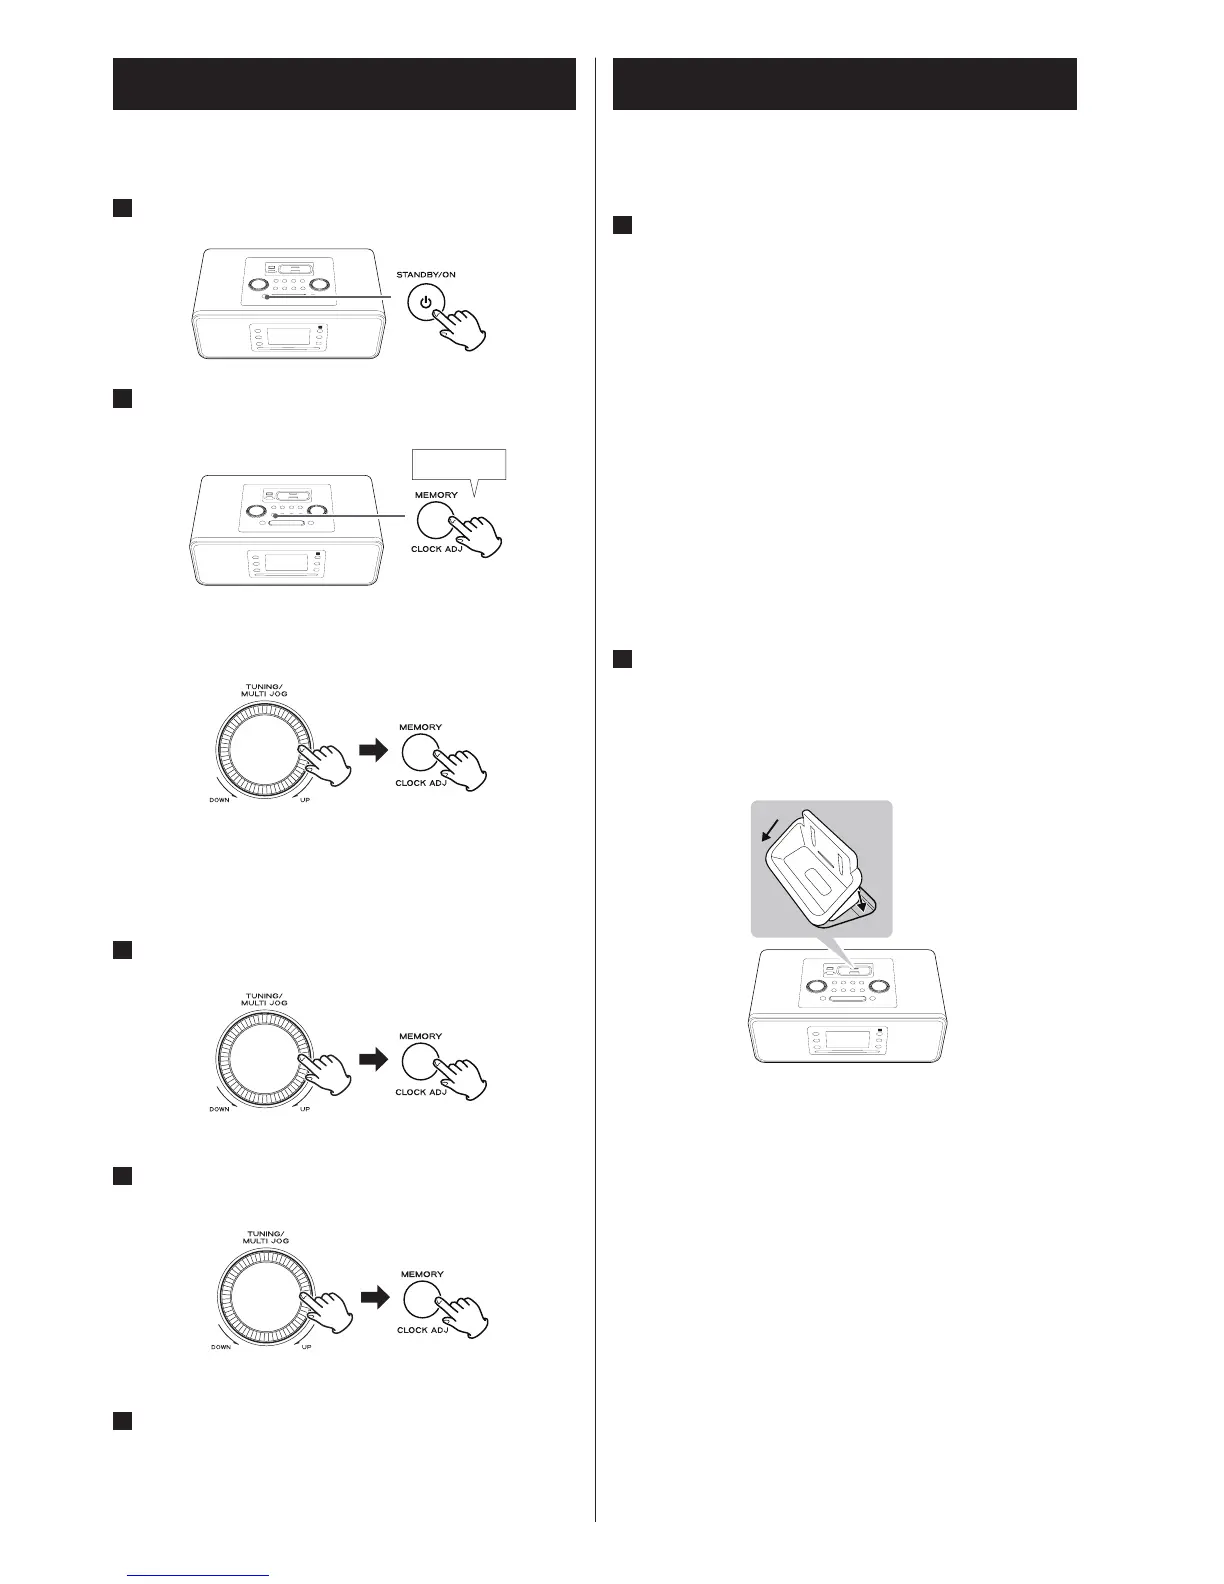
Adjust the clock before attempting any operations.
1
If the unit is on, press the STANDBY/ON button
to put it in standby.
2
Press and hold the CLOCK ADJ button for more
than 2 seconds.
"12 HR" or "24 HR" blinks on the display.
If you want to change the hour mode (12-hour or 24-hour),
turn the MULTI JOG.
The “hour” value blinks.
• If no button is pressed for 8 seconds, timer setting mode
ends.
3
Turn the MULTI JOG to set the current hour, and
then press the CLOCK ADJ button.
The "minute" value blinks.
4
Turn the MULTI JOG to set the current minute,
and then press the CLOCK ADJ button.
The "year" value blinks.
5
Turn the TUNING rotary knob to select year, and
then press the CLOCK ADJ button.
After "month" and "day" is set, the clock starts.
Setting the Clock