7
Model: TX-247 Article No. 5073, 03/2023
Installation procedure
Preparation
1. Solar panels and Microinverter should be already installed and
connected with the house grid.
2. Find best location for DTU.
The maximum communication distance between DTU and microinverter is
150 m, maximum communication distance between DTU and router is
10m in open space. The walls, roofs, or other obstacles in between will
affect the signal and reduce the communication distance in actual
installations.
The range of signal reduction for possible obstacles at the site is shown
below:
Therefore, the DTU must be placed as close to the microinverter as
possible at the site to ensure good communication between the DTU and
the microinverter.
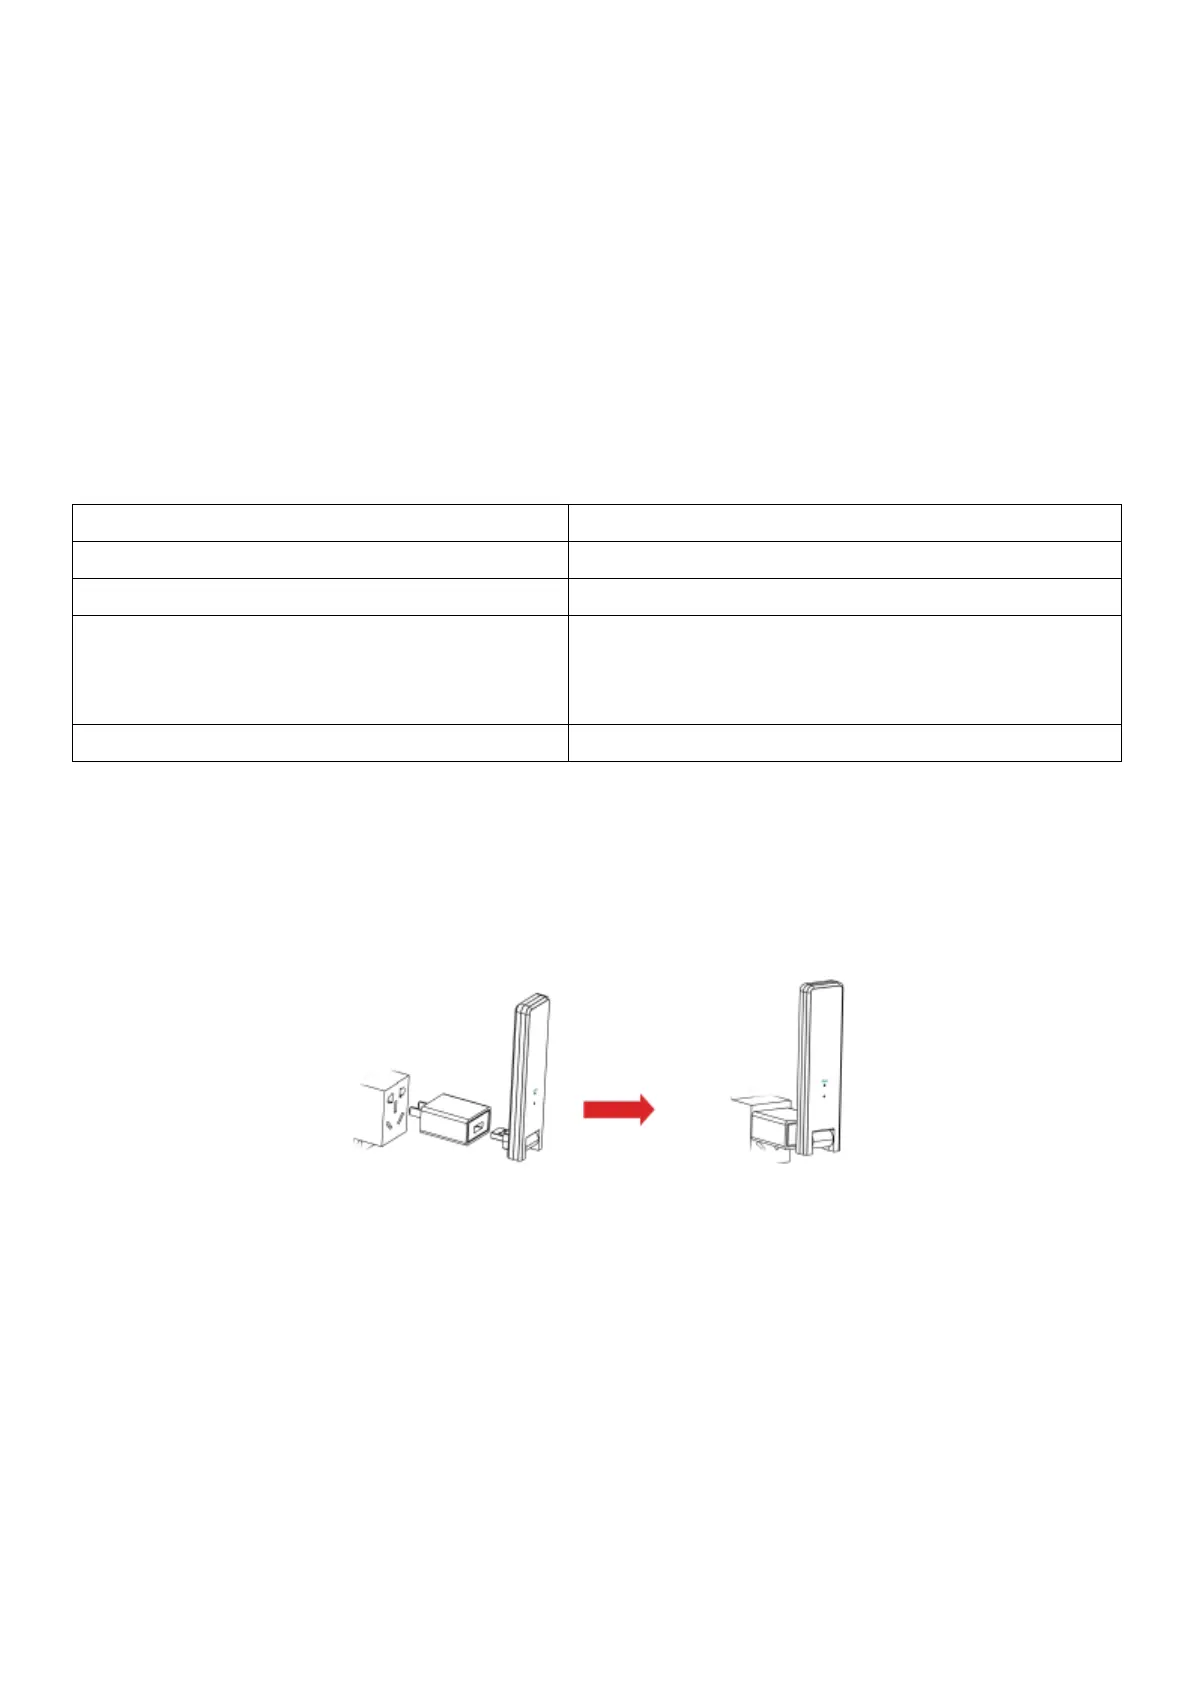
3. Connect the DTU to the adapter and plug it into the wall socket, like
below.
 Loading...