INSTALLATION
See also the Safety Information sections on pages 5 to 14.
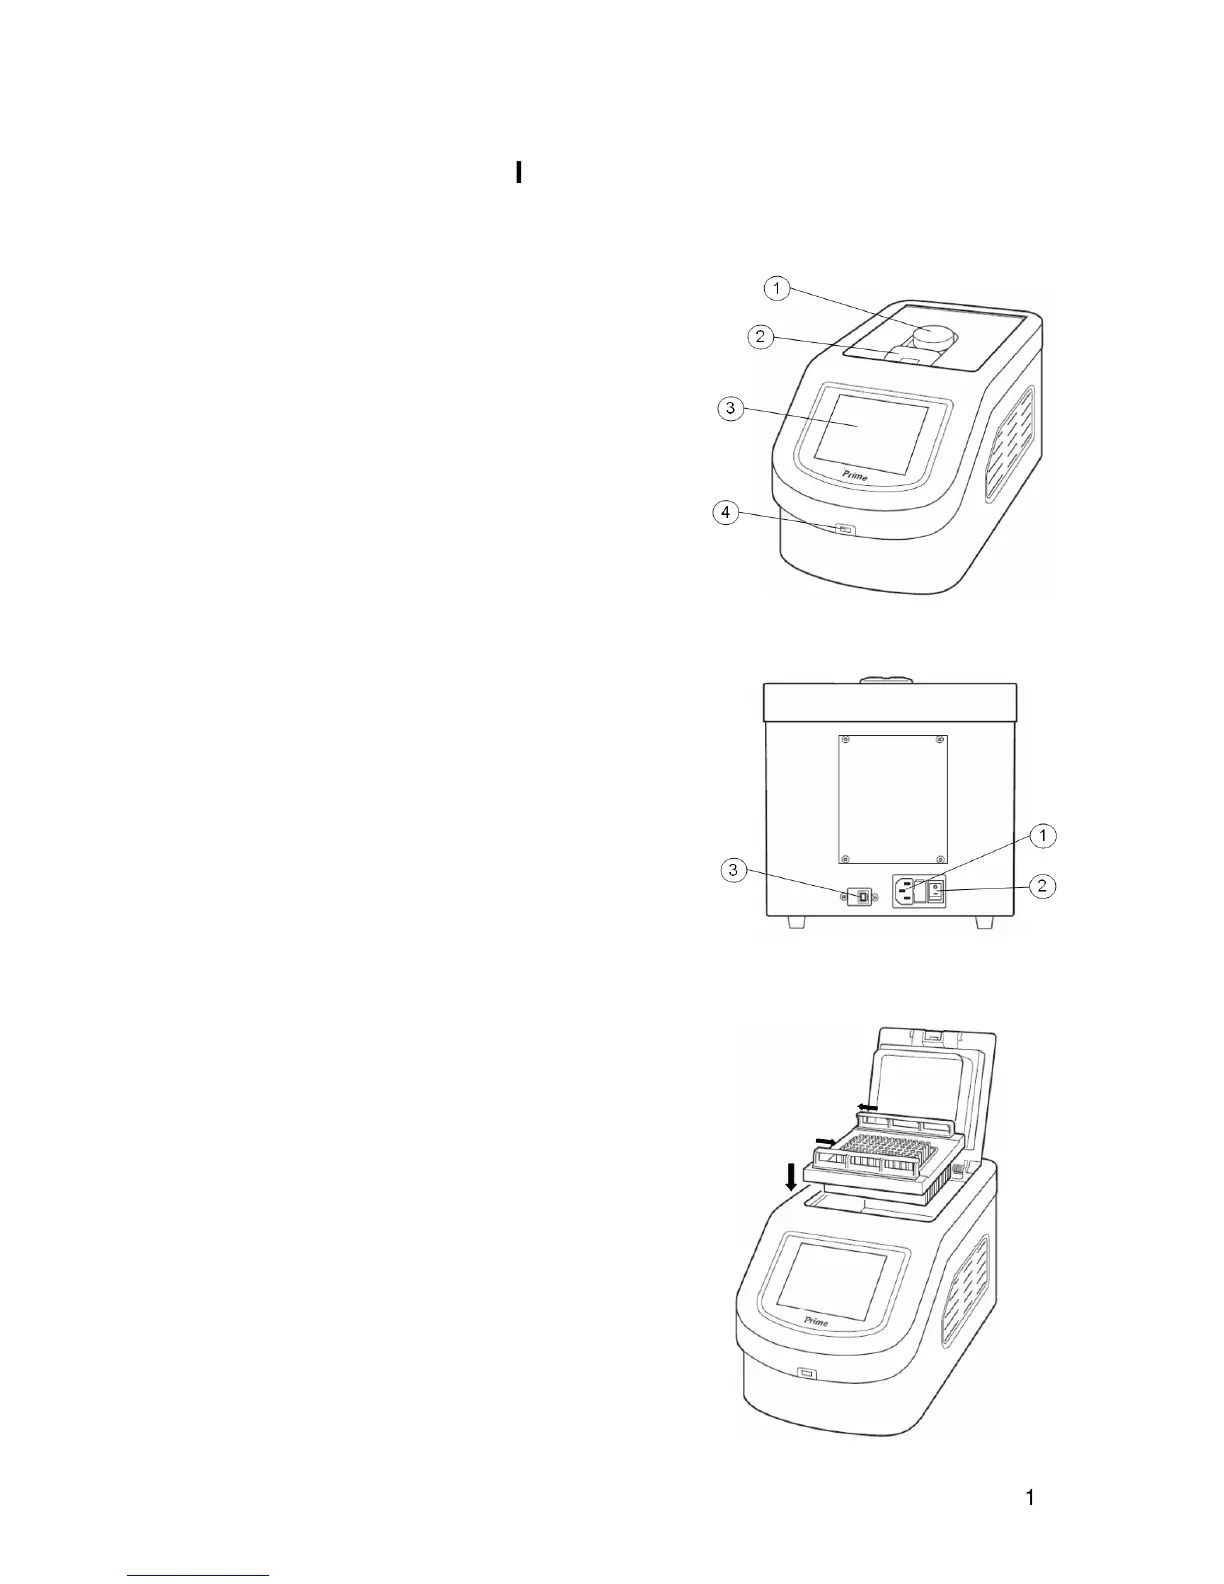
Front view
1. Lid adjustment knob.
2. Lid release latch.
3. 5.7” colour VGA LCD touch screen display.
4. USB port for memory stick.
Rear view
1. Mains cable inlet.
2. On/Off rocker switch
3. USB port for service and calibration only.
Installation
1. Place the unit on a suitable flat bench, ensuring that
the air inlet vents on the sides are free from
obstruction.
2. Insert the block into the unit ensuring the connectors
on the block and unit are aligned.
3. Slide the quick release bars on the block towards the
closed padlock symbols to lock the block in place.
4. Plug the mains cable into the socket on the back of the
instrument.
5. Connect to the mains electricity supply with the plug
provided or one wired correctly for the supply. Switch
the power ON using the switch located on the rear of
the unit. The front display will then light up.