8
Through axles
If your bicycle has one or several
through axles, please read the cor-
responding instructions provided by
the component manufacturer on how to op-
erate and service these parts.
Through axles that mostly function – and must be
handled – like quick releases, are also currently
used in chassis in lieu of bolts.
The axle is screwed into the drop-out and se-
cures the hub between the two fork arms or the
drop-outs in the frame. With some systems, the
hub and axle are secured with a quick release le-
ver operated in the same way as a normal quick
release skewer. Systems in which the axle is only
inserted or screwed in and then fastened with a
screw also exist. Refer to the attached compo-
nent manufacturer instructions and allow your
dealer to explain the system to you in detail.
Quick-release axle in the fork dropouts, without hub, Rock Shox
®
fork
Inappropriately installed wheels
may shift while you are driving or
detach from the vehicle. This may
damage the vehicle and expose the driver to
severe and life-threatening injuries. It is
therefore important to take note of the fol-
lowing instructions:
• Ensure that your axle, drop-outs and
through axle mechanisms are free from
dirt and contamination.
• Ask your dealer for exact instructions on
the proper way to secure your wheel in the
through axle system on your bicycle.
• Fasten your wheel appropriately with the
through axle.
• Never use the bicycle unless you are sure
that the wheel has been properly secured
and cannot come loose.
Mounting
Place the wheel in the dropouts. The wheel hub
must be fastened securely in the dropouts. Close
the xing mechanism.
Ensure that the brake disk is properly inserted
into the brake calliper. Ensure that neither the
brake disk nor the hub or the brake disk fasten-
ing screws touch the lower parts of the fork. If
you do not know how to adjust the disk brakes of
your bike, please read the instructions provided
by your disk manufacturer.
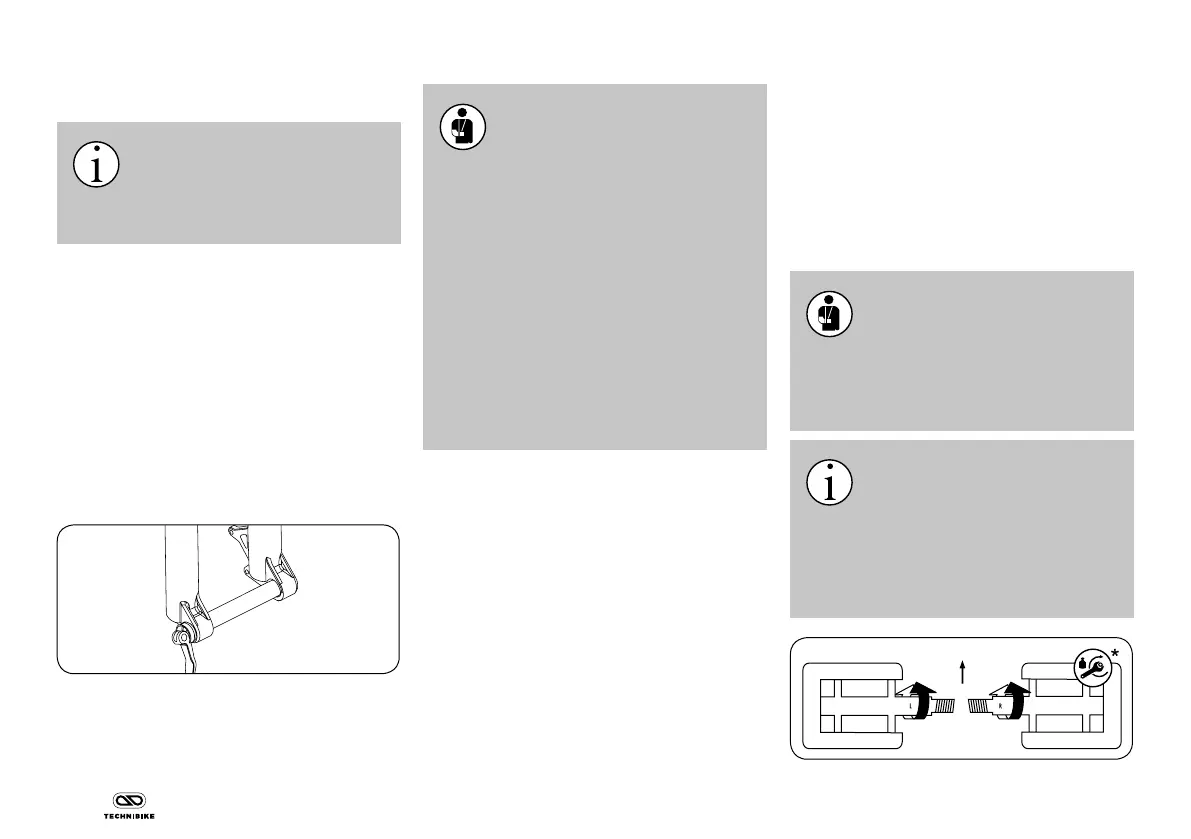
Installing pedals
If your bicycle was supplied without the pedals
pre-installed, these have to be attached with
the correct wrench. Please note that the ped-
als have to be screwed in in different directions
and secured with a high mounting torque (see
page 25). Apply assembly grease to both
threads.
Ensure that you read the manufac-
turer’s instructions before using
magnet or clipless pedals. Practice
clipping your shoes in and out of the pedals’
locking system before your rst ride in a qui-
et, safe place. Clipless pedals which do not
properly release are a safety hazard.
In the case of magnet pedals, you
are able to adjust how much force is
required to release the shoe from
the pedal. Please test this on your rst ride
with a setting that releases very easily! Reg-
ularly clean your magnet pedals and keep
them in good condition with a suitable spray
lubricant.
* see page 25