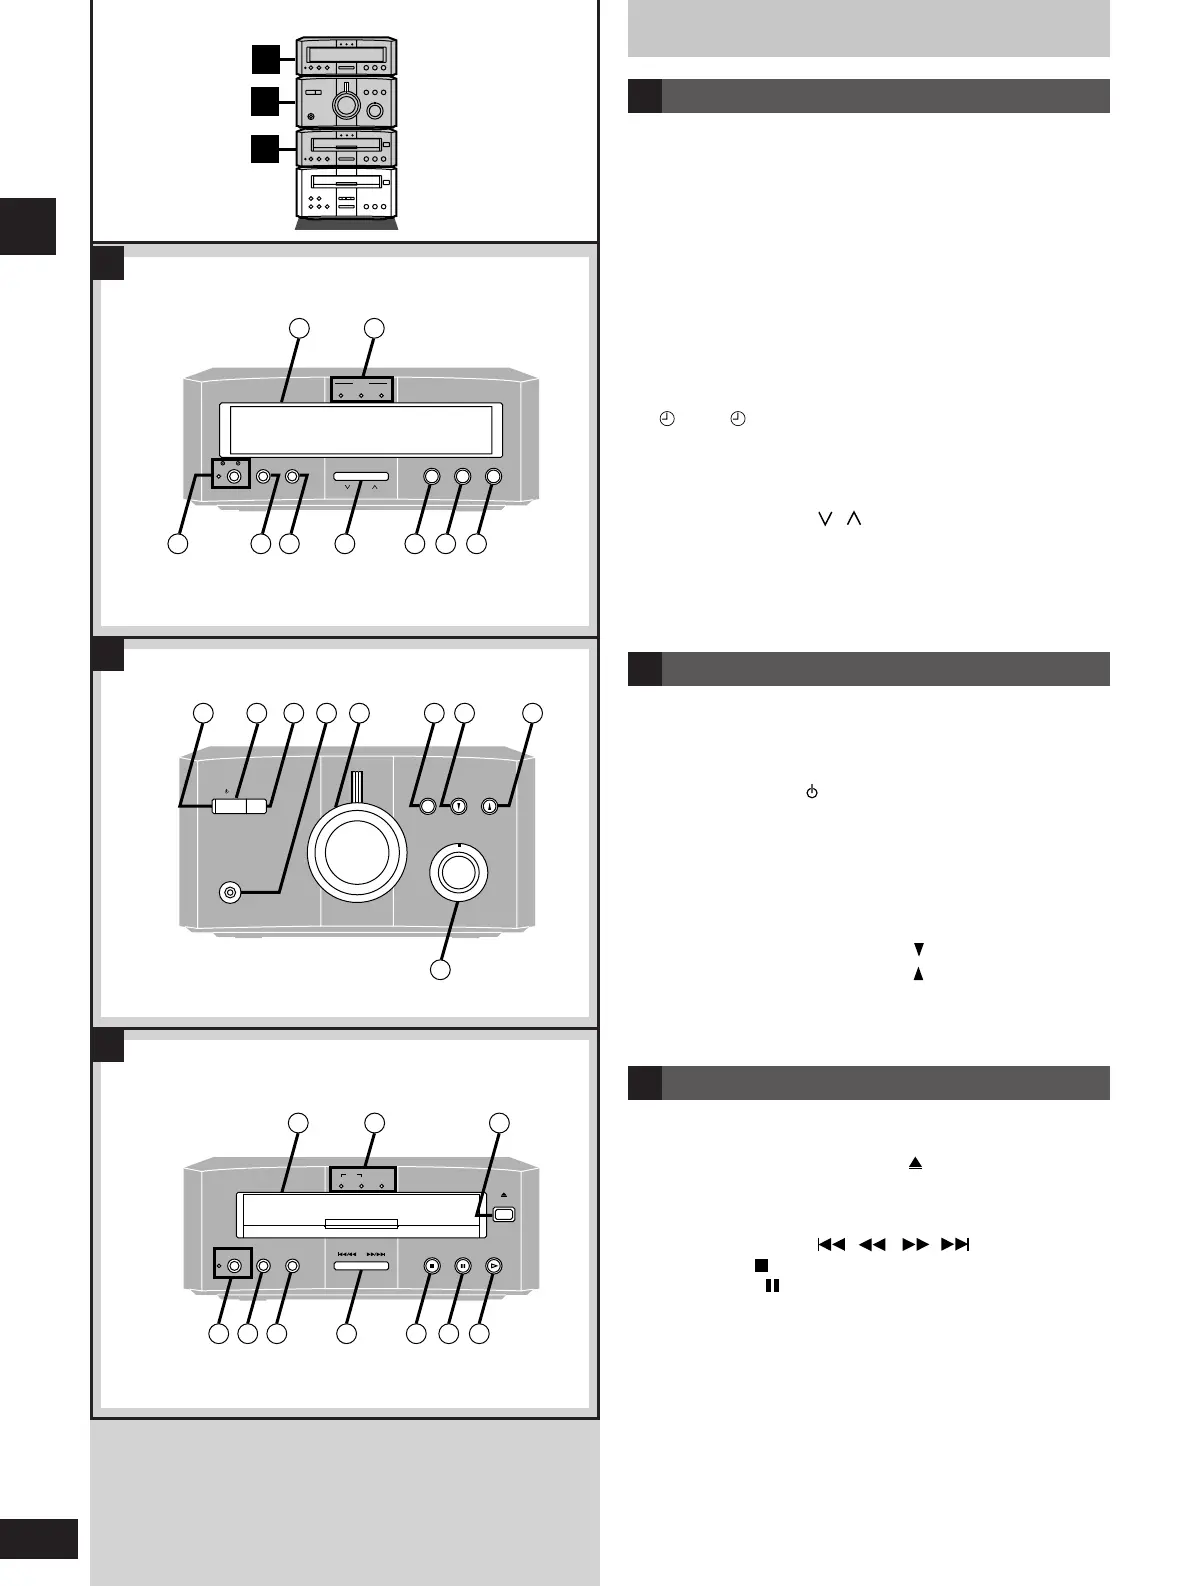
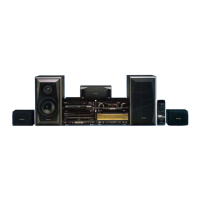
Front panel controls
10
RQT5479
Before use
DVD Audio/Video player
!!99
Disc tray
@@00
Disc indicators........................................................................18
@@11
Disc tray open and close button ( OPEN/CLOSE)..........18
@@22
Audio only button and indicator (AUDIO ONLY)..................35
@@33
Multi button (MULTI)...............................................................34
@@44
AI edit button (AI EDIT) ..........................................................33
@@55
Skip/search buttons ( / , / ) ..................21, 22
@@66
Stop button ( )......................................................................18
@@77
Pause button ( ) ...................................................................18
@@88
Play button and indicator (u)................................................18
The color of the indicator depends on the operation taking place.
If stopped: orange
If playing: green
C
Tuner
qq
Display panel
The display also shows information for the cassette deck, DVD
Audio/Video player, and amplifier.
ww
Multiple sound indicators (MULTI)........................................34
When “DOWN MIX” is flashing
The DVD-Audio disc you are playing contains multiple-channel
signals that cannot be down-mixed to be output through the two
front speakers. “CANNOT DOWN MIX” also appears on the
display. Tracks that are recorded with such signals can only be
played correctly if you have connected the same number of
speakers as there are channels recorded. In some cases the
same track will also be recorded in stereo (2 channels). Read
the disc’s jacket for details.
ee
Play timer/record timer button and indicator
( PLAY/ REC)...................................................................36
rr
Clock/timer, demo button
(CLOCK/TIMER, –DEMO)..................................................12, 36
tt
Set button (SET)......................................................................12
yy
Tuning/time adjust buttons
(TUNE/TIME ADJUST , )...........................................12, 14
uu
Tuning mode button (TUNE MODE)......................................14
ii
FM band select button (FM)...................................................14
oo
AM band select button (AM) ..................................................14
A
Amplifier
!!00
Standby indicator
When the unit is connected to the AC mains supply, this
indicator lights up in standby mode and goes out when the unit
is turned on.
!!11
Standby/on switch ( /I) ........................................................12
Press to switch the unit from on to standby mode or vice versa.
In standby mode, the unit is still consuming a small amount of
power.
!!22
ECO mode button (MODE).....................................................12
!!33
Headphone jack (PHONES)....................................................35
!!44
Volume control (VOLUME).........................................14, 16, 18
!!55
Bass button (BLFS) ................................................................35
!!66
Input selector (INPUT SELECTOR ) ...................................47
!!77
Input selector (INPUT SELECTOR ) ...................................47
!!88
Fine tweeter control (FINE TWEETER CONTROL)...............35
B