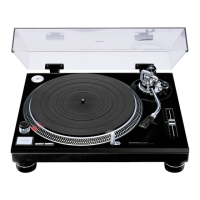
Getting started
13
Installation
Notes for installation
Before you move the unit, turn the unit off,
pull out the power plug and disconnect all
connected devices.
Ensure the unit is not exposed to direct
sunlight, dust, humidity, and heat from a
heating appliance.
This unit may pick up interference from a
radio if there is one nearby.
Keep the unit as far as possible from a radio.
Do not install the unit on a heat source.
Avoid a place with large temperature variations.
Avoid a place with frequent condensation.
Avoid an unstable place.
Do not put an object on the unit.
Do not install the unit in a confined space
such as a book shelf.
Install the unit at a position well away from
walls or other devices to ensure effective
heat radiation from the inside of the unit.
Make sure the installation location is
sufficiently strong to withstand the total
weight of the unit and system. (
23)
Note that the unit may be damaged by
cigarette smoke or moisture from an
ultrasonic humidifier.
Condensation
Think of taking out a cold bottle from a
refrigerator. If you leave it in a room for a while,
dewdrops will form on the bottle surface.
This phenomenon is called “condensation“.
Conditions causing condensation
Rapid temperature change (caused by
moving from a warm place to a cold place or
vice versa, rapid cooling or heating, or direct
exposure to cooled air)
High humidity in a room with much steam,
etc.
Rainy season
Condensation may damage the unit. If it
has occurred, turn the unit off and leave it
until it adapts to the ambient temperature
(approximately 2 to 3 hours).
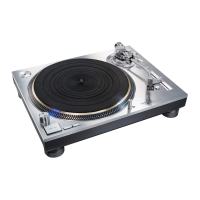
Fit the dust cover
1
While holding the dust cover
from both sides, put it in place by
aligning its four corners with the
four corners of the unit.
When removing, lift the dust cover
straight up.
Attention
Return the tone arm to the arm rest and fix
it with the arm clamp before you attach or
detach the dust cover.
Remove the dust cover while playing.
Be sure the stylus light (
19) is pressed down
when attaching the dust cover. If the dust
cover is attached with the stylus light raised, it
may touch the dust cover.
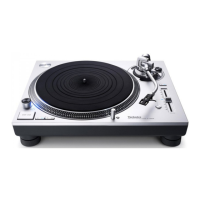
Install the unit on a horizontal surface
protected from vibrations.
Keep this unit as far as possible from speakers.
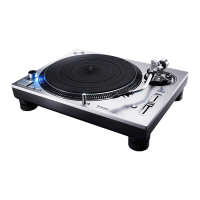
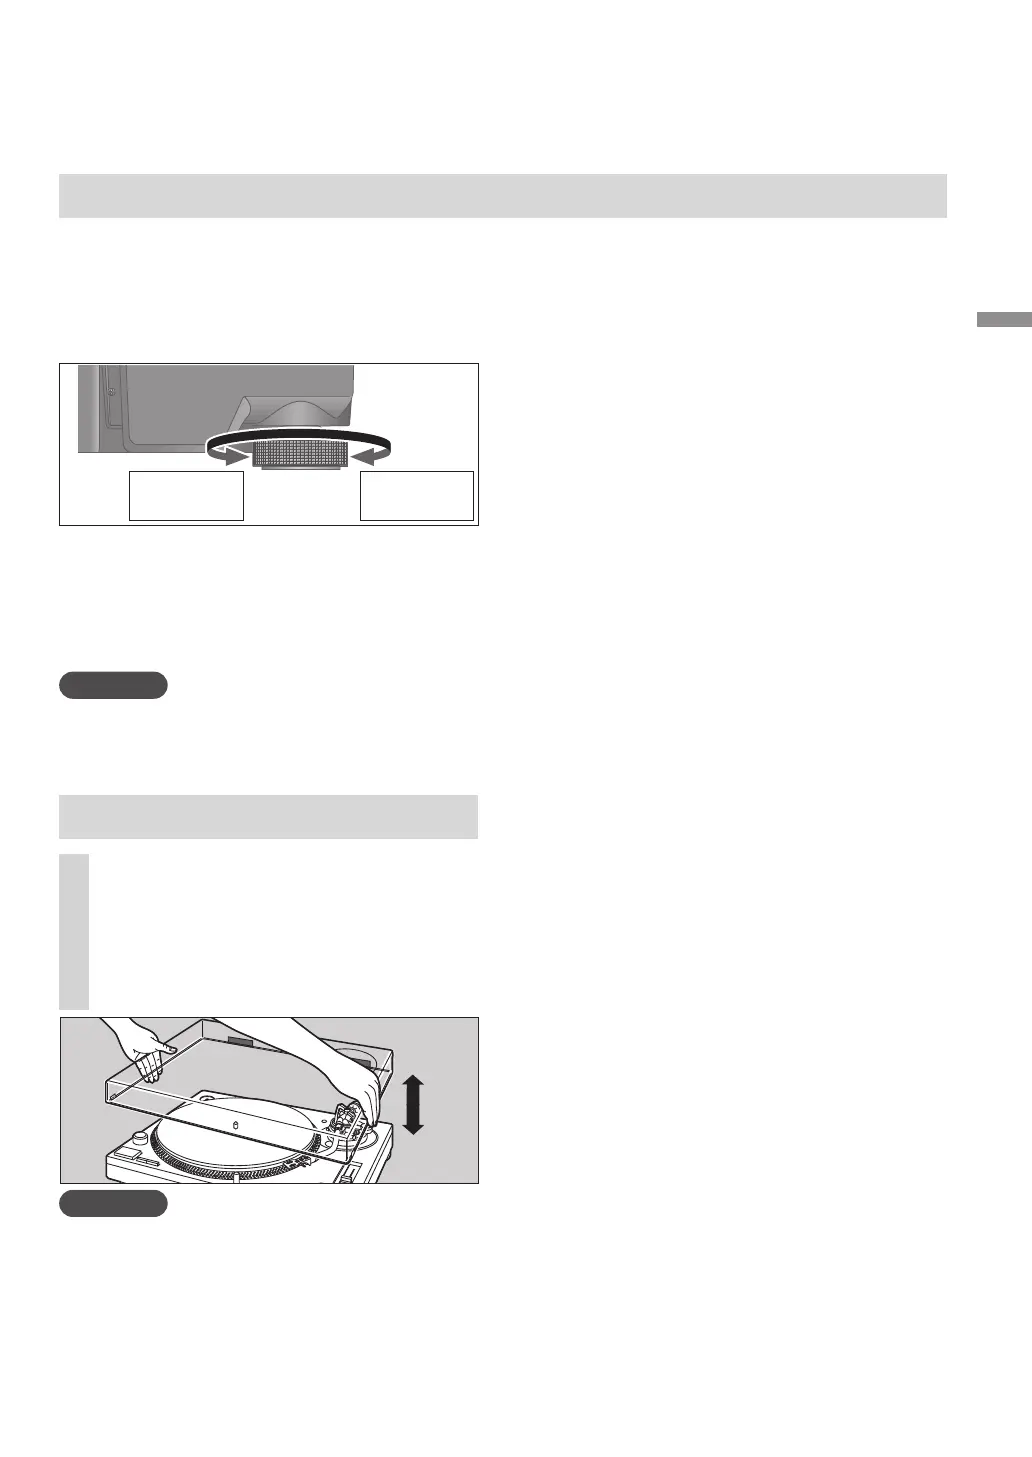
Adjusting the height to make the
unit horizontal
Reduces
the height
Increases
the height
Raise the main unit to turn the insulators and
adjust the height.
Clockwise (to the right hand) when seen
from below: Reduces the height.
Counter-clockwise (to the left hand) when
seen from below: Increases the height.
Attention
Do not turn the insulators too far.
Doing so may cause them to come off or
damage them.
SL-1200M7LEB.indd13SL-1200M7LEB.indd13 2022/01/2514:23:322022/01/2514:23:32