Do you have a question about the Technics SL-1210GR and is the answer not in the manual?
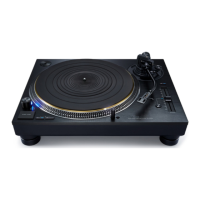
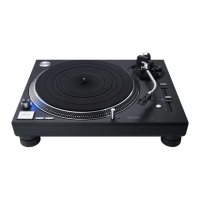
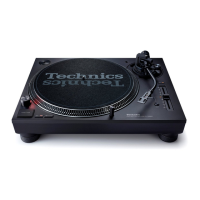
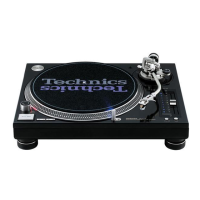
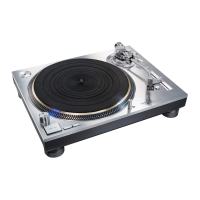
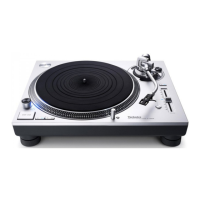
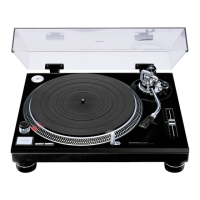
Coreless direct drive, tone arm, cabinet, terminals, and speed control.
Risks related to fire, electric shock, and product damage for unit and AC lead.
Risks related to placement, interference, and object placement for unit.
How to connect PHONO and AC IN terminals on the player.
Steps for attaching a cartridge to the head shell.
How to adjust the cartridge overhang using the gauge.
Removing the magnet cover from the turntable before installation.
Procedure for setting the turntable onto the centre spindle.
Laying the turntable mat on the turntable.
How to fit the head shell with cartridge into the tone arm.
Attaching the balance weight to the rear of the tone arm.
Connecting PHONO cables and earth lead to equipment.
Connecting the AC mains lead to the connected equipment.
Diagram showing how to connect the turntable to an amplifier.
How to adjust the unit's height using insulators for leveling.
Instructions for fitting the dust cover onto the player.
Important considerations for unit installation and ventilation.
Explanation of condensation and how to handle it.
Procedure to adjust horizontal balance using the balance weight.
How to set the stylus pressure using the control.
Adjusting the anti-skating control to match stylus pressure.
How to adjust the tone arm height based on cartridge type.
Checking and adjusting the armlift height.
How to select startup and brake speeds.
Steps to turn on the unit and start the turntable.
Using the RESET button to set the pitch control.
Procedures for stopping the turntable and finishing playback.
How to use the stylus light.
Specific instructions for EP and SP records.
Cleaning the stylus, records, and head shell terminals.
How to clean the dust cover and unit cabinet.
Instructions for safely repackaging the unit.
Symbol for disposal of product outside the EU.
| Drive Method | Direct Drive |
|---|---|
| Turntable Platter | Aluminum Die-cast |
| Tonearm Type | Universal Static Balance |
| Effective Tonearm Length | 230 mm |
| Motor | Brushless DC Motor |
| Overhang | 15 mm |
| Headshell Weight | 7.6 g |
| Power Consumption | 14 W |
| Signal-to-Noise Ratio | 78dB (DIN-B) |
| Speeds | 33 1/3 RPM, 45 RPM, 78 RPM |
| Wow and Flutter | 0.025% WRMS |
| Power Supply | AC 120 V, 60 Hz |
| Dimensions | 453 x 173 x 372 mm |
| Tracking Force Adjustment Range | 0 - 4 g |
| Applicable Cartridge Weight Range | 5.6 to 12.0 g (without auxiliary weight) |
| Platter Weight | 2.5 kg |
| Weight | 11.5 kg 25.4 lbs |