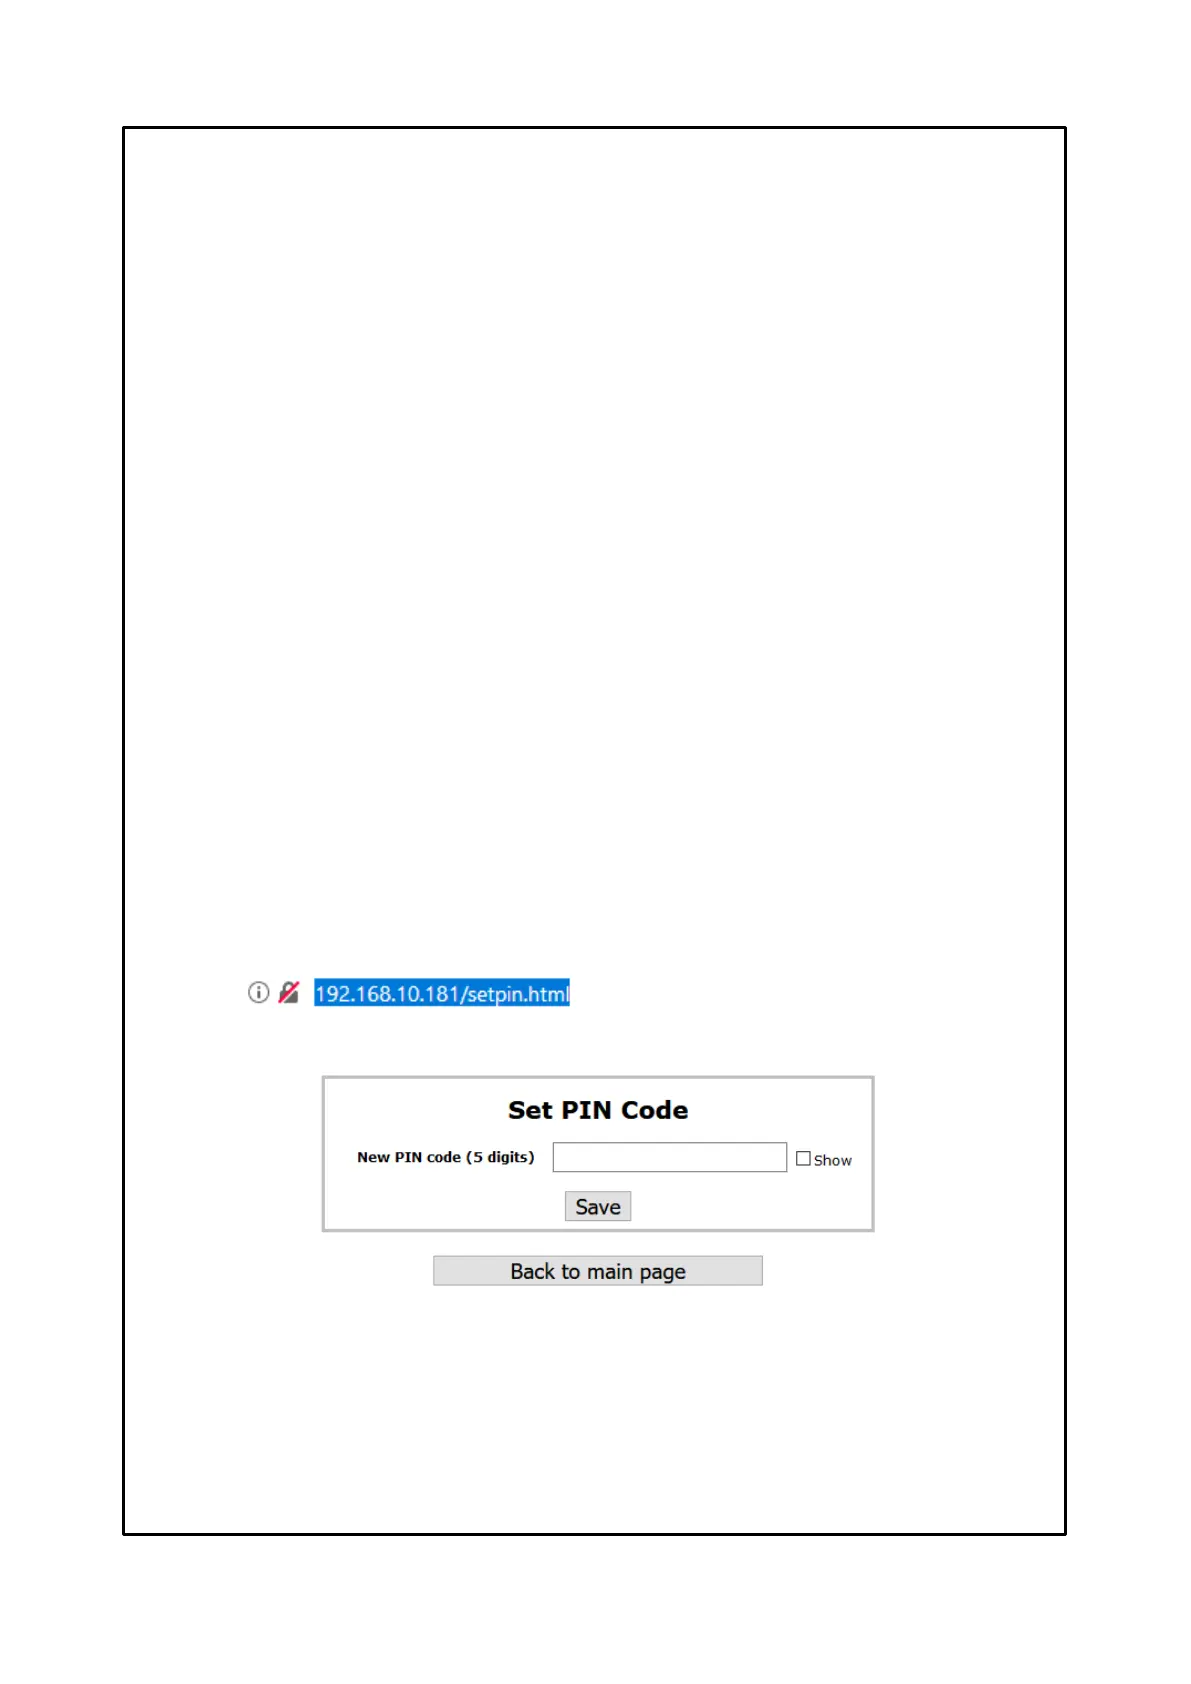
Type the new pin code desired, in the appropriate box, maximum 5 numbers (SHOW to display the PIN CODE).
Press SAVE to save the pin. A POP UP window will confirm the correct saving.
PIN CODE default setting: 00000
Press BACK to main page to return to the main screen
GRAPHIC VIEW NOTES
When the graphic page opens, the last 300 recorded points are displayed by default; if there are less than 300 points in
memory, the available ones are displayed.
If you set the "from” – “to" dates the chart view graphic is " zoomed" and shows only the points that fall within the specified
selected dates.
In the case of the "from" - "to" interval are outside of the default display "300 points" (but in any case within the data availability
interval, because the two input fields do not allow the insertion dates outside of those available), the display
starts from the date "from" and continues towards "to" but only up to a maximum of 1500 points.
When the 1500 points are exceeded, a message will be signaled to the user to warn that the displayed interval may be
lower than the one requested.
EXPORT NOTES CSV FILE
Following the exporting of the CSV file for EVENT LOG all the recorded events are exported. Timing recording with UTC
date and time reference (universal coordinated time).
Following the exporting of the CSV file recorded TEMPERATURE VALUE, the last 300 recorded points will be contained in
the file; if there are less than 300 points in memory the available data are exported. Timing recording with UTC date and time
reference (universal coordinated time).
In the case of "from" - "to" dates are set, in the graphic, the temperature values exported will only be the points that fall within
the specified selected dates. If the "from" - "to" interval is outside the default display "300 points" (but inany case within the
data availability interval, because the two input fields do not allow to set dates outside those available) all the points recorded
will be include in the exported file.
PIN CODE
PIN CODE is a five-digit code, programmable by the user, useful to confirm the user's intention to modify the device
programming or network settings. It represents the key for changing the parameters reserved for the system operator
manager, limiting any risks of unauthorized modifications or programming errors.
Without the PIN CODE, or with the wrong PIN, device programming can’t be changed.
How to change the PIN CODE:
Switch off the device and switch it on again keeping the access point key, placed on the back, press it for at least
2 seconds.
Connect to the device and type, on the browser screen, the IP address http: // XXX. XXX.XX.XXX /setpin.html.
Example:
Press ENTER, the SET PIN CODE screen will open.