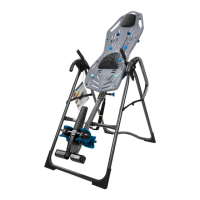
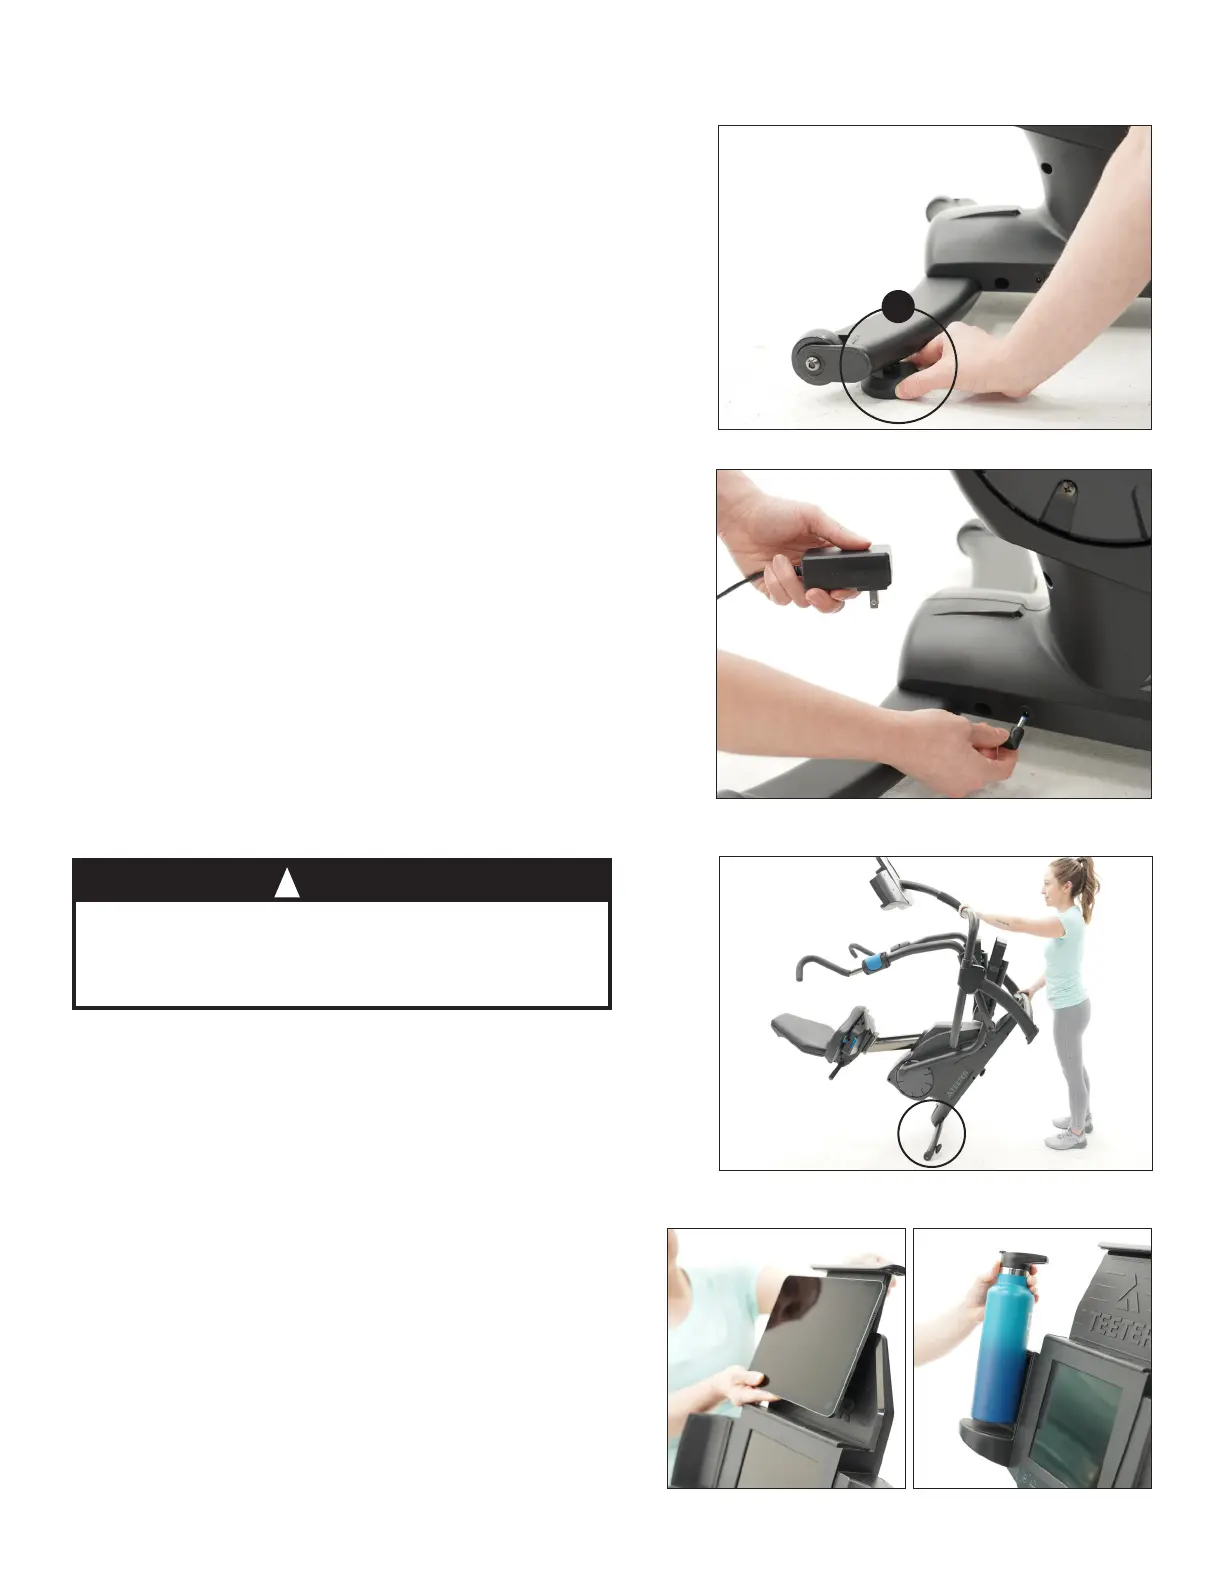
Leveling
Figure 24: Make sure the FreeStep is on a flat,
stable surface. If any of the 3 × Leveling Feet
are not resting flat on the ground, rotate them
clockwise to lower until they reach the ground.
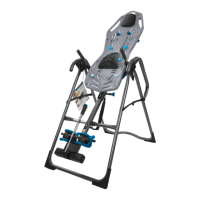
Transporting
Ensure the Power Cord is unplugged from the
FreeStep before transporting.
Figure 26: The Transport Wheels are located on
the back of the Rear Stabilizer. To transport, first
lift from the Console Support Bar and then from
the Front Crossbar. Move the FreeStep by rolling
on the Transport Wheels as shown.
USER GUIDE
14
Figure 24
Figure 26
Figure 25
The FreeStep
weighs over 150.0 lb (68.0 kg). Use
caution when lifting to avoid injury and when
rolling on floors to avoid damage to delicate
surfaces like wood flooring.
CAUTION
!
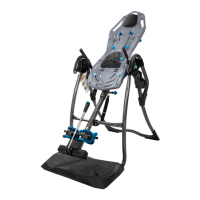
Powering On
NOTE: Be sure that the 90-degree Adapter is
attached to the standard Power Cord tip, which
will help to prevent damage to the Power Input
if the cord is accidentally pulled.
Figure 25: Connect the Power Adapter to the
Power Input in the Base and plug into a power
source. The Console will automatically turn on.
Refer to the Console Display section of this User
Guide for more detailed information on using
the Console.
Figure 27
Figure 28
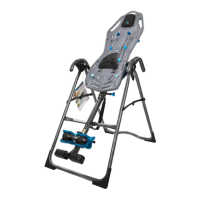
Media Rack & Water Bottle Holder
Figure 27-28: Enjoy the convenience of easy
access to your smart device and water bottle
during your workout.
Rest your device on the Media Rack and adjust
the spring-loaded tab to secure it in place. Use
the USB charging port on the Media Rack to
charge your device while you workout.
x3