Performance ver
ification
3. View hardware status bar in the lower left corner of the SignalVu display. Verify that there are no errors or messages
indicating los
s of or invalid calibration data. At startup, the application may show the message, “Not Aligned:” this is OK.
4. Start the application acquiring data and allow the instrument to warm up for at least 30 minutes.
Run the alignment process
Align the instrument after the 30 minute warm-up period and before proceeding with the Warranted Characteristics tests:
1. Select Alignments in the Tools m enu to open the Alignments dialog box.
2. Select Align Now. The alignment process takes a few seconds.
3. Verify that no alignment failures are reported in the status bar.
Performance verification procedures
Internal reference frequency accuracy
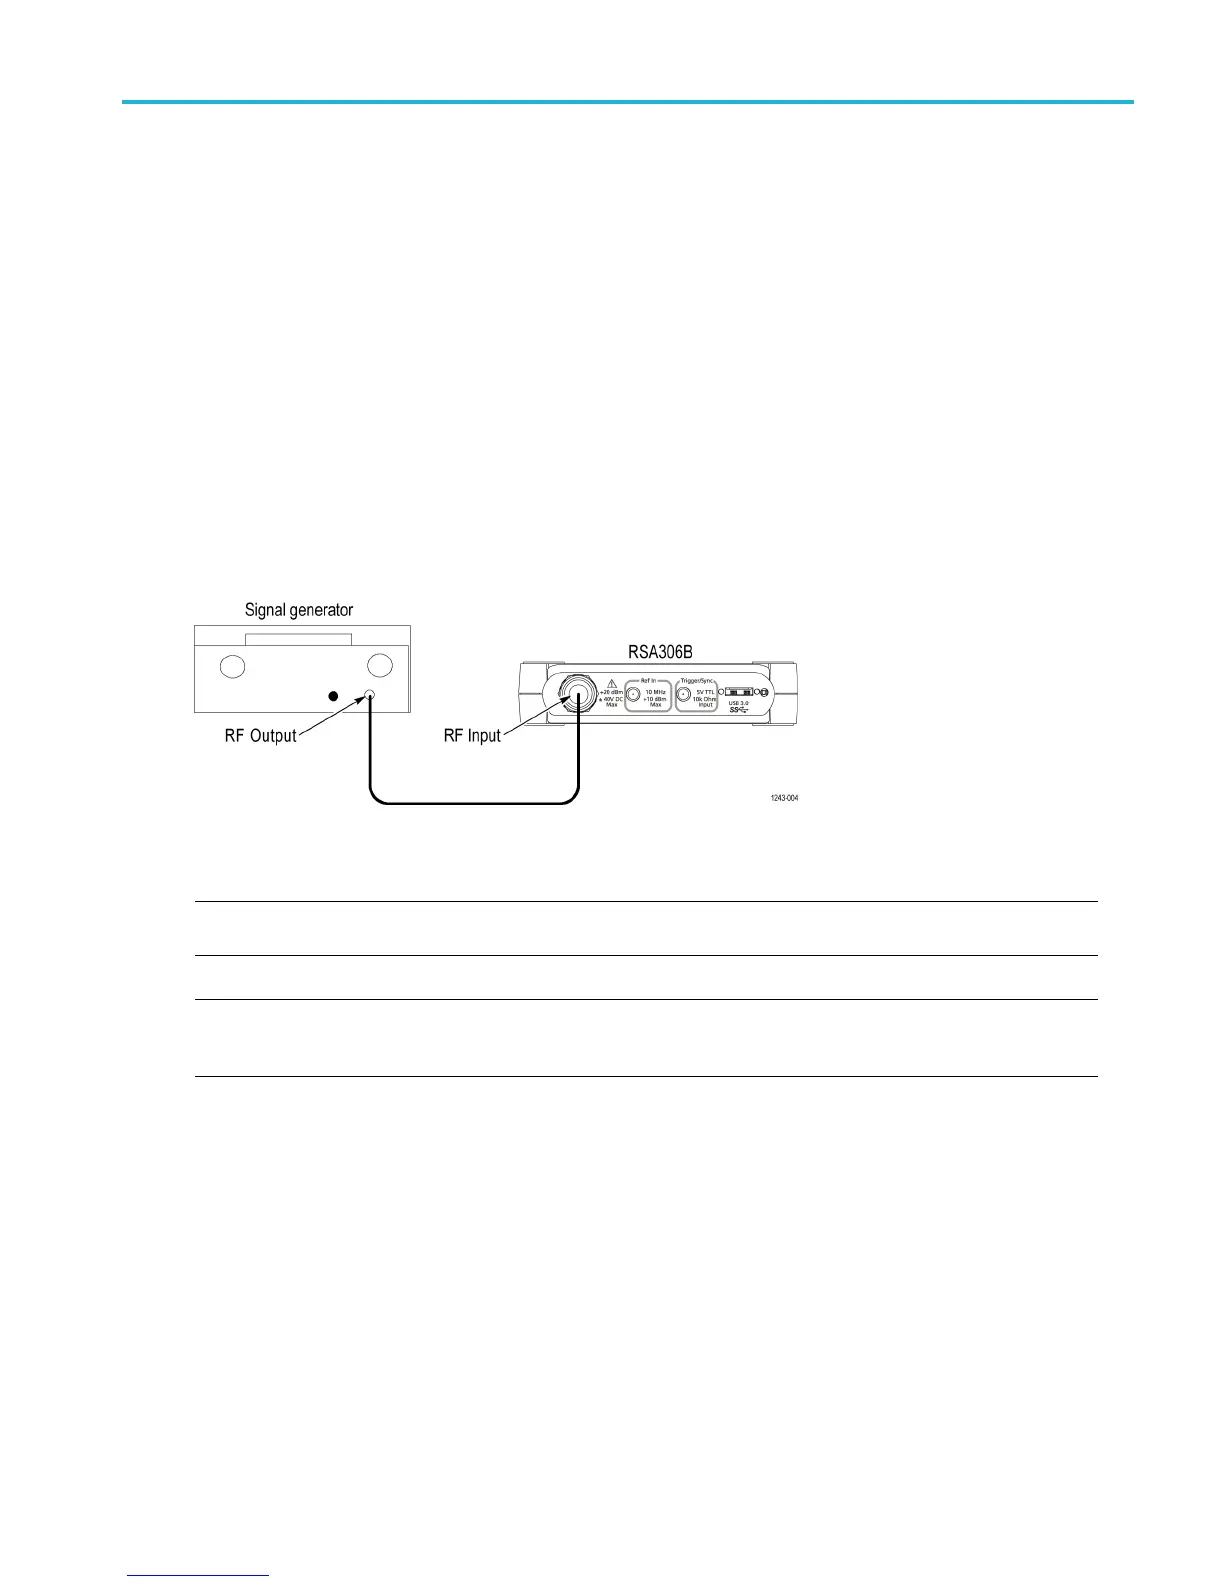
1. Connect a signal generator to the N-connector RF input of the RSA306B .
NOTE. The signal generator accuracy must be better than ±0.05 ppm. If the signal generator accuracy does not meet this
requirement, it must have its frequency reference phase locked to a precision frequency reference.
NOTE. The Stanford Research Systems SG 386 signal generator has adequate frequency stability without use of an external
timebase, but only if it has been calibrated/verified within 1 y ear. If this is not the case, the signal generator must have an
accurate external timebase connected to its timebase input (rear panel, BNC, 10 MHz).
2. Set the signal generator to output a 0 dBm, 1 GHz CW frequency.
3. Reset the RSA306B to factory defaults: (Presets > Main) (The center frequency will be set to 1 GHz via Preset.)
4. Set the frequency span to 10 kHz.
5. Connect the signal generator output to the RF Input, N-connector input of the RSA306B.
6. Enter the measured marker frequency in the calculations table. (See Table 3.)
7. Calculate the specification based on aging rate. (See Table 4.)
8. Compare the measured value with the specification for Internal Frequency accuracy. Enter the results in the test record.
RSA306B Specifications and Performance Verification 15

 Loading...


