USB flash drive and device ports
This chapter describes how to use the Universal Serial Bus (USB) ports on the
oscilloscope to do the following tasks:
■
Save and recall waveform data or setup data, or save a screen image
■
Transfer waveform data, setup data, or a screen image to a PC
■
Control the oscilloscope with remote commands
To use the PC Communications software, launch and refer to the online help
from the software.
USB flash drive port
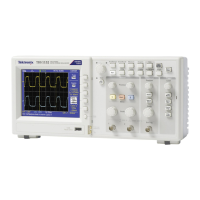
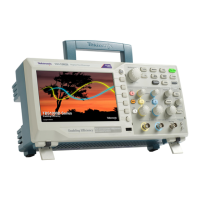
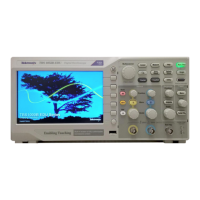
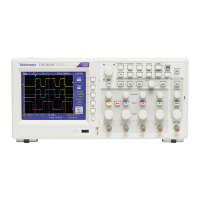
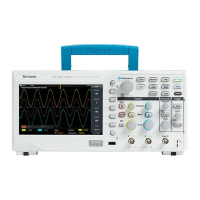
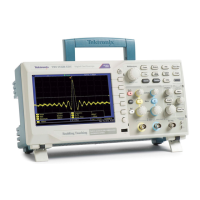
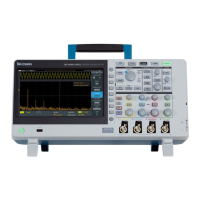
The front of the oscilloscope has a USB Flash Drive port to accommodate a USB
flash drive for file storage. The oscilloscope can save data to and retrieve data
from the flash drive.
USB Flash Drive port
NOTE. The oscilloscope can only support flash drives with a storage capacity of
64 GB or less.
To connect a USB flash drive, follow these steps:
1. Align the USB flash drive with the USB Flash Drive port on the oscilloscope.
Flash drives are shaped for proper installation.
2. Insert the flash drive into the port until the drive is fully inserted.
For flash drives with an LED, the drive "blinks" while the oscilloscope writes
data to or reads data from the drive. The oscilloscope also displays a clock
symbol to indicate when the flash drive is active.
After a file is saved or retrieved, the LED on the drive (if any) stops blinking, and
the oscilloscope removes the clock. A hint line also displays to notify you that the
save or recall operation is complete.
To remove a USB flash drive, wait until the LED on the drive (if any) stops
blinking or until the hint line appears that says the operation is complete, grab the
edge of the drive, and extract the drive from the port.
TBS1000B and TBS1000B-EDU Series Oscilloscopes User Manual 61

 Loading...

