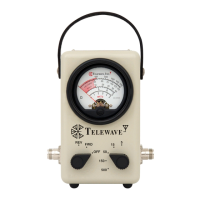
Telewave, Inc.
Model 44A/AP
Page 16
6a Disable the RF source output
6b Set the wattmeter Mode Switch to REV position.
6c Reverse the wattmeter RF connections in the RF line.
6d Repeat Steps 1c through 5c for the 5, 15, 50, 150 and 500 watt
ranges, using adjustment points R2, R6, R10, R14, and R18.
6e Reinstall the rear panel and bumper screws.
6.08 Reverse Mode Adjustment
2a Set the wattmeter RF Range Switch to the 15 watt scale.
2b Set the RF source to produce 11 watts output.
2c Adjust R3 until the Telewave wattmeter reads 11 watts.
3a Set the wattmeter RF Range Switch to the 50 watt scale.
3b Set the RF source to produce 35 watts output.
3c Adjust R7 until the Telewave wattmeter reads 35 watts.
4a Set the wattmeter RF Range Switch to the 150 watt scale.
4b Set the RF source to produce 105 watts output.
4c Adjust R11 until the Telewave wattmeter reads 105 watts.
5a Set the wattmeter RF Range Switch to the 500 watt scale.
5b Set the RF source to produce 325 watts output.
5c Adjust R15 until the Telewave wattmeter reads 325 watts.
Step Procedure
1a Set the RF source to 467 MHz.
1b Set the wattmeter Mode Switch to FWD position.
1c Set the wattmeter RF Range Switch to the 5 watt range.
1d Set the RF source to 4 watts output.
1e Adjust R1 until the Telewave wattmeter reads 4 watts.
6.06 Remove the four bumper screws from the rear panel. Remove
the rear panel. Figure 6-1 illustrates the adjustment locations.
Refer to Figure 6-2, Equipment Setup. Perform the calibration /
adjustment for Forward and Reverse direction as follows:
6.07 Forward Mode Adjustment