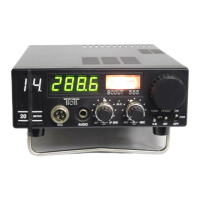
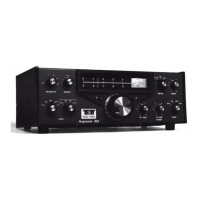
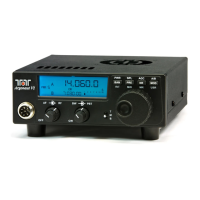
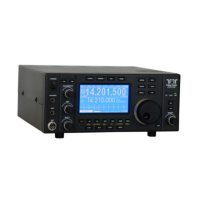
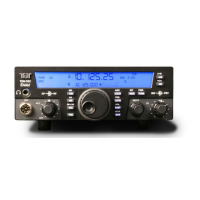
599 / Eagle Users manual Release 1.009 CE – April 15, 2015
Part #74447
Printed in USA 25
If required, you can change the actual port
number being used to a lower number if
required. Sometimes the update program on
some computers will require a port number
lower than 10. To do so, double click the
USB to UART (COMx) text, go to port
settings, select advanced, and select a
different COM Port Number from the pull
down box. It may display a warning message,
if it does, confirm/ok the change. Click
OK/Confirm/etc. until all windows are
closed. Disconnect the Eagle, wait a few
seconds, reconnect the Eagle, and you should
see the new port number in Device Manager.
NOTE: when you plug the USB cable into a
different USB port on the PC, it will most
likely get a new COMx port number defined.
Be aware of this when reconnecting the USB
cable to the computer so that you can set it
properly in the computer program that you
are using to communicate with the Eagle.
The latest version of the transceiver is always
available from our firmware update site.
To upgrade your transceiver, visit the TenTec
web site (www.tentec.com) and click on
“Downloads”, then select “599 Downloads”.
A link will be available with the latest
firmware version. This link will be titled
with the available version number of the
firmware. Example: “Firmware Version
1.585”. The Date of the file will also be
shown.
Here is the sequence of steps to follow once
the .exe file has been downloaded from the
Downloads web page for the Eagle/599.
1) Turn Transceiver OFF.
2) Turn Transceiver ON to verify that the
Eagle has appropriate power. E.g. the
Eagles front panel display shows the
normal indicators and frequencies.
3) Turn Transceiver back OFF.
4) Connect a PC to the transceiver using a
standard USB cable. (Note: if already
connected, disconnect for a second or
two, then reconnect, helps computers that
don’t “disconnect” the USB driver unless
it is physically disconnected)
5) Turn the Transceiver ON while holding
down the “A/B” button.
6) Wait a few seconds. NOTE: There
currently is no feedback that the rig is on.
7) Hence the reason for steps 1, 2, 3 above,
just to verify that the Eagle has power and
is operational.
8) Start the Update program
9) Select the COM port to which the
Transceiver is attached.
10) Choose UPDATE under the PROCESS
menu.
11) Select the RUF file under the Process
Menu.
12) The program will update the radio and
report any errors encountered.
During the update process there is no activity
on the 599 Eagle to indicate progress.
The only feedback is from the update
program to confirm that lines are getting
sent/programmed.
13) When finished, the 599 Eagle will restart
and run the new firmware.