www.tenda.cn
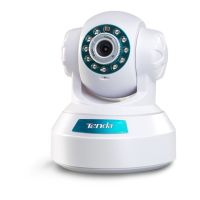
Figure5.Attach antenna to the antenna connector on the back of the camera, and fix it.
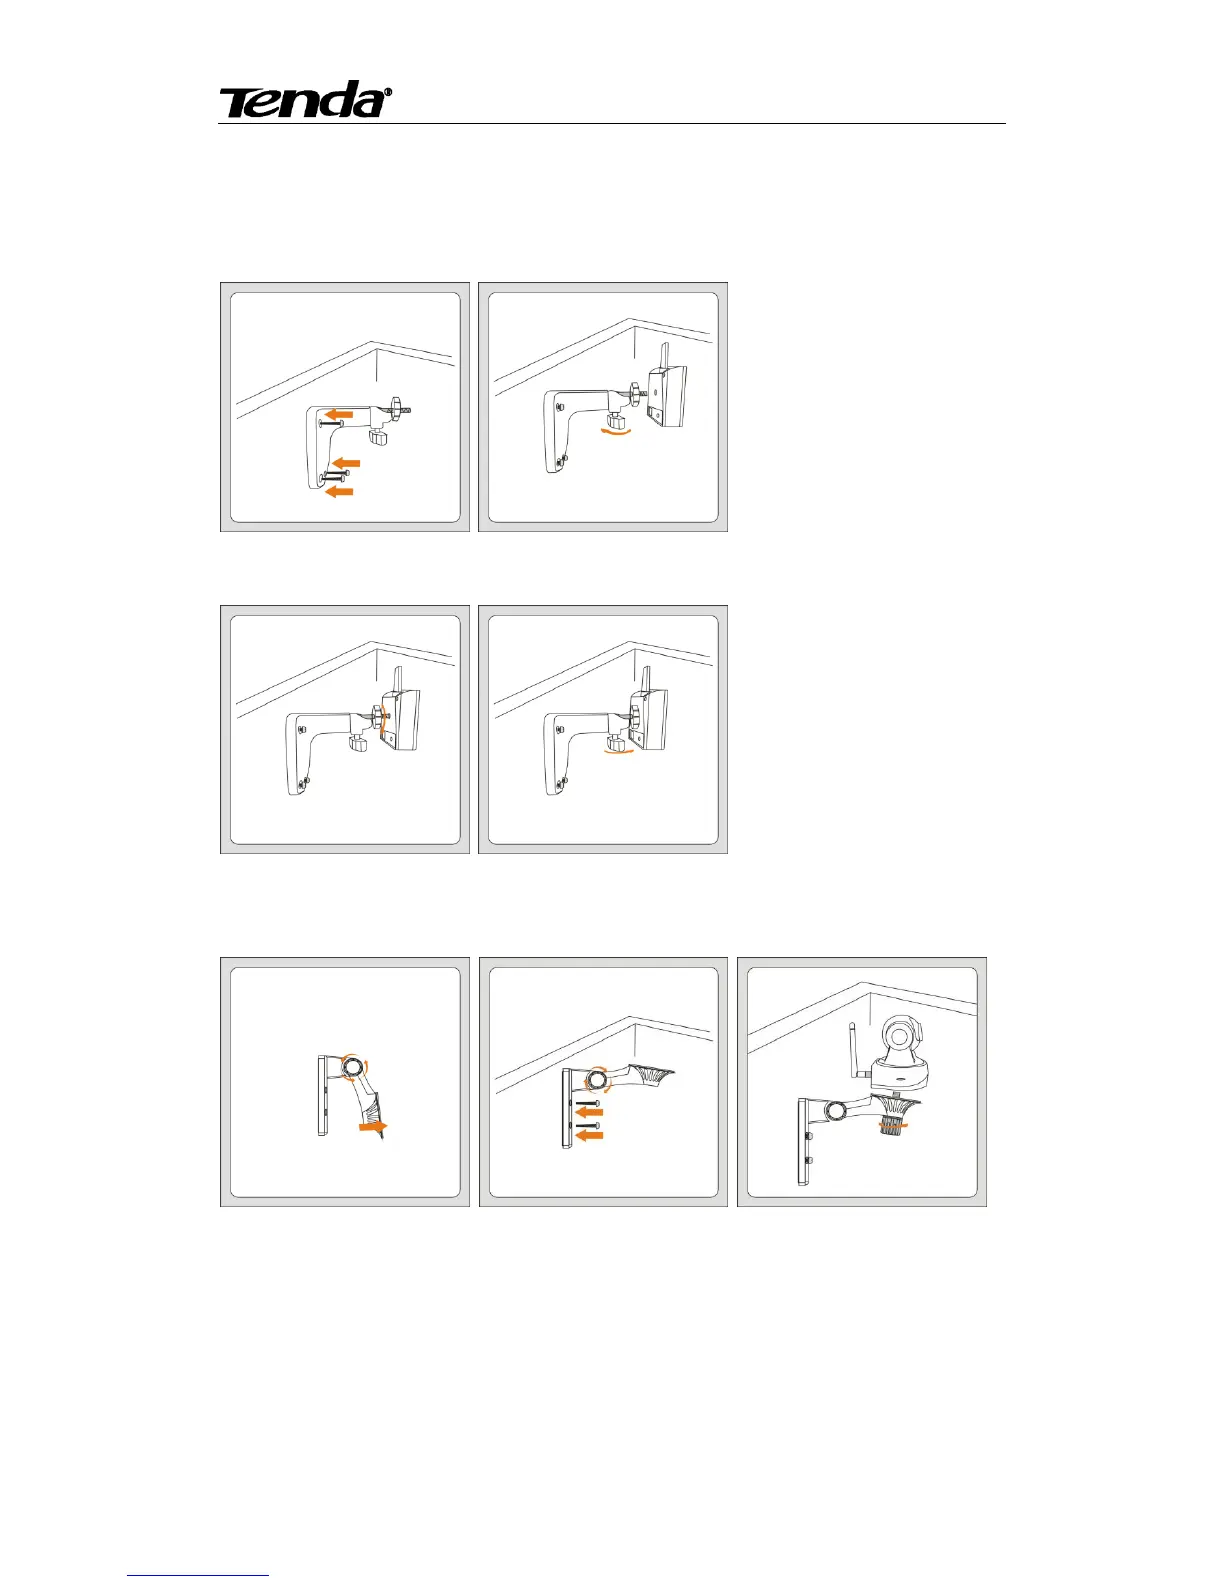
2.1.2.Wall install
According to your needs, refer to the figure to install。
2.1.2.1. Cube IP Camera
Figure 1:Take out the bracket,then fix the bracket to the wall using screws.
Figure 2:Turn the screw on the bracket counter-clock wise to loosen it.
Figure 3:Camera connect to bracket, turn the collar on the bracket clockwise to tighten it.
Figure 4:Moving the camera to the position you want, tighten the screw by turning it clock wise.
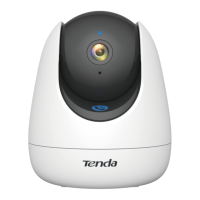
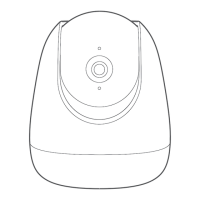
2.1.2.2.PTZ IP Camera
Figure 1:Turn the collar on the bracket to loosen it then move the camera to the position you
want .
Figure 2: Turn the collar on the bracket to tighten it,then fix the bracket to the wall using screws.
Figure 3:Camera connect to bracket, turn the collar on the bracket clockwise to tighten it.
2.1.3.Hardware Connection
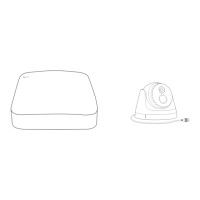
2.1.3.1.PTZ Camera
 Loading...