⚫ Quartus II v15.0
⚫ Nios II Eclipse 15.0
◼ Demonstration Source Code
⚫ Quartus project directory: DE1_SOC_D8M_VIP
⚫ Nios II Eclipse project workspace: DE1_SOC_D8M_VIP\software
◼ Demonstration Batch File
⚫ Demo batch file folder: demonstrations\DE1_SOC_D8M_VIP\demo_batch
◼ Demonstration Setup
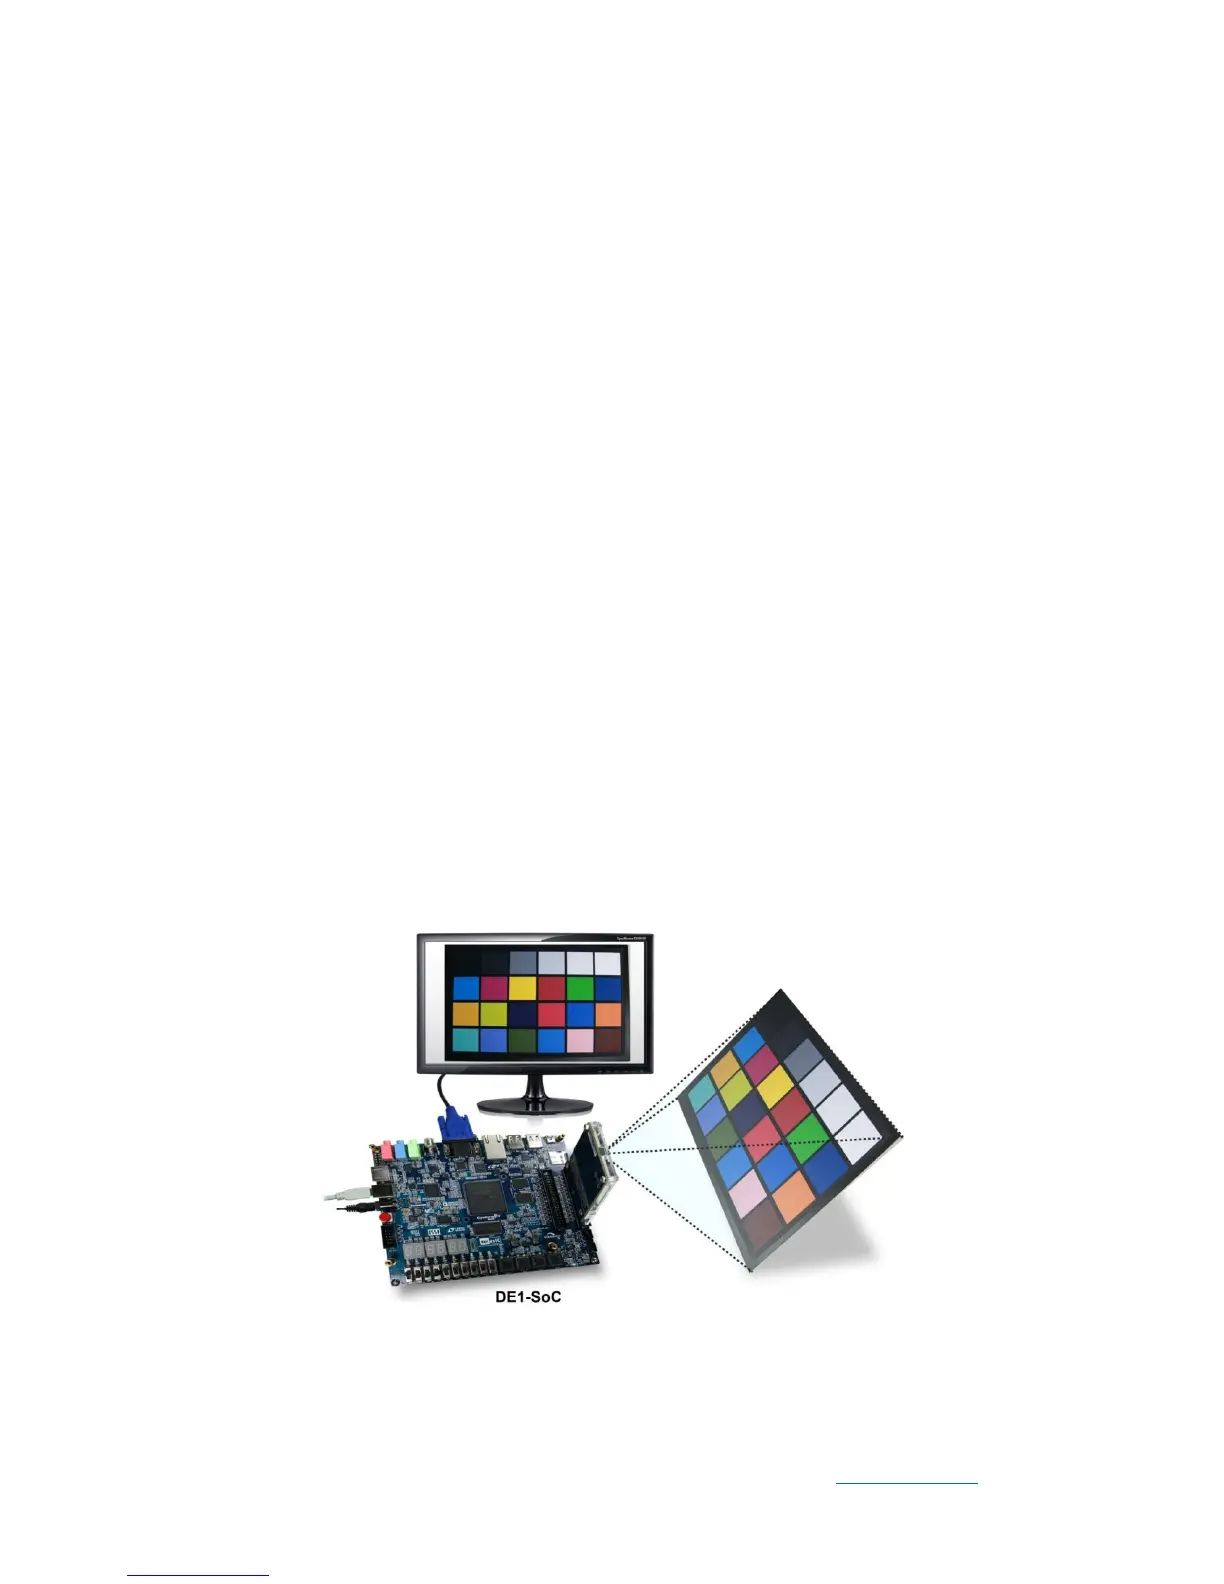
⚫ Connect a USB cable between the host PC and the USB connector (J13) on the
DE1-SOC board (See Figure 5-2).
⚫ Connect D8M module to GPIO1 (JP2) on DE1-SOC board.
⚫ Connect the VGA output of the DE1-SOC board to a VGA monitor.
⚫ Power on the DE1-SOC board.
⚫ Execute the demo batch file “test.bat” under the batch file folder
DE1_SOC_D8M_VIP\demo_batch.
⚫ The VGA Monitor will start showing the video captured from the camera.
⚫ Press KEY0 to trigger the auto-focus function.
⚫ Press KEY1/2 to trigger the manual focus adjustment.
⚫ Press KEY3 to trigger the ZOOM function.
⚫ Table 5-1 summarizes the functional keys.
Figure 5-2 Setup Connection of DE1_SOC_D8M_VIP demonstration
 Loading...