— 13 —
Operation
Auto Tune®
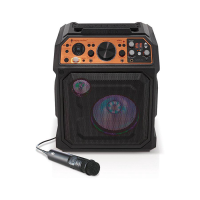
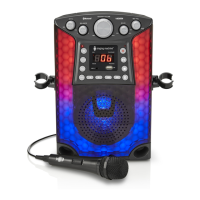
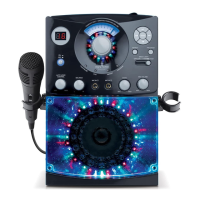
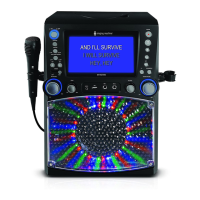
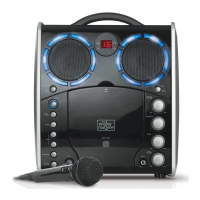
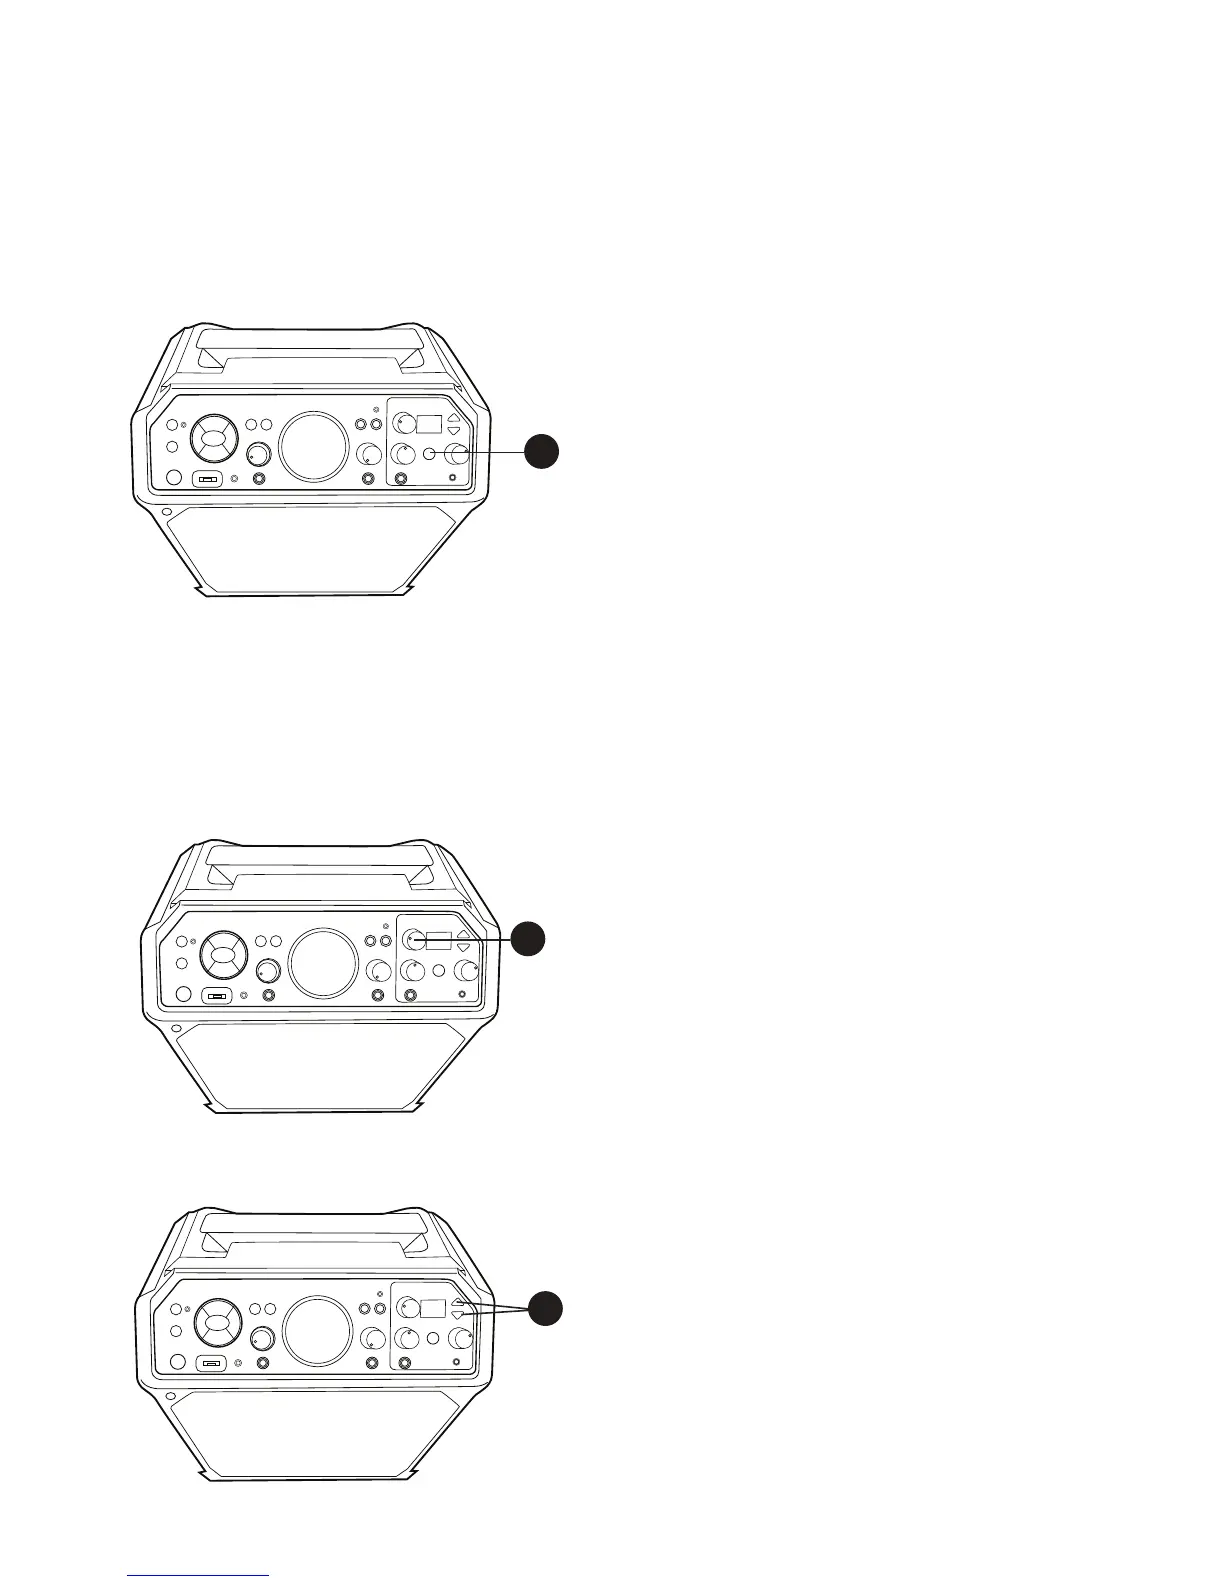
The Auto Tune® feature is shown in a dedicated area at the front (top right) of the unit.
This will allow you to Auto-Tune® your voice like the professionals.
1
With the unit on, press the AUTO-TUNE®
control button once to activate; the first
Auto-Tune® Level indicator will light. This is
the Natural Auto-Tune® setting and what is
commonly used in the music industry to level
out and fix a singer’s voice behind the scenes.
It’s subtle and is meant to provide a natural
fix to a singer’s voice.
Press the AUTO-TUNE® control button
again; the second Auto-Tune® Level
indicator will light. This is a medium level, a
bit stronger than natural but not full intensity
of Auto-Tune®.
Press the AUTO-TUNE® control button
again; the third Auto-Tune® Level indicator
will light. This is the extreme level which is
the iconic sound that has made Auto-Tune®
famous in pop and hip-hop.
Note: Plug mic into mic 1 jack. Auto-Tune®
feature is only available through mic 1 jack.
2
The Auto-Tune® default key is set to C. To
change, press the KEY SELECT/FX LEVEL
control and the current key will appear.
Rotate the KEY SELECT/FX LEVEL control
to select the desired key, the respective
key tone will sound and be selected.
3
Press the EFFECTS Up or Down button to
select a desired effect. See top of next page
for Effects. Have fun experimenting with the
effect to find the best results for individual
songs.
1
3
2