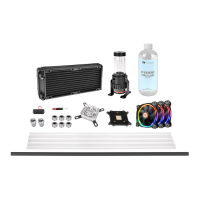
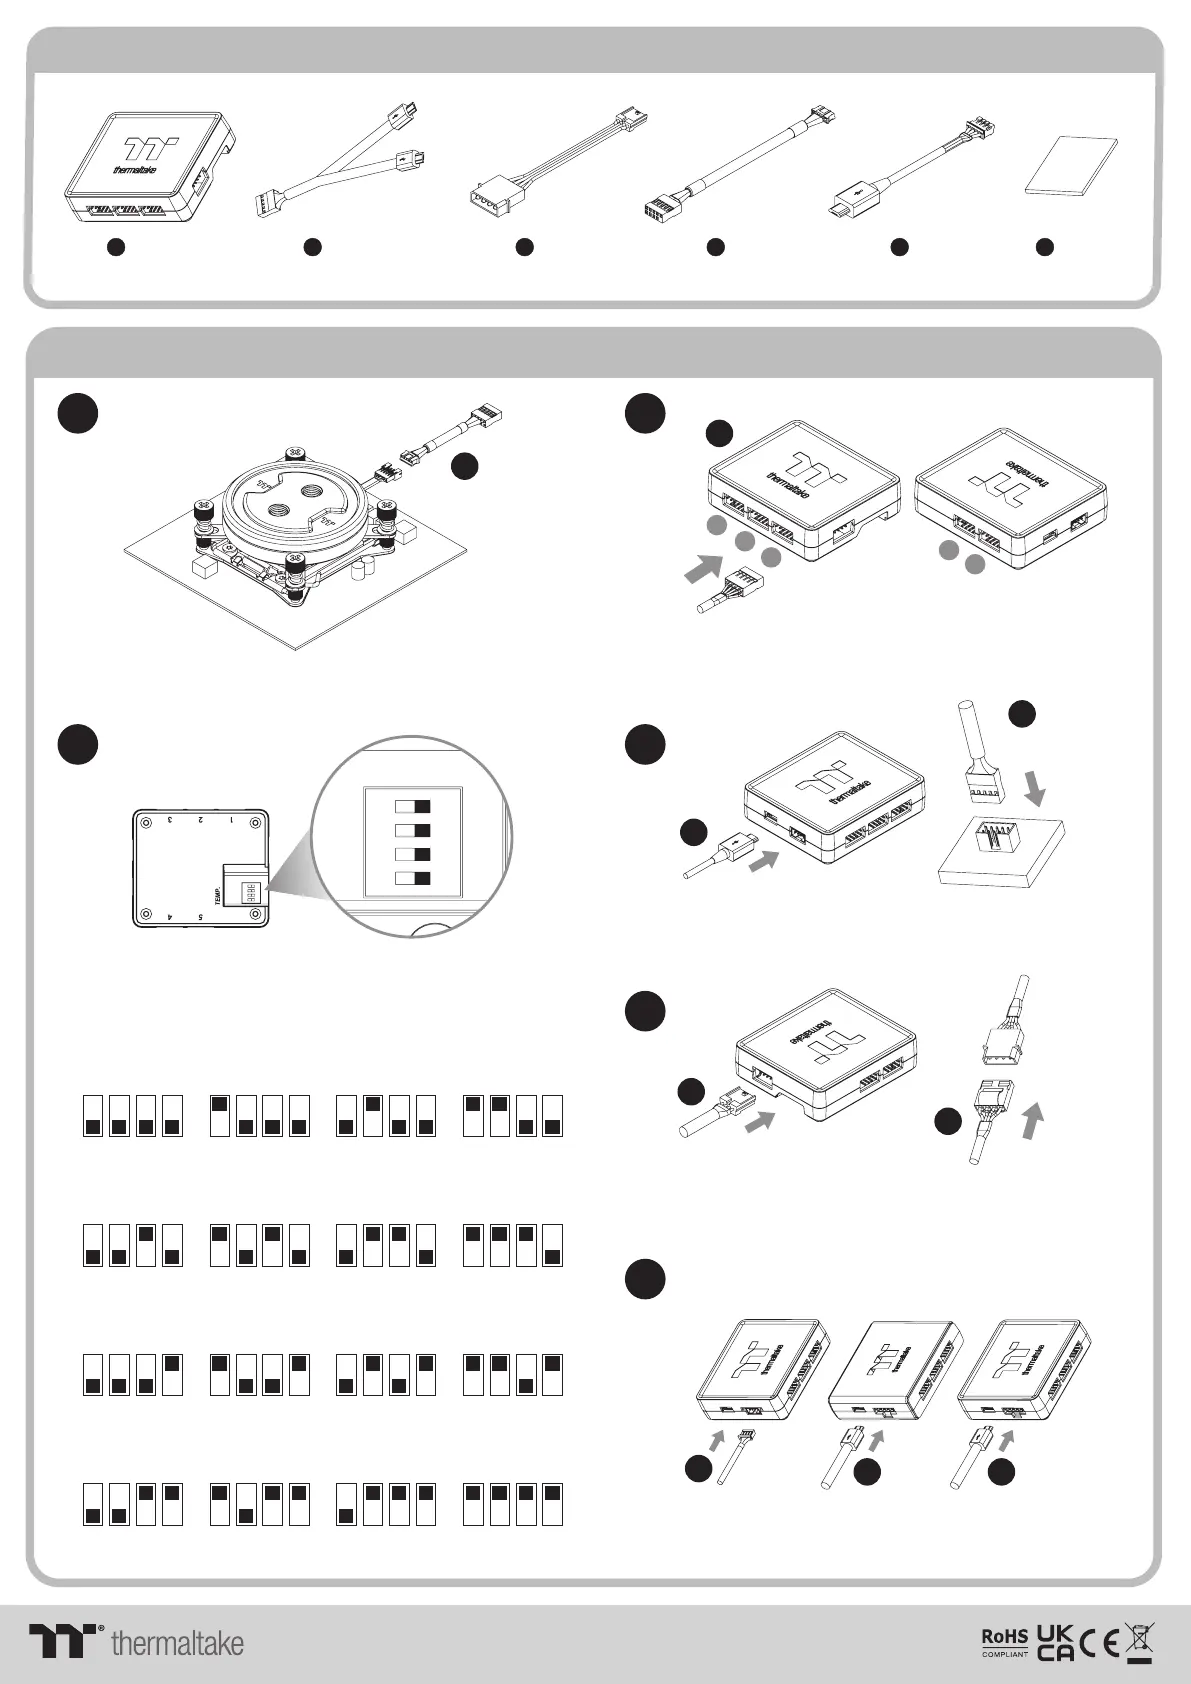
Controller Parts List
Controller Power Cable
Velcro
Controller Cable
K x 1
L x 1
M x
P x 1
Installation Guide
1
3
2
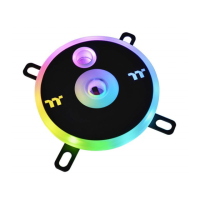
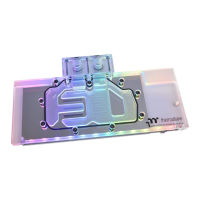
Install the Water Block on the mainboard properly,
and connect the water block cable to the conversion cable.
Connect the plug into the port in numerical order,
start with plug one.
1
Set the DIP switch on the back side of the controller to assign
the number of the controller
NO.1
ON
1 2 3 4
NO.3
ON
1 2 3 4
NO.2
ON
1 2 3 4
NO.4
ON
1 2 3 4
NO.9
ON
1 2 3 4
NO.11
ON
1 2 3 4
NO.10
ON
1 2 3 4
NO.12
ON
1 2 3 4
NO.5
ON
1 2 3 4
NO.7
ON
1 2 3 4
NO.6
ON
1 2 3 4
NO.8
ON
1 2 3 4
NO.13
ON
1 2 3 4
NO.15
ON
1 2 3 4
NO.14
ON
1 2 3 4
NO.16
ON
1 2 3 4
L
L
4
Connect the controller cable onto the mainboard
(USB 2.0 9 pin) and controller.
5
Connect the power cable to the 4pin Molex connecter
and controller.
M
M
Conversion Cable
N x
1
K
1
2
3
4
5
N
Bridge Cable
O x
1
O
O O
6
TEMP. Controller Plus Controller Trio C ontroller
1. Pacific W7 Plus is only compatible with Temp controller
2. Connect the controller cable to Temp controller ,
and then connect the rest of controllers in series
Connect with other addressable LED product
© 2022 Thermaltake Technology Co., Ltd. All Rights Reserved. www.thermaltake.com
ON
1 2 3 4