SAFETY PRECAUTION
INITIAL USE
START CALIBRATION
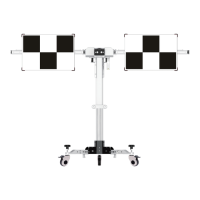
TARGET PATTERN KIT
PRODUCT PROFILE
28
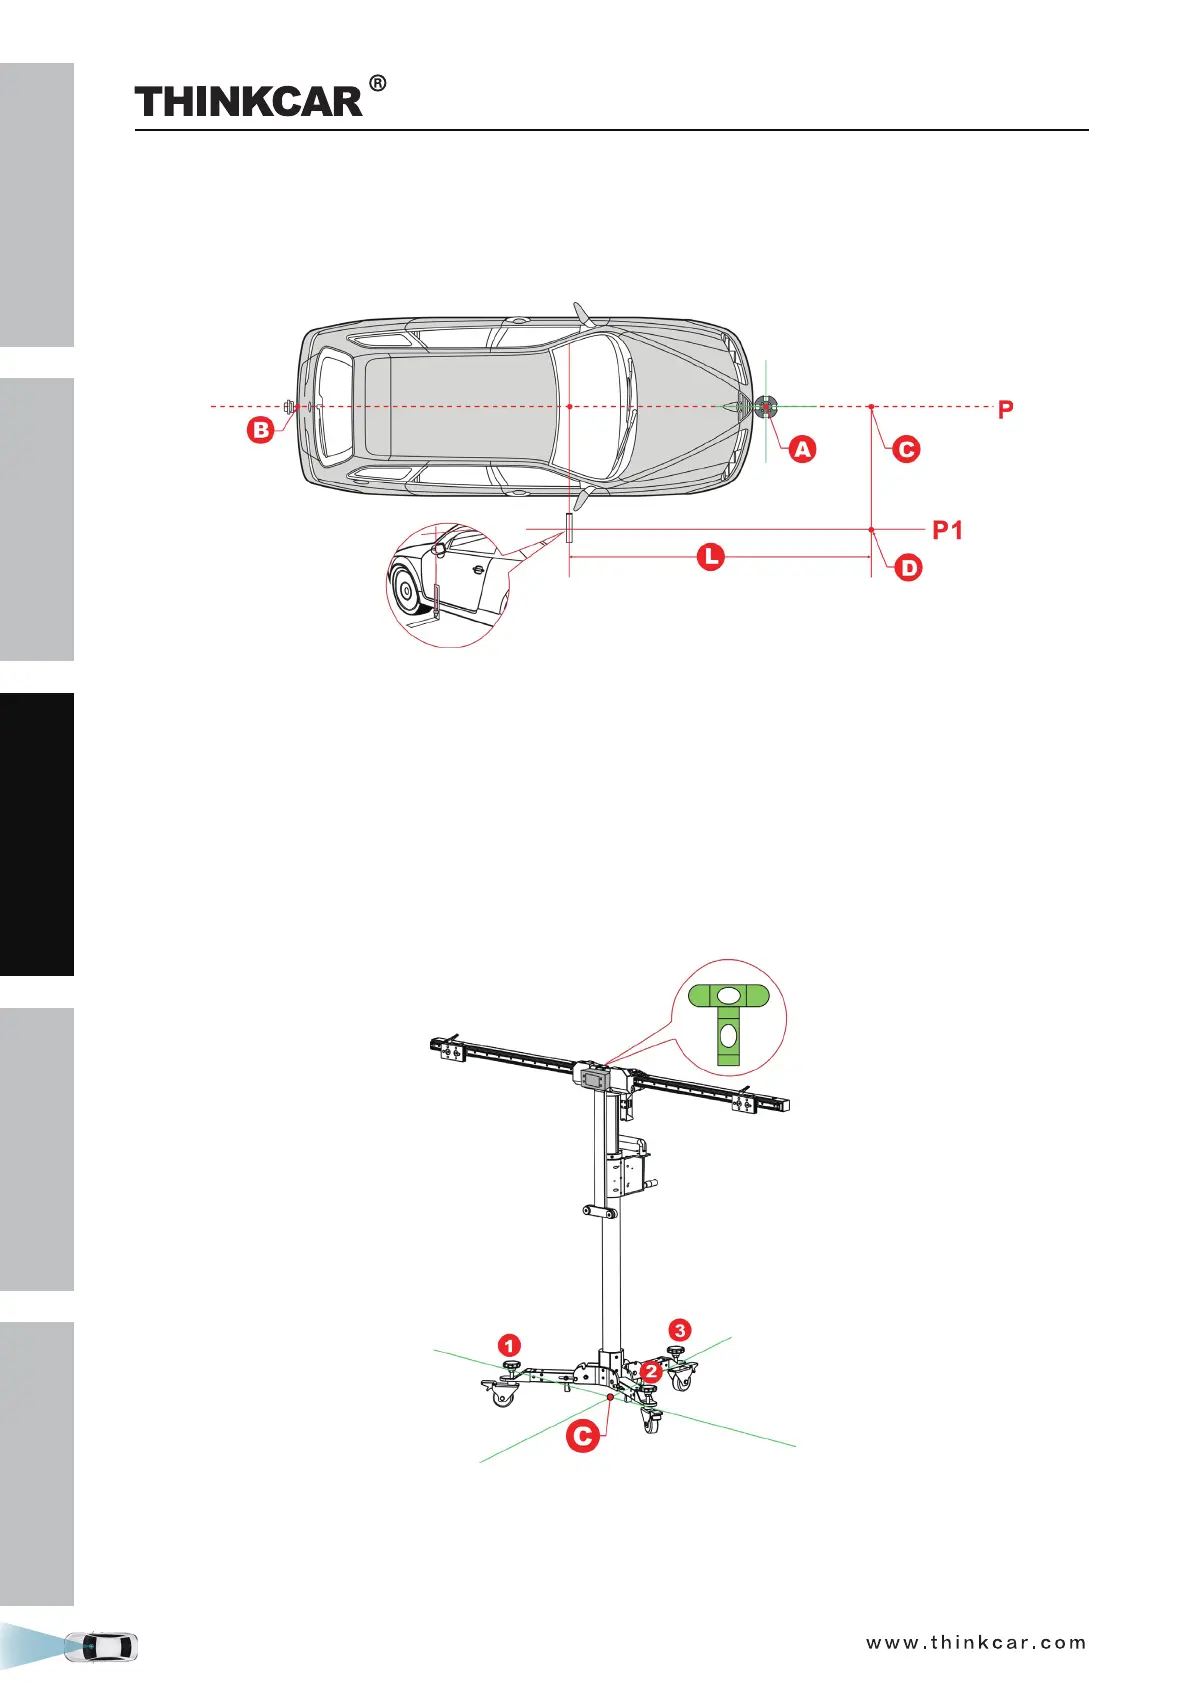
2. Mark point D in front of the L -shaped positioning bracket, making sure that the distance (L) between
point D and L -shaped positioning bracket is the value specified in the on-screen app instructions.
3. Mark point C on the center line P to make the line from point C to point D is perpendicular to the center
line P.
2.3.2.3 Place the THINKCAR ADAS
1. Place the cross laser instrument LAM09-02 close to the magnetic center positioning plate of the
calibration frame with the beam output aiming at the vehicle front and it will be automatically attached
onto the plate.
2. Turn the cross laser instrument LAM09-02 on, and then place the THINKCAR ADAS to make the laser
cross point of cross laser instrument LAM09-02 overlap point C.
3. Observe the level gauge bubbles on the crossbar. If the bubbles are not centered, turn the adjustment
screws to adjust until the bubbles are centered.
4. Fix the THINKCAR ADAS in place.
2.3.2.4 Adjust the THINKCAR ADAS in parallel with the vehicle
1. Use the fine-tuning knob to adjust the crossbar position so that the longitudinal laser beam of cross laser
instrument LAM09-02 overlaps the center line (and the center of the vehicle emblem), and then the
THINKCAR ADAS Calibration Tool