COLOUR VIDEO INTERCOM 18CM
9
ENEN
C - iNSTALLATiON
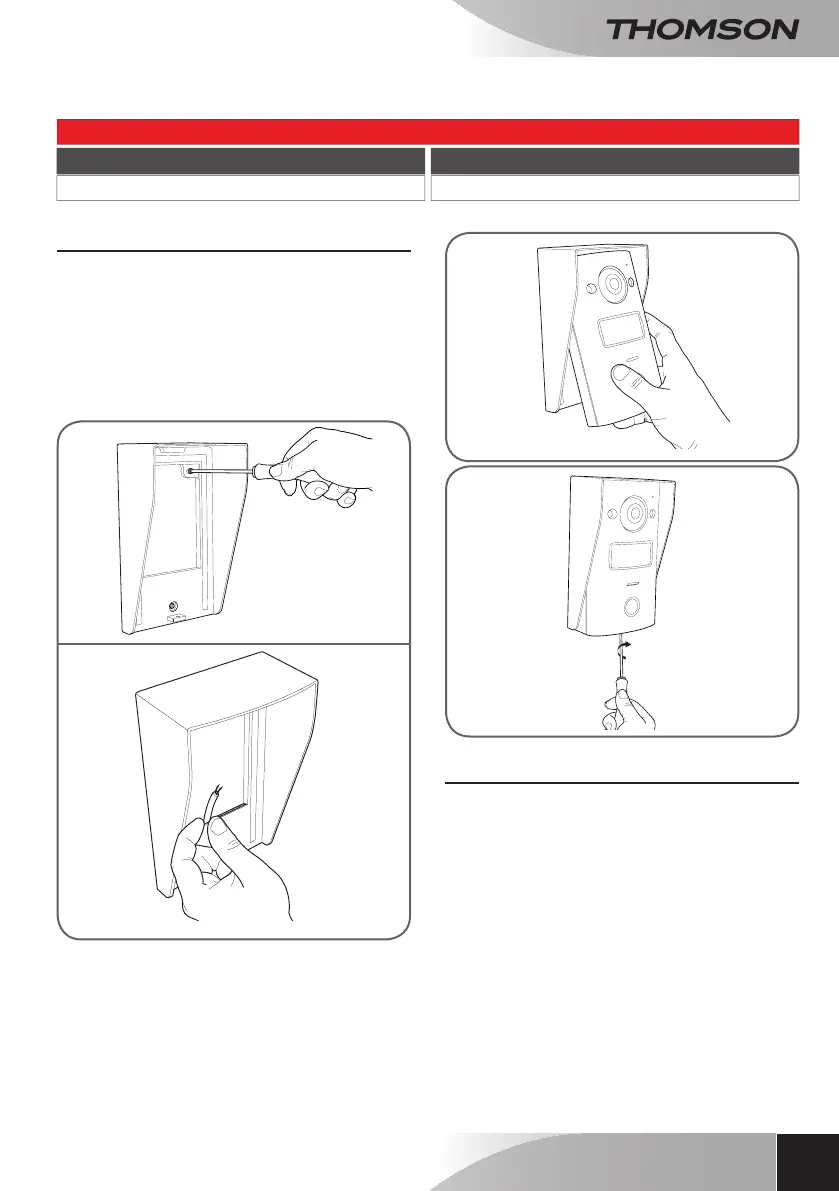
2 - INTERCOM PANEL INSTALLATION
• Theintercompanelisdesignedtobeinstalled
onaat,verticalsurface.
• Remove the wall mount from the rear of the
intercompanel.
• Attachthe wallmountin thechosenlocation
using suitable screws and wall plugs for the
typeofsurface(thescrewsandplugssupplied
aresuitableforsolidwalls).
• Cablescanbefedthroughtheholeintheback
ofthebracket.
3 - INSTALLING THE INTELLIGENT BRACKET
• Removethecover.
• Position the bracket in the chosen location
andcheckthatitisintheoptimumpositionfor
connectingthecables.
• Ifthe cables donot emergedirectlyfrom the
wall,breakoffthebottomplasticedge.
• Mount the intelligent bracket using suitable
screwsandwallplugsforthetypeofbracket
(the screws and wall plugs provided are
suitableforsolidwalls).
Connection from the contact with power supply (electric door release) to the intercom panel
Cable length Section to use
0to50m 0.75mm²