LDC401 & LDC401A Automated Cleavers Chapter 8: Maintenance
Rev B, July 19, 2017 Page 25
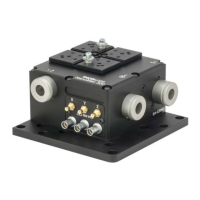
3. Select the Blade Service tool function in the Tablet Controller. This function will move the Cleave Blade
forward to the cleave position.
4. Loosen the set screw in the top of the Cleave Arm one full turn counter-clockwise, using the 0.035″ hex key
provided.
Figure 26 Set Screw and Cleave Arm
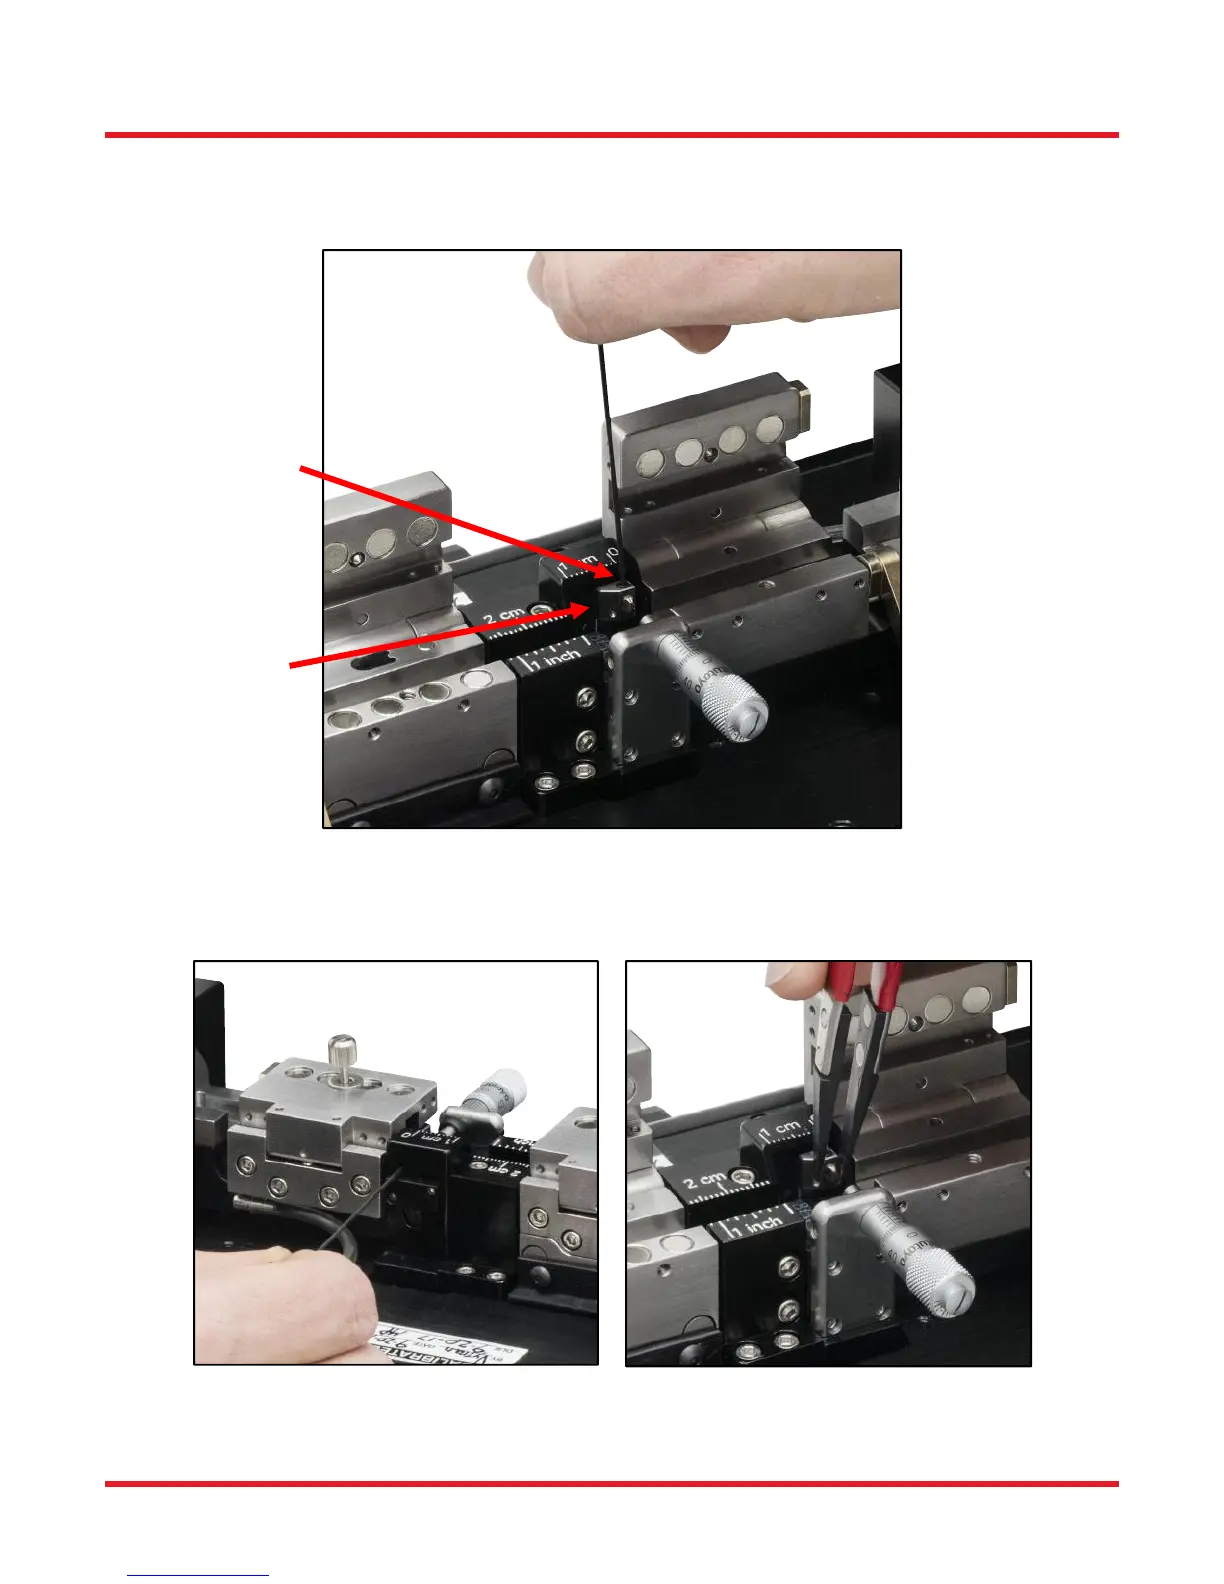
5. Insert the 0.035″ hex key through the access hole in the back of the Cleave Blade Housing and push the
Cleave Blade out of the Cleave Arm. Remove the Cleave Blade with tweezers.
Figure 27 Replacing the Cleave Blade
Set Screw
Cleave Arm
 Loading...