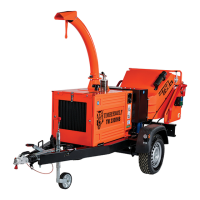
TW 13/75G
15 / 32
SERVICE INSTRUCTIONS
C190-0187 25.01.2019 Rev: 1.0
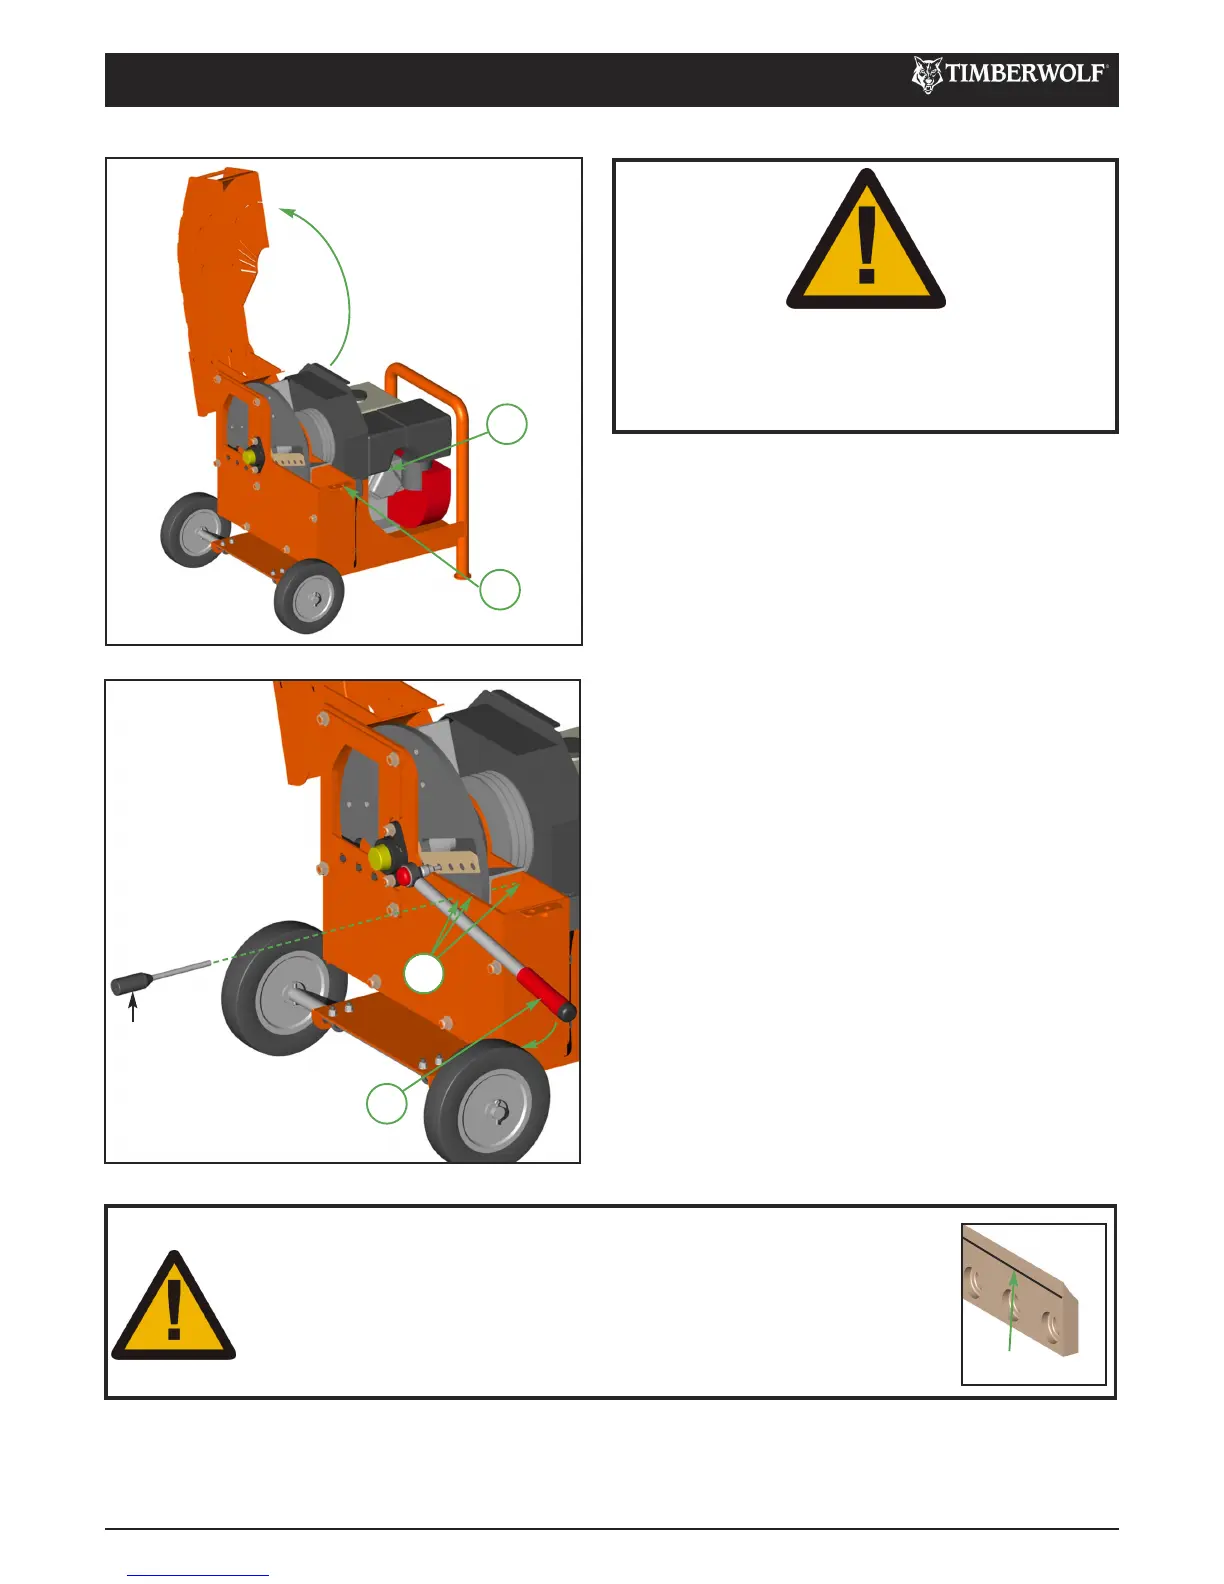
Turn engine off, as per instructions on page 9. 1
Pull the plug cap from the spark plug. 2
Remove the M12 screw that retains the top rotor housing 3
using a 19 mm spanner.
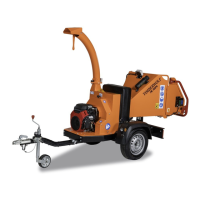
Turn the rotor by hand using the fan blades so that holes 4
(4) are aligned and insert the Rotor Retaining Pin
(supplied in tool kit).
Use a small screw driver to clean out the star socket 5
screw heads retaining the blade.
Undo blade screws using the star socket provided. 6
Before fitting replacement blades ensure the blade seat 7
is clean. No material should be allowed to sit between
the blade and the rotor.
Check screws being replaced are not damaged. If so, 8
these should be renewed.
Apply a thin layer of copper grease to the entire screw 9
thread.
Retighten the screws to 30Nm (22lb/ft). This torque 10
setting is vitally important to ensure your bolts come out
at a later date. Timberwolf recommend you purchase a
torque wrench for this and other jobs on the chipper.
Remove Rotor Retaining Pin. 11
Close rotor housing and replace retaining screw. 12
Refit spark plug cap to spark plug.13
CHANGE BLADES
WARNING
WEAR RIGGERS GLOVES FOR THE BLADE
CHANGING OPERATION.
WARNING
ALWAYS SHARPEN BLADES ON A REGULAR BASIS. FAILURE TO DO SO
WILL CAUSE THE MACHINE TO UNDER PERFORM AND WILL OVERLOAD
ENGINE AND BEARINGS CAUSING MACHINE BREAKDOWN. BLADES
MUST NOT BE SHARPENED BEYOND THE WEAR MARK SEE DIAGRAM.
FAILURE TO COMPLY WITH THIS COULD RESULT IN MACHINE DAMAGE,
INJURY OR LOSS OF LIFE.
WEAR MARK
4
10
3
2
Rotor
Retaining Pin