Do you have a question about the Timeguard TRT036N and is the answer not in the manual?
Retain instructions for reference; ensure electrical safety during installation; use qualified electrician; check circuit load.
Covers power, construction, ratings, connection, installation, temperature, programmes, holiday, and boost features.
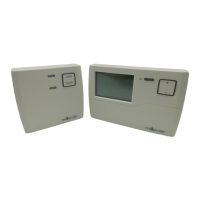
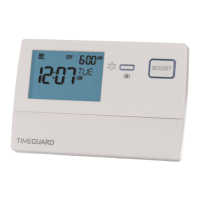
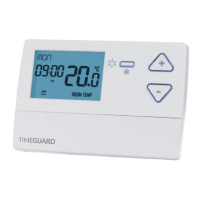
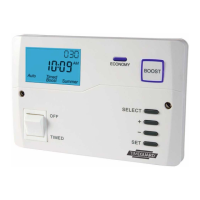
Explains display, buttons, indicators, and controls on the front panel of the programmer.
Details on battery backup, illumination, CE compliance, and physical dimensions of the unit.
Optimal location and mounting height for the programmer to ensure ease of use and wiring.
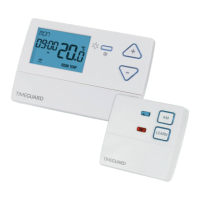
Covers safety, wall plate mounting, cable termination, and unit reattachment instructions.
Details of mounting holes, retaining tabs, loop terminal, and screws on the wall plate.
Diagram and instructions for connecting mains supply and boiler load cables to the terminal block.
Setting 5-2/7-day programming and Pumped/Gravity systems via rear unit DIP switches.
Locating DIP switches and their position labels on the unit's rear for configuration.
Procedure for power restoration, system reset, and understanding the default display.
Initiating time and date adjustment by pressing and holding the Select button.
Changing clock format (12/24hr) and setting the hour and minute values.
Setting the year, month, and day values using the arrow buttons.
Adjusting daylight saving option and notes on timeouts and exiting settings.
Explains 5-2/7-day programming options and how to use the copy function.
Accessing programming mode via the Set button and choosing the day to program.
Setting ON and OFF times for Programmes 1, 2, and 3 for heating and hot water.
Moving between days for programming and exiting the programming sequence.
Notes on handling unwanted times, exiting programming, and screen timeouts.
Accessing the copy function to duplicate programmed times using the Set button.
Choosing the day to copy from and the days to copy programmes to.
Repeating the copying process for required days and exiting the function.
Switching between modes and descriptions of Permanent OFF, ON, and timed output modes.
Choosing boost duration (1-3 hours) and cancelling the function.
How boost settings time out and the associated display behaviour.
How the display light and button surrounds illuminate.
Entering holiday mode, setting duration, and exiting the configuration.
Displaying holiday duration and the procedure to cancel the active holiday mode.
Details of the 3-year guarantee, replacement policy, and proof of purchase requirement.
Contacting support via helpline/email, company address, sales, and website.
| Brand | Timeguard |
|---|---|
| Model | TRT036N |
| Category | Thermostat |
| Language | English |