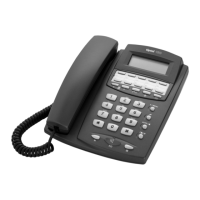
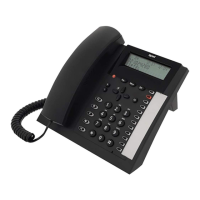
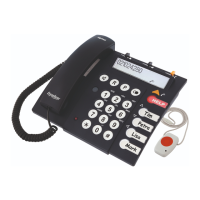
Getting started
8
e
n
g
8.
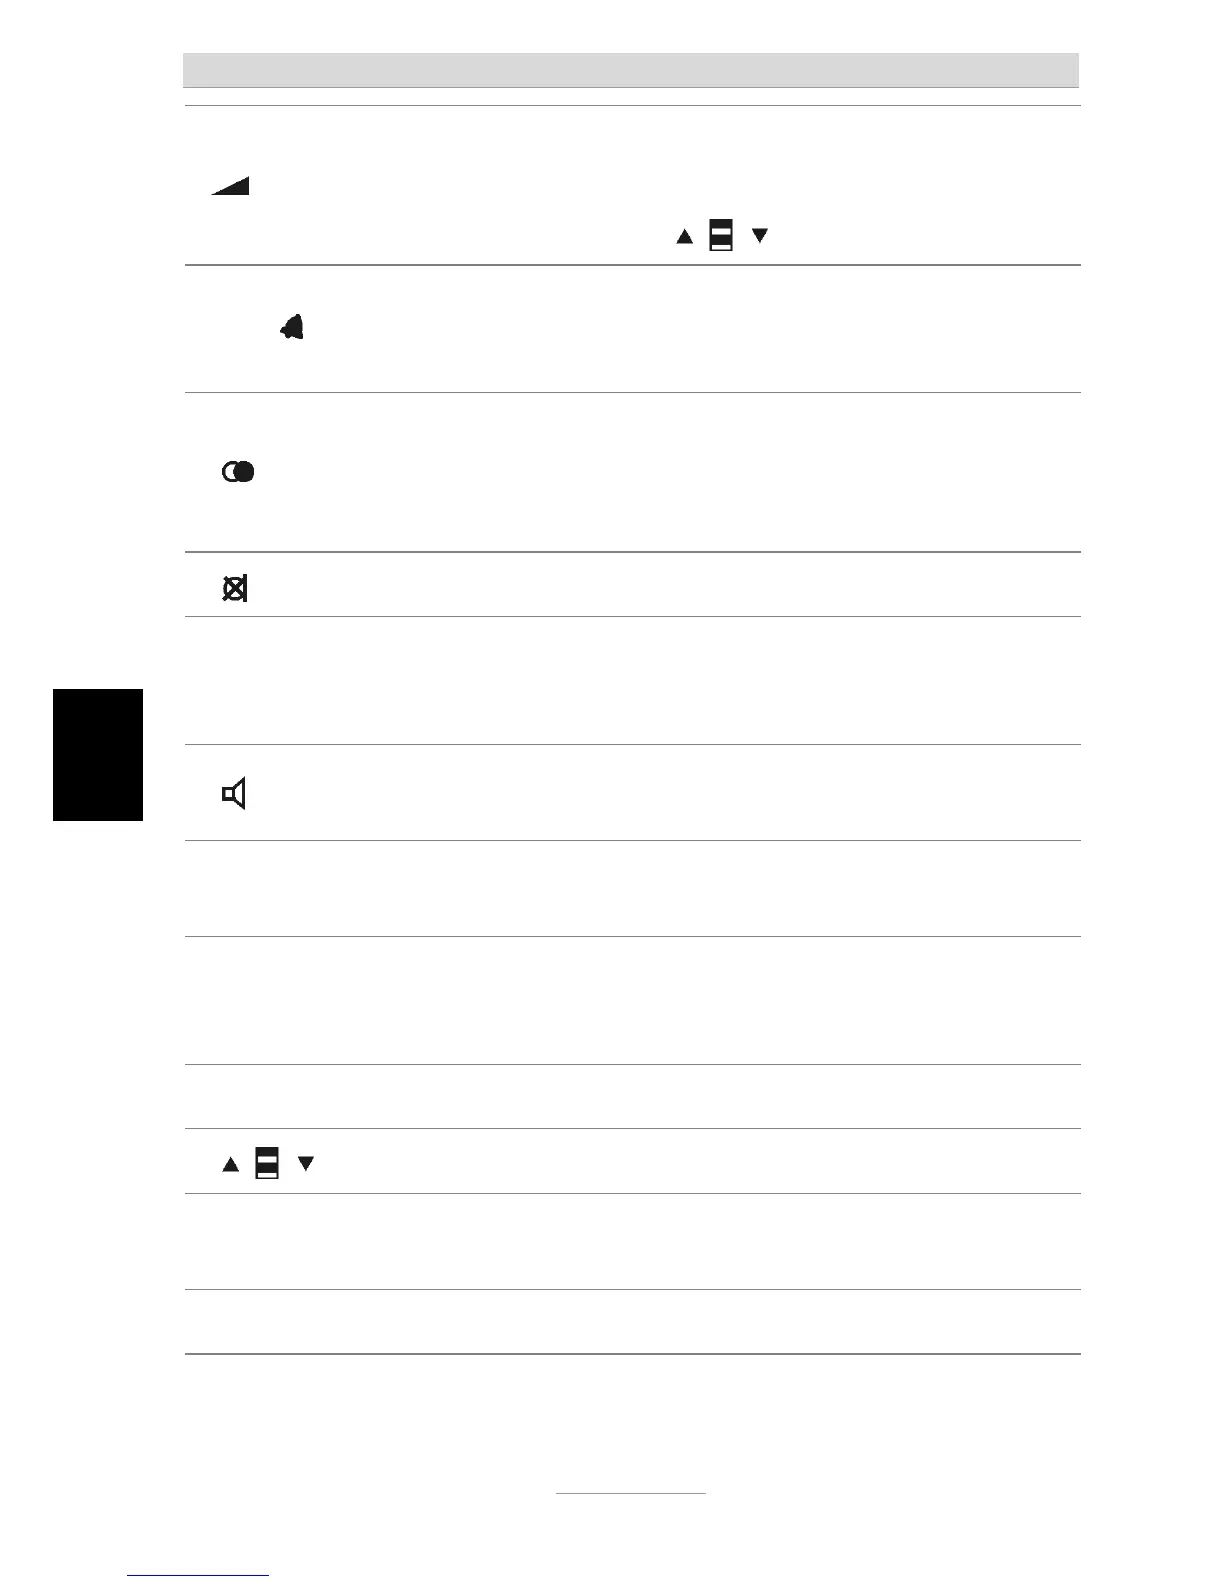
a. In on-hook status press for min. 3 secs to adjust the ringer volume.
b. While using the speakerphone press to adjust the speakerphone volume.
c. While using the handset press to adjust the handset volume.
Volume may be changed using
keys.
9. AUTO /
a. Press to auto redial the last dialed number continuously (max. 15 times)
until the call is answered.
b. Press min. 3 secs to set the ringer melody.
10. / P
a. In on-hook status press to review the outgoing number.
b. In off-hook status press to dial the last dialed number.
c. Insert a pause of 1.2 / 2.4 or 3.6 secs while editing the phone book or
pre-dialing a number.
11. Press to mute the line (microphone mute).
12. LED indicator
a. Indicator will light up when the unit is in use (off-hook).
b. Indicator will flash when the unit has a new call.
c. Indicator will flash when the unit receives message waiting signals.
12.
a. Press for handsfree dialing and speak without lifting up the handset.
b. If a headset is used press to talk or end the call.
13. R
a. For PABX use, Recall, used to transfer calls
b. On public lines: initiate functions on the public telephone line
14. 0 – 9, *, #
a. Dialing keys.
b. While editing phone book used for letters as well, 0 for space, * for
symbols.
15. Speaker Used for hands-free calls, used for ringer as well
16. Review incoming call list, select and scroll through settings
17. Wall mounting
hook
Turn 180 degrees to hang up the handset when the unit is wall mounted.
18. Hook switch Press to end a call, handset on/off-hook