Front Panel User Guide Page 14
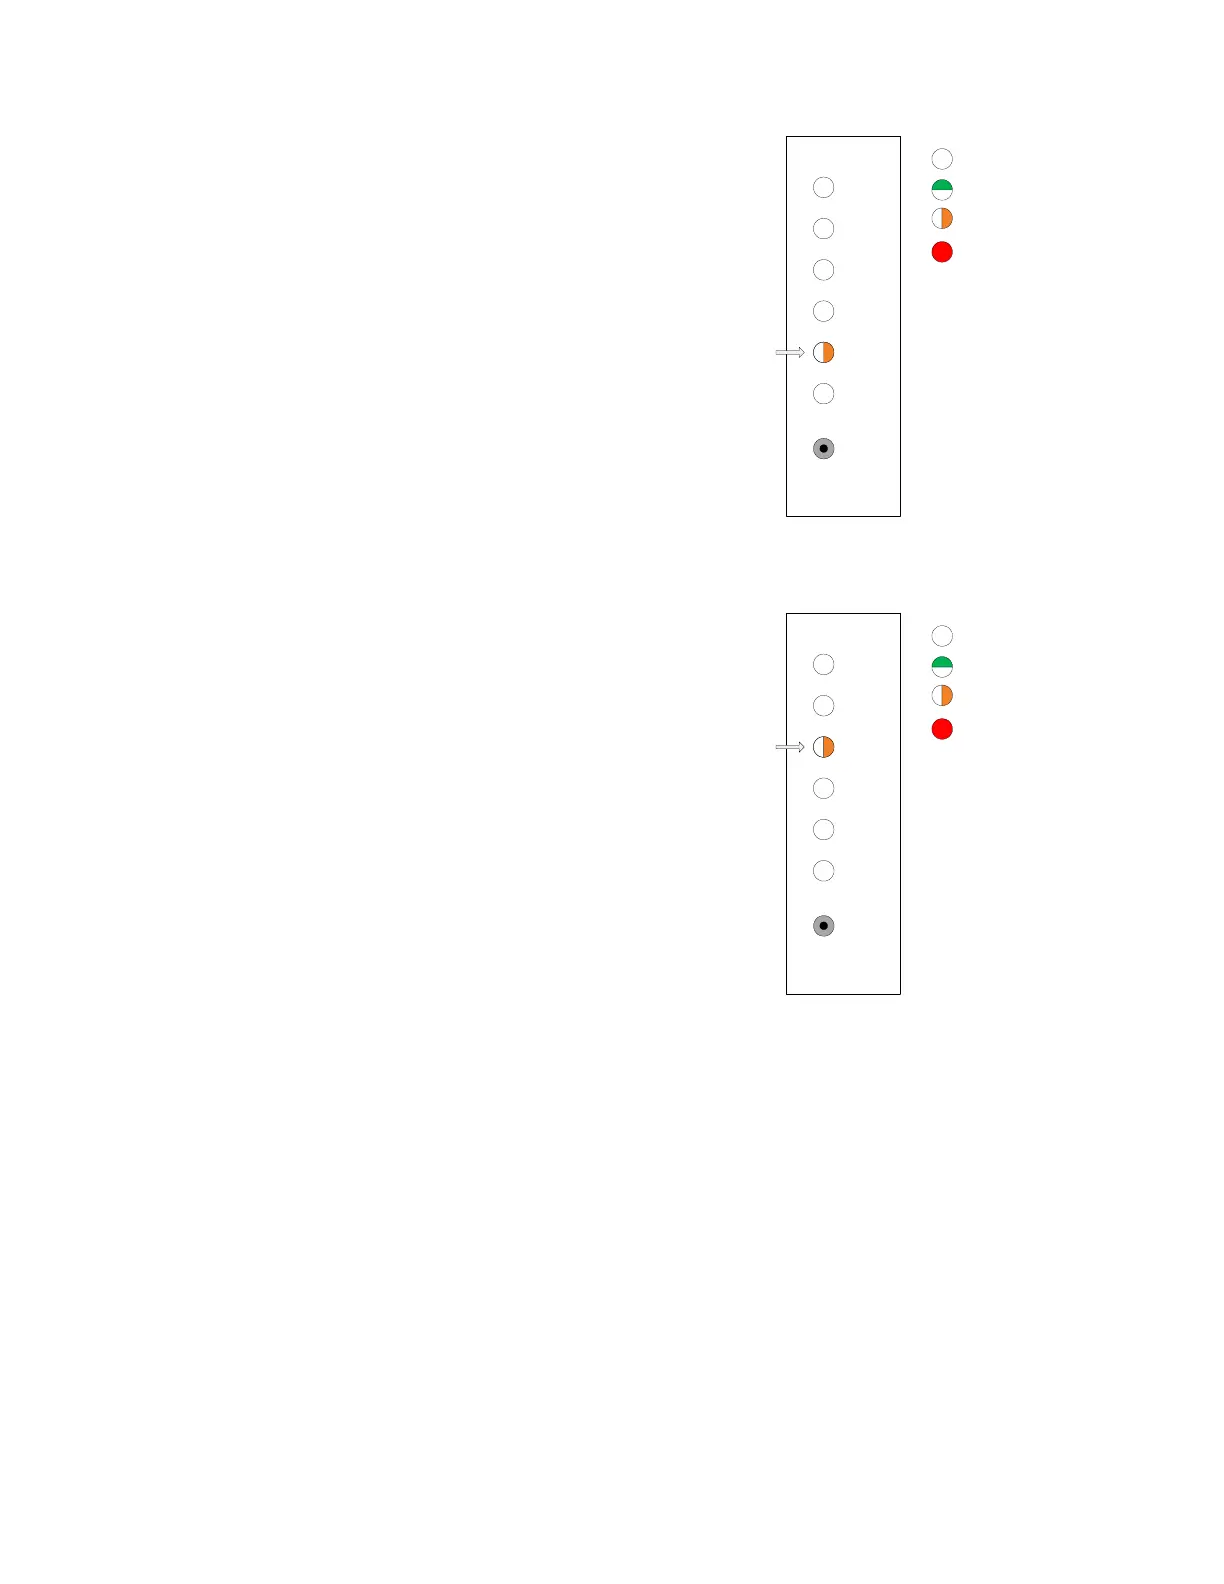
2. Utilize the Ranging and Test submenu
commands. Issue a utilize press on the
pushbutton. Release the button after the LED
changes to amber. The front panel indicates that
the submenu item for emergency band test has
been selected.
3. Select the ranging submenu command. Issue a
selection press on the pushbutton (< 2 s) twice.
The front panel indicates that the submenu item
for ranging has been selected.
4. Utilize the ranging command. Issue a utilize press on the pushbutton (> 2 s). Release the
button after the LED changes. The channel selection process is entered with channel 1 selected.
5. Select the desired channel on which to apply the ranging command. Issue selection presses
until the desired channel is indicated. During this selection process, the LED will blink amber
slowly.
6. Activate the command on the selected channel. Issue an activation press on the pushbutton (>
4 s). The LED for this channel will turn blinking amber at a faster rate, indicating the channel has
been armed for ranging.
Note: A channel armed for ranging has a timeout of 10 minutes, after which ranging is disarmed. To
abort the ranging process before this timeout, issue an activation press on the pushbutton.
Note: Apply an optical signal to the armed channel for a minimum of 10 seconds, regardless of the
preemption state (preemption may occur before the ranging process has completed).
4
5
3
2
6
1
Select
LED Off
LED Green
LED Amber
LED Red
Test/Range Menu:
Test Emergency Band
Submenu
4
5
3
2
6
1
Select
LED Off
LED Green
LED Amber
LED Red
Test/Range Menu:
Ranging Submenu
 Loading...
