Front Panel User Guide Page 9
3. Utilize the channel Enable/Disable command. Issue a utilize press on the pushbutton (> 2 s).
Release the button after the LED changes. The channel selection process is entered with
channel 1 selected. If the channel is enabled, the LED will be green. If the channel has been
disabled, the LED will be red.
4. Select the desired channel on which to apply the channel Enable/Disable command. Issue
selection presses until the desired channel is indicated.
5. Activate the command on the selected channel. Issue an activation press on the pushbutton (>
4 s). The LED for this channel will turn either green or red indicating if the channel is enabled or
disabled, respectively.
Note: The channel enable/disable command toggles the state between enabled or disabled. If this
command is applied to all channels, the state for each channel will be toggled.
2.2 Enable/Disable Menu: Transit Enable or Disable
A transit disable operation will disable all transit band preemption outputs for a channel.
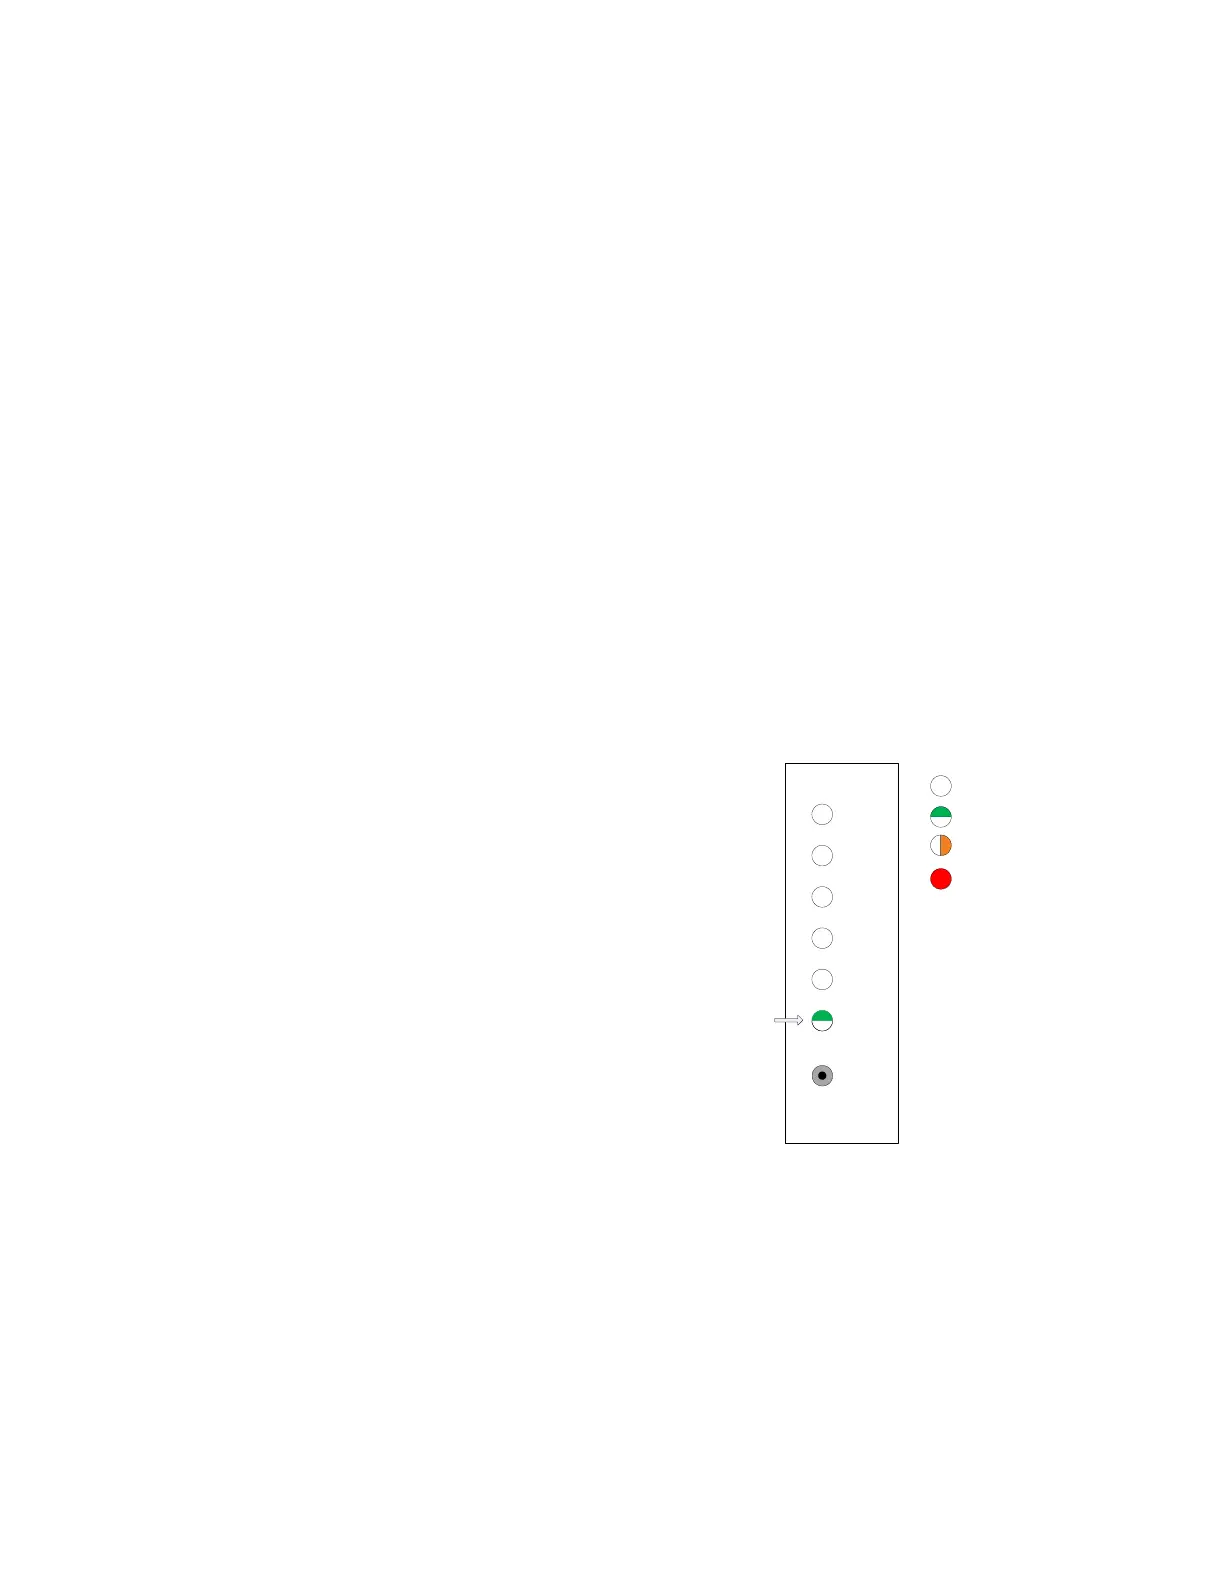
1. Select the Enable/Disable menu item. Issue a
selection press on the pushbutton. The front
panel indicates that the top level menu item for
Enable/Disable has been selected.
4
5
3
2
6
1
Select
LED Off
LED Green
LED Amber
LED Red
Enable/Disable Menu
Top Level