53
Vertical Calibration (Upward)
Perform the following check after completing "Horizontal Calibration" on the previous page.
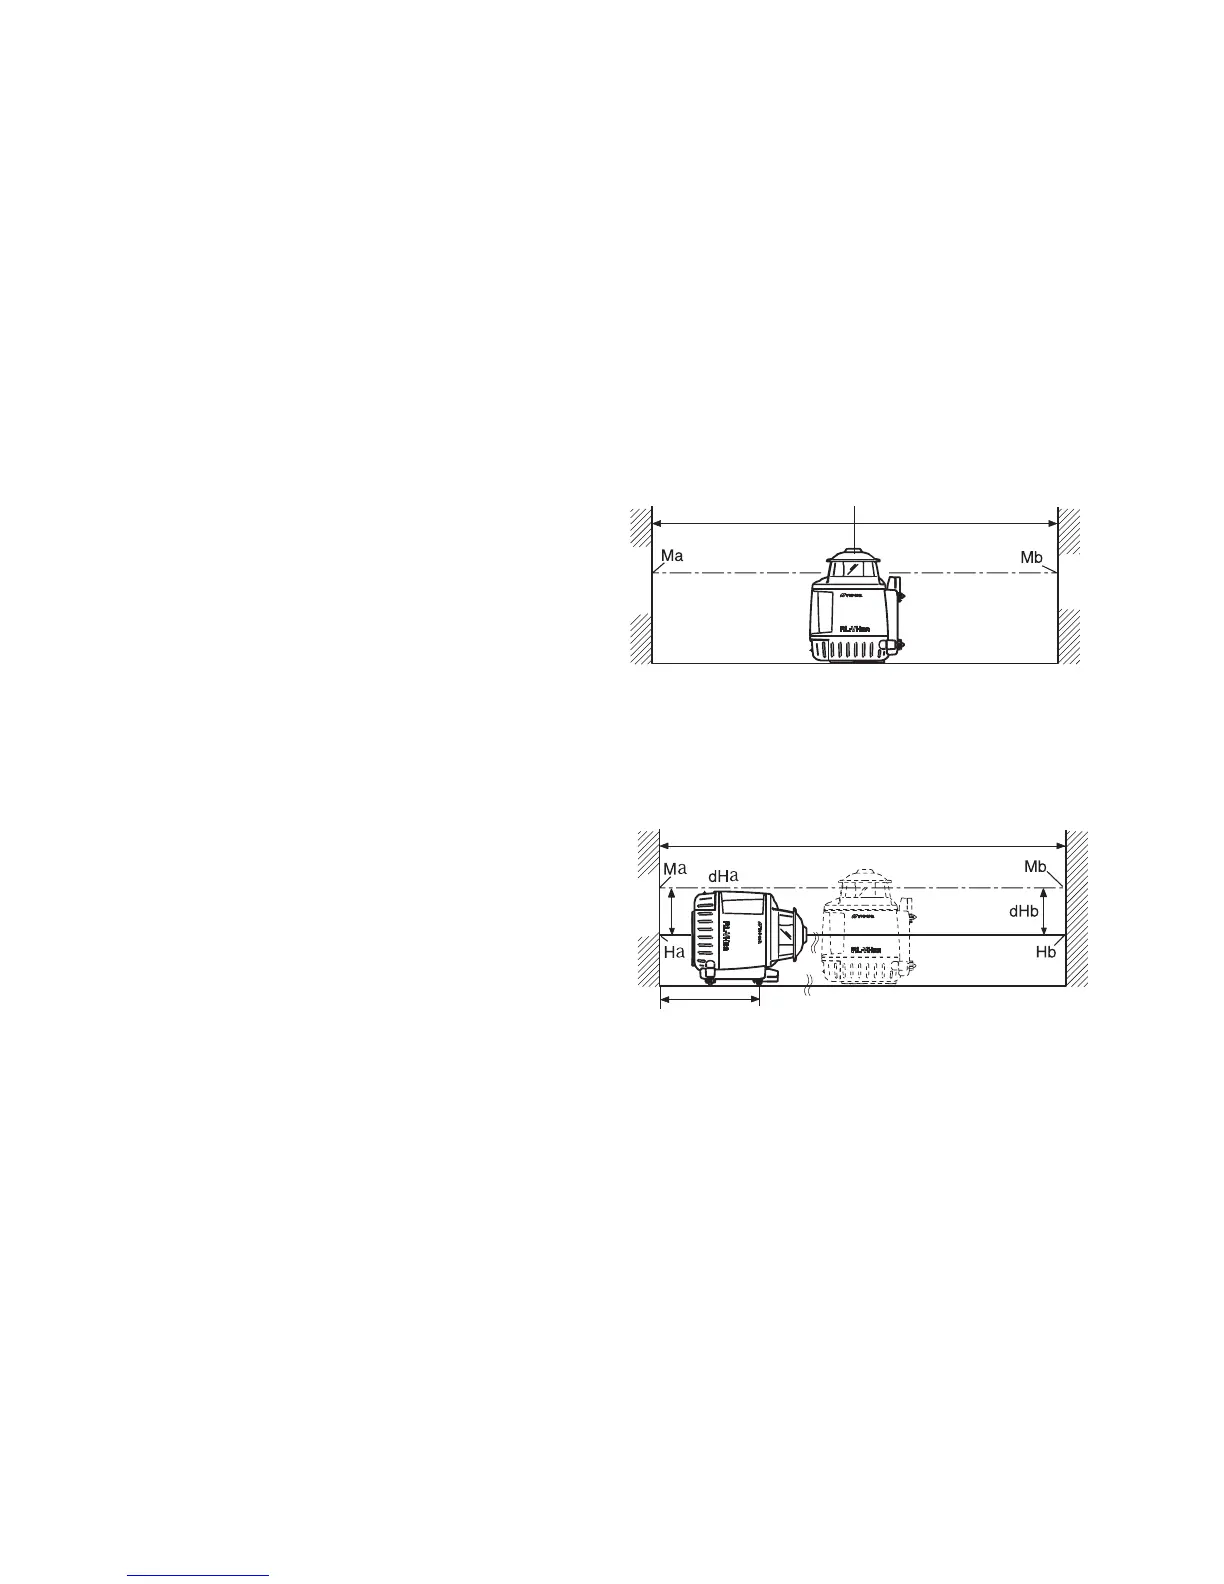
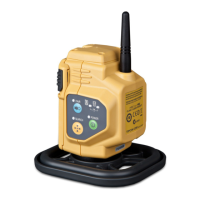
(1) Checking RL-VH3G/A
1 Set up the instrument half way between 2
walls a minimum of 40m away from each
other. (The instrument can be facing
either direction X or Y. And no tripod is
used.)
2 Turn the power switch on.
3 Place a piece of paper on each wall (A and B).
Mark the horizontal laser positions (Ma and Mb) on each wall using target.
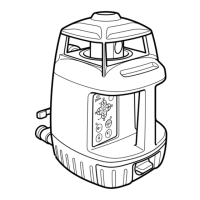
4 Turn the power switch off. Position the
instrument for vertical operation (see
instruction on page 19 ) with the bottom
side directly facing wall A (see illustra-
tion). Make sure the unit is level by check-
ing the circular level vial. Use the leveling
screw to adjust if necessary.
5 Turn the power switch on. (Laser beam
should be in scanning mode.)
6 Mark where the split beam is emitted
from the bottom and top of the instrument
strikes wall A and B. Measure the distance between two marks on each wall (dHa and
dHb).
about 20 m
(66ft)
about 20 m
(66ft)
Wall
A
Wall
B
about 40 m (130ft)
Wall
A
Wall
B
about 1m