Do you have a question about the Toptech MultiLoad II DIV-2 and is the answer not in the manual?
Covers explosion hazards, battery handling, and installation conformity for NA.
Details explosion hazards, battery handling for ATEX/IECEX installations.
Describes procedures and precautions to prevent damage from electrostatic discharge.
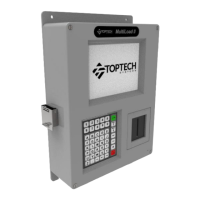
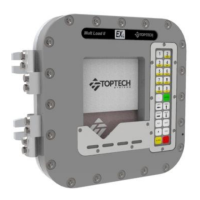
Details voltage, temperature, enclosure, weight, display, and connectivity.
Provides guidance and considerations for securely mounting the enclosure.
Specifies recommended wire gauges and torque values for terminal blocks.
Discusses power source verification, wiring practices, and safety.
Details power requirements and connection procedures for AC powered models.
Details power requirements and connection procedures for DC powered models.
Explains the importance and procedure for safety ground connections.
Describes RS-422/485 and RS-232 protocols and required wire specifications.
Details Ethernet connectivity standards and wiring requirements.
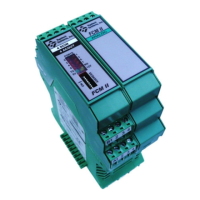
Details wiring connections for FCM, FCM II, and PCM modules via COM 0.
Explains RS485 4-wire and 2-wire connections for host communication.
Explains RS232 connections for host communication.
Details Ethernet connections for host system communication.
Lists I/O types, quantities, and electrical ratings for different boards.
Provides wiring diagrams for connecting flow meters and control valves.
Details wiring connections for additive injection system outputs.
Details wiring connections for additive injection system inputs.
Details wiring connections for RTD sensors and temperature compensation.
Details the steps for removing and replacing the CPU subassembly.
Provides instructions for installing the CPU subassembly.
Details the steps for removing and replacing the display subassembly.
Details the steps for removing and replacing the keypad.
Details the removal procedure for the current model slotted card holder prox reader.
Details the steps for removing and replacing the W&M switch assembly.
| Brand | Toptech |
|---|---|
| Model | MultiLoad II DIV-2 |
| Category | Controller |
| Language | English |