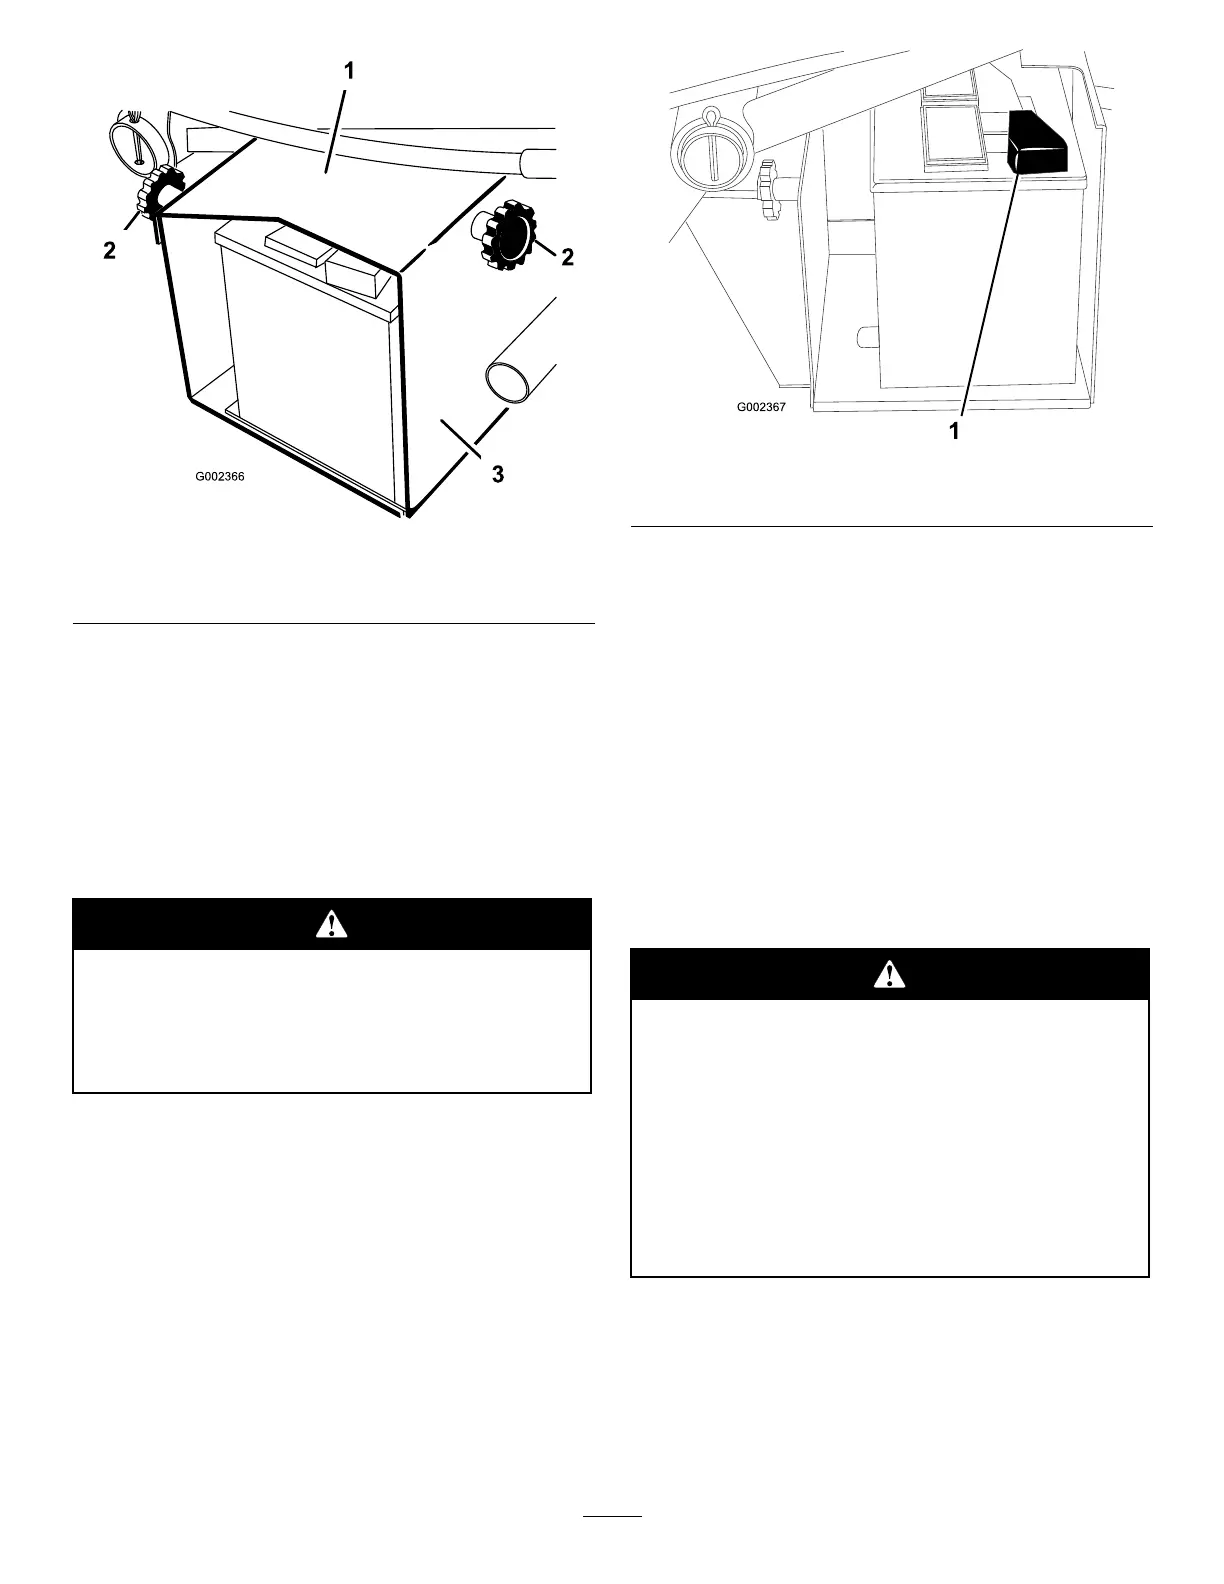
Figure9
1.Batterycover3.Batterybase
2.Knob
2.Removebolt,washersandlocknutsecuringbattery
holddowntobatterybase.Removeholddownand
slidebatteryoutofbatterybase.
3.Removellercapsfrombatteryandslowlylleach
celluntilelectrolyteisjustabovetheplates.
4.Replacellercapsandconnecta3to4ampbattery
chargertothebatteryposts.Chargethebatteryata
rateof3to4amperesfor4to8hours.
Chargingthebatteryproducesgassesthatcan
explode.
Neversmokenearthebatteryandkeepsparks
andamesawayfrombattery.
5.Whenbatteryischarged,disconnectchargerfrom
electricaloutletandbatteryposts.
Figure10
1.Positive(+)cable
6.Removellercaps.Slowlyaddelectrolytetoeach
celluntillevelisuptollring.Installllercaps.
Important:Donotoverllbattery.Electrolyte
willoverowontootherpartsofthevehicleand
severecorrosionanddeteriorationwillresult.
7.Slidebatteryintobatterybasesobatteryterminals
aretowardtherearofthevehicle.
8.Installthepositivecable(red)tothepositive(+)
terminalandthenegativecable(black)tothe
negative(—)terminalofthebatteryandsecure
withboltsandnuts.Slidetherubberbootoverthe
positiveterminaltopreventpossibleshort–outfrom
occurring.
Incorrectbatterycableroutingcoulddamage
themachineandcablescausingsparks.Sparks
cancausethebatterygassestoexplode,
resultinginpersonalinjury.
•Alwaysdisconnectthenegative(black)
batterycablebeforedisconnectingthe
positive(red)cable.
•Alwaysconnectthepositive(red)battery
cable
9.Installbatteryholddownandsecuretobasewith
bolt,washersandlocknut.
10.Reinstallbatterycovertobatterybaseandtighten
knobs.
17