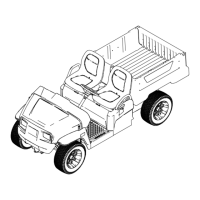
Drive System
Maintenance
Maintaining the T ires
Service Interval : Every 100 hours —Check the
condition of the tires and rims.
Every 100 hours —T orque the wheel-lug nuts.
1. Inspect the tires and rims for signs of wear and
damage.
Note: Operating accidents, such as hitting
curbs, can damage a tire or rim and also disrupt
wheel alignment, so inspect tire condition after
an accident.
2. T orque the wheel lug nuts to 108 to 122 N∙m (80
to 90 ft-lb).
Inspecting the Steering and
Suspension Components
Service Interval : Every 100 hours —Inspect the
steering and suspension for loose
or damaged components.
With the steering wheel at the centered position
( Figure 49 ), turn the steering wheel to the left or right.
If you turn the steering wheel more than 13 mm (1/2
inch) to the left or right, and the tires do not turn, check
the following steering and suspension components to
ensure that they are not loose or damaged:
• Steering shaft to the steering-rack assembly joint
Important: Inspect the condition and security
of the pinion-shaft seal ( Figure 50 ).
• Steering-rack assembly tie rods
g415333
Figure 49
1. Steering wheel at the
centered position
2. 13 mm (1/2 inch) from
the center of the steering
wheel
g313576
Figure 50
1. Pinion-shaft seal
Adjusting the Wheel
Alignment
Service Interval : Every 100 hours/Y early (whichever
comes rst) —Check the front wheel
camber and toe-in.
Preparing to Adjust Camber or
T oe-in
1. Check the tire pressure to ensure that the front
tires are inated to 138 kPa (20 psi).
2. Either add weight to the driver's seat equal to
the average operator who will run the machine,
or have an operator sit on the seat. The weight
or operator must remain on the seat for the
duration of the adjustment procedure.
42

 Loading...