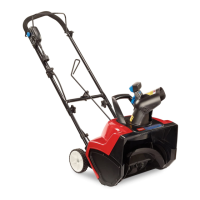
3.Threadaangenut(nottheangelocknut)withthe
angedownontothetractionrodattachedtothe
leftsideofthehandle(Figure4).
Figure4
1.Tractionrod3.Lowertractionrodloop
2.Flangenut4.Flangelocknut
4.Positiontheleftsideofthehandleagainstthesideof
thesnowthrowerandinserttheendofthetraction
rodthroughthelowertractionrodloopFigure4).
5.Aligntheholesintheleftsideofthehandlewith
theholesintheleftsideplate,andsecurethehandle
with2capscrewsandBellevillewashersuntilthey
arengertight(Figure3).
Note:TheconcavesideoftheBellevillewasher
goesagainsttheoutsideofthehandle.
6.Aligntheholesintherightsideofthehandlewith
theholesintherightsideplate,andsecurethe
handlewith2capscrewsandBellevillewashersuntil
theyarengertight.
7.Ensurethatthehandlesareatthesameheight,then
tightenthehandlefastenerssecurely.
8.Slidethewheelsoutwardandinserteachaxlepin
throughtheholeineachwheelhubandthroughthe
outerholeoftheaxle(Figure5).
Figure5
1.Axlepin2.Holeinwheelhuband
outeraxleholealigned
Note:Ifyouinstalltirechains(optional),youmust
installtheaxlepinsthroughtheouteraxleholes.
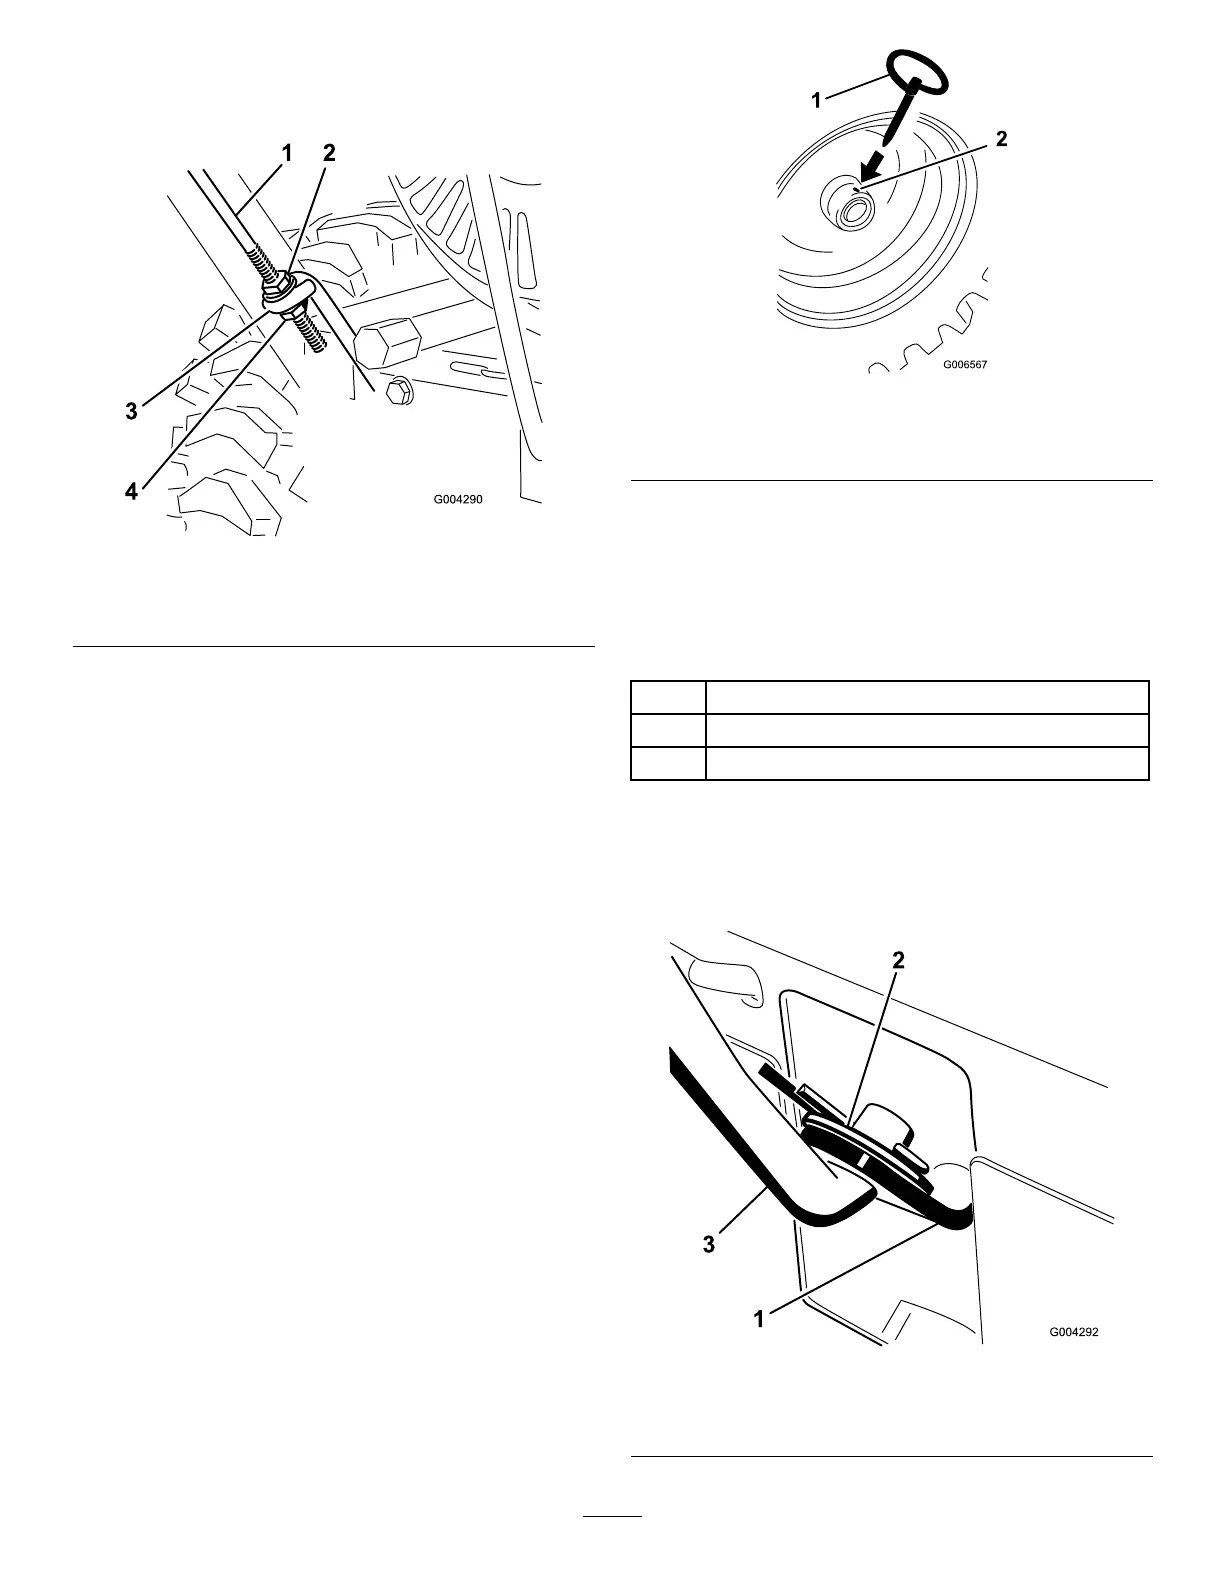
2.InstallingtheSpeedSelector
Rod
1
Speedselectorrod
1
Cotterpin
1Flatwasher
Procedure
1.Pullthespeedselectorarm(Figure6)tothemost
outwardposition.
Figure6
1.Speedselectorarm3.Speedselectorrod
2.Flatwasherandcotterpin
8