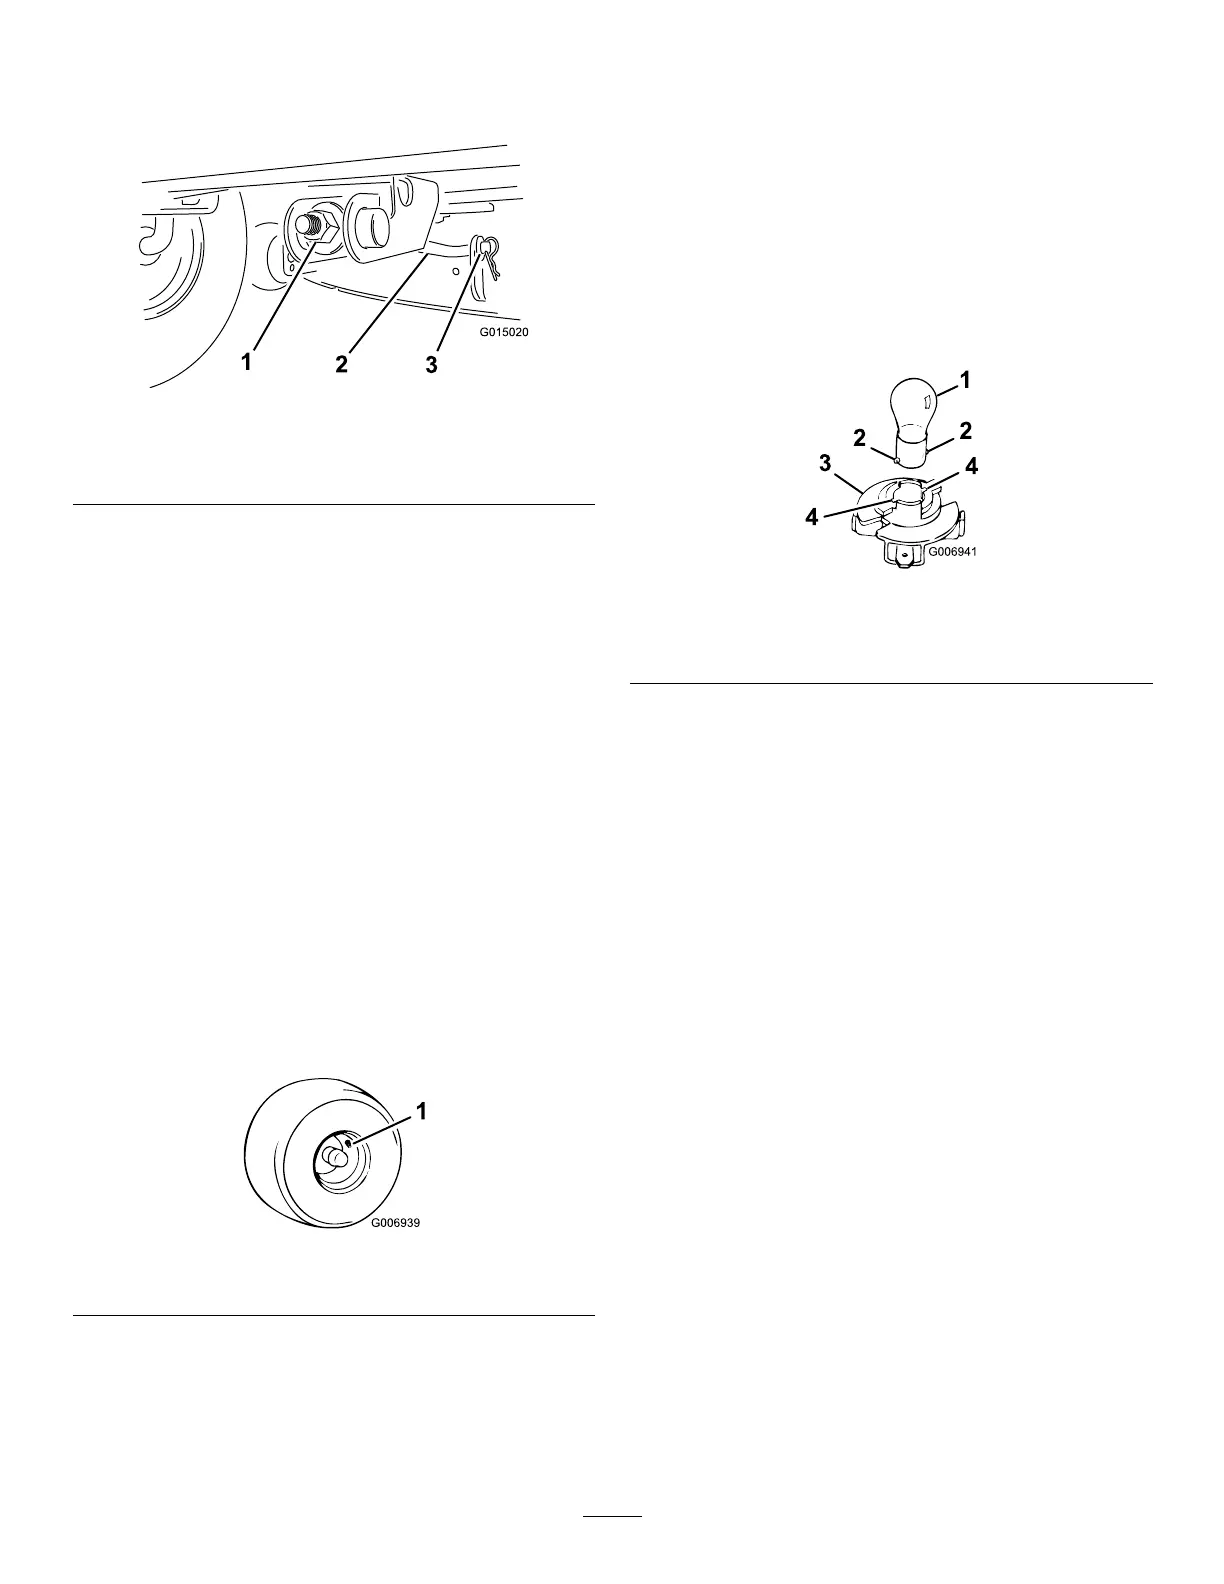
Note:Raisethefrontofthemowerbytightening
theadjustmentnut;lowerthefrontofthemowerby
looseningthenut.
Figure39
1.Adjustmentnut3.Hairpincotterandwasher
2.Frontsupportrod
9.Afteradjustingthemower,checkthefront-to-rear
slopeagain.
Note:Continueadjustingthenutuntilthefront
bladetipis0to1/4inch(0to6mm)lowerthanthe
rearbladetip(Figure37).
10.Whenthefront-to-rearbladeslopeiscorrect,check
theside-to-sidelevelofthemoweragain;referto
LevelingtheMowerfromSide-to-Side.
11.Tightenthejamnut.
CheckingtheTirePressure
ServiceInterval:Every25hours
Maintaintheairpressureinthefrontandreartiresat
14psi(97kPa).Checkthepressureatthevalvestem
(
Figure40)afterevery25operatinghoursoryearly,
whicheveroccursrst.Checkthetireswhentheyare
coldtogetthemostaccuratepressurereading.
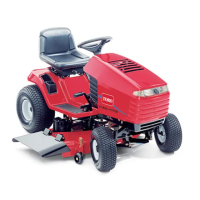
Figure40
1.Valvestem
ServicingtheHeadlights
Theheadlightsusean1156,automotive-typebulb.
RemovingtheBulb
1.Openthehood.
2.Disconnectthewireconnectorsfrombothofthe
bulbholderterminals.
3.Rotatethebulbholder1/4turnclockwiseand
removeitfromthereector(
Figure41).
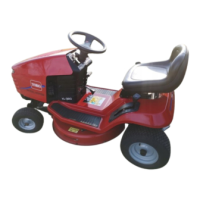
Figure41
1.Bulb3.Bulbholder
2.Metalpins
4.Slots
4.Insertandrotatethebulbcounterclockwiseuntilit
stops(approx.1/4turn),andremovethebulbfrom
thebulbholder(
Figure41).
InstallingtheBulb
1.Alignthemetalpinsonthesideofthebulbbase
withtheslotsinthebulbholder.
2.Insertthebaseintotheholder(
Figure41).
3.Pushandrotatethebulbclockwiseuntilitstops.
4.Alignthetabsonthebulbholderwiththeslotsin
thereector,insertthebulbholderintothereector,
androtateit1/4turnclockwiseuntilitstops.
5.Connectthewireconnectorstotheterminalsonthe
bulbholder.
30