5.Slidetheredterminalbootoffthepositive(red)
batteryterminalandremovethepositive(+)(red)
batterycable(Figure45).
6.Removetheclamp(Figure45).
7.Removethebattery.
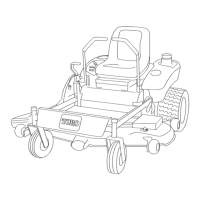
InstallingtheBattery
1.Positionbatteryinthetraywiththeterminalposts
oppositefromthehydraulictank(Figure45).
2.First,installthepositive(red)batterycableto
positive(+)batteryterminal.
3.Slidetheredterminalbootontothepositive(red)
batterypost.
4.Theninstallthenegativebatterycableandground
wiretothenegative(-)batteryterminal.
5.Securethecableswith2bolts,2washers,and
2locknuts(Figure45).
6.Installtheclampandsecureitwiththewingnut
(Figure45).
ChargingtheBattery
Chargingthebatteryproducesgassesthatcan
explode.
Neversmokenearthebatteryandkeepsparks
andamesawayfrombattery.
Important:Alwayskeepthebatteryfullycharged.
Thisisespeciallyimportanttopreventbattery
damagewhenthetemperatureisbelow32°F(0°C).
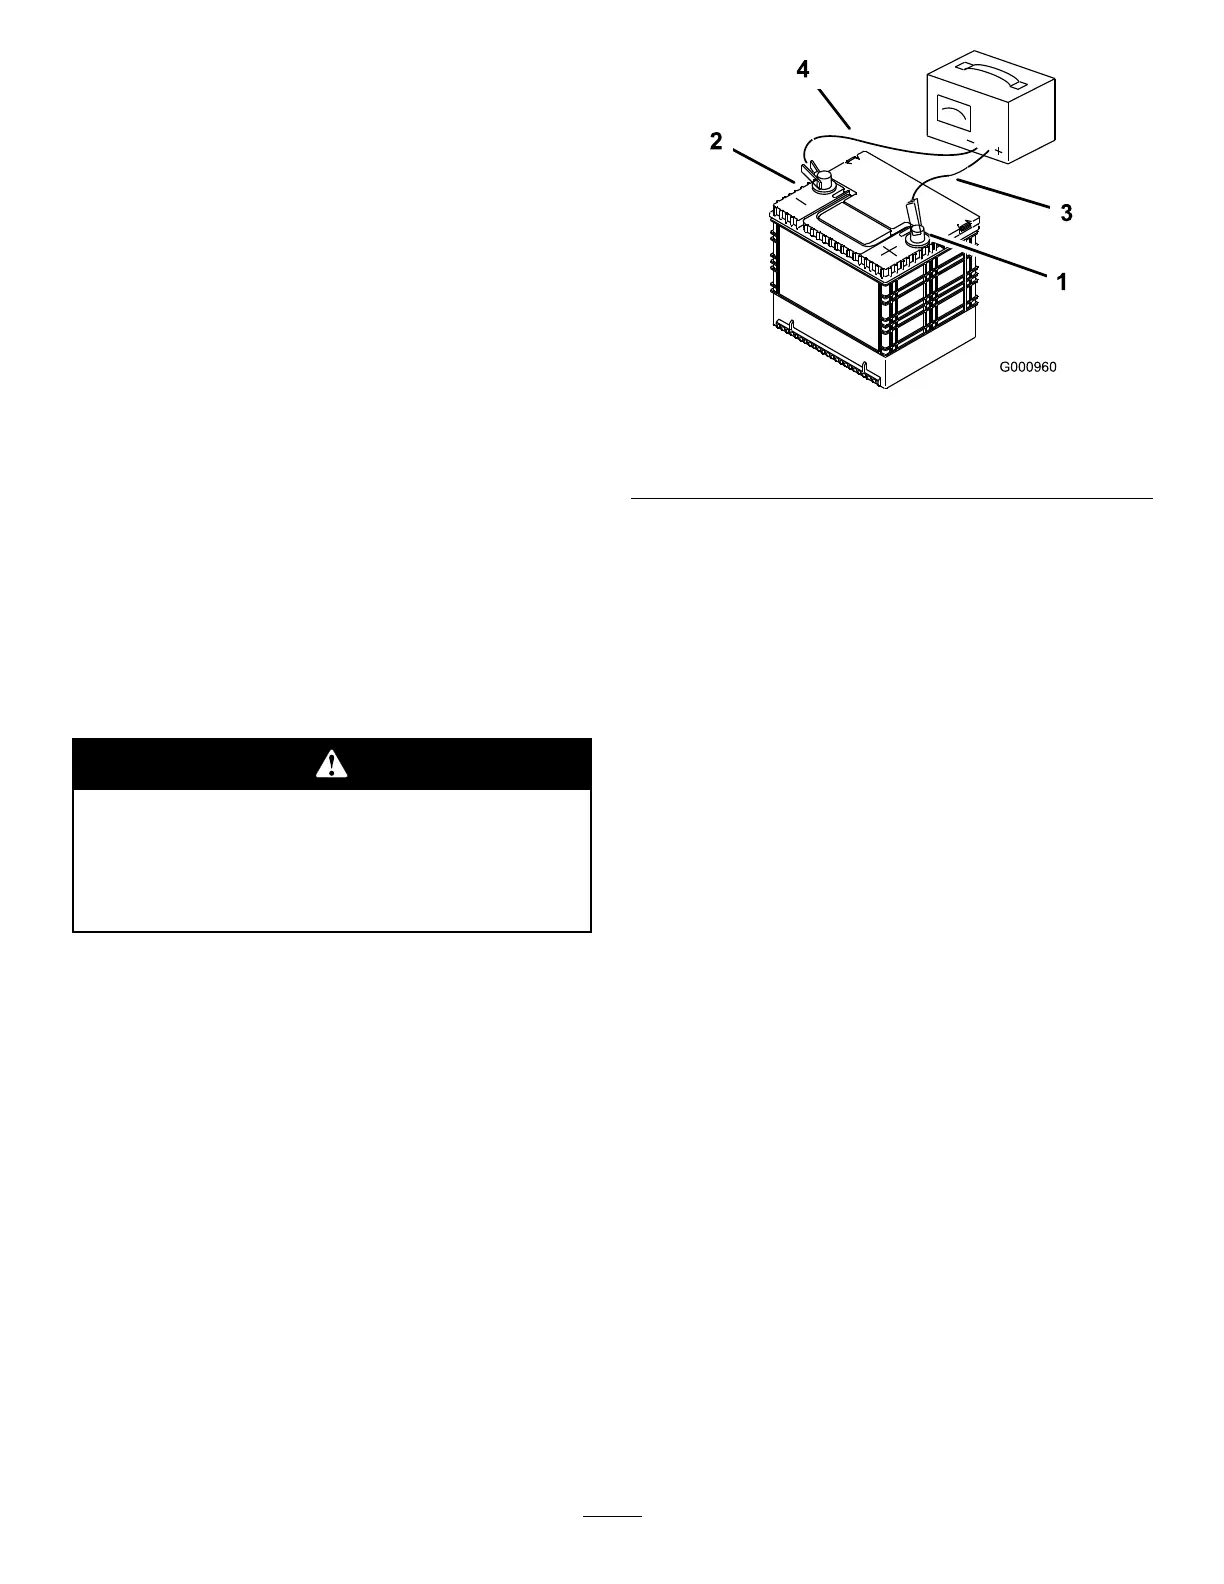
1.Chargebatteryfor10to15minutesat25to30amps
or30minutesat10amps.
2.Whenthebatteryisfullycharged,unplugthecharger
fromtheelectricaloutlet,thendisconnectthe
chargerleadsfromthebatteryposts(Figure46).
3.Installthebatteryinthemachineandconnectthe
batterycables,refertoInstallingtheBattery.
Note:Donotrunthemachinewiththebattery
disconnected,electricaldamagemayoccur.
Figure46
1.PositiveBatteryPost
3.Red(+)ChargerLead
2.NegativeBatteryPost
4.Black(-)ChargerLead
ServicingtheFuses
Theelectricalsystemisprotectedbyfuses.Itrequires
nomaintenance,however,ifafuseblowscheckthe
component/circuitforamalfunctionorshort.
Fuses:
•Main,30amp,blade-type
•Engine,20amp,blade-type
1.Thefusesarelocatedonrighthandconsolenextto
theseat(Figure47).
2.Toreplacethefuses,pulloutonthefusetoremove
it.
3.Installanewfuse(Figure47).
37