8.Removethebeltfromthemowerdeckpulleysand
removetheexistingbelt.
9.Installthenewbeltaroundthemowerpulleysand
theclutchpulleyundertheengine(Figure66).
Thespringisundertensionwheninstalledand
cancausepersonalinjury.
Becarefulwhenremovingthebelt.
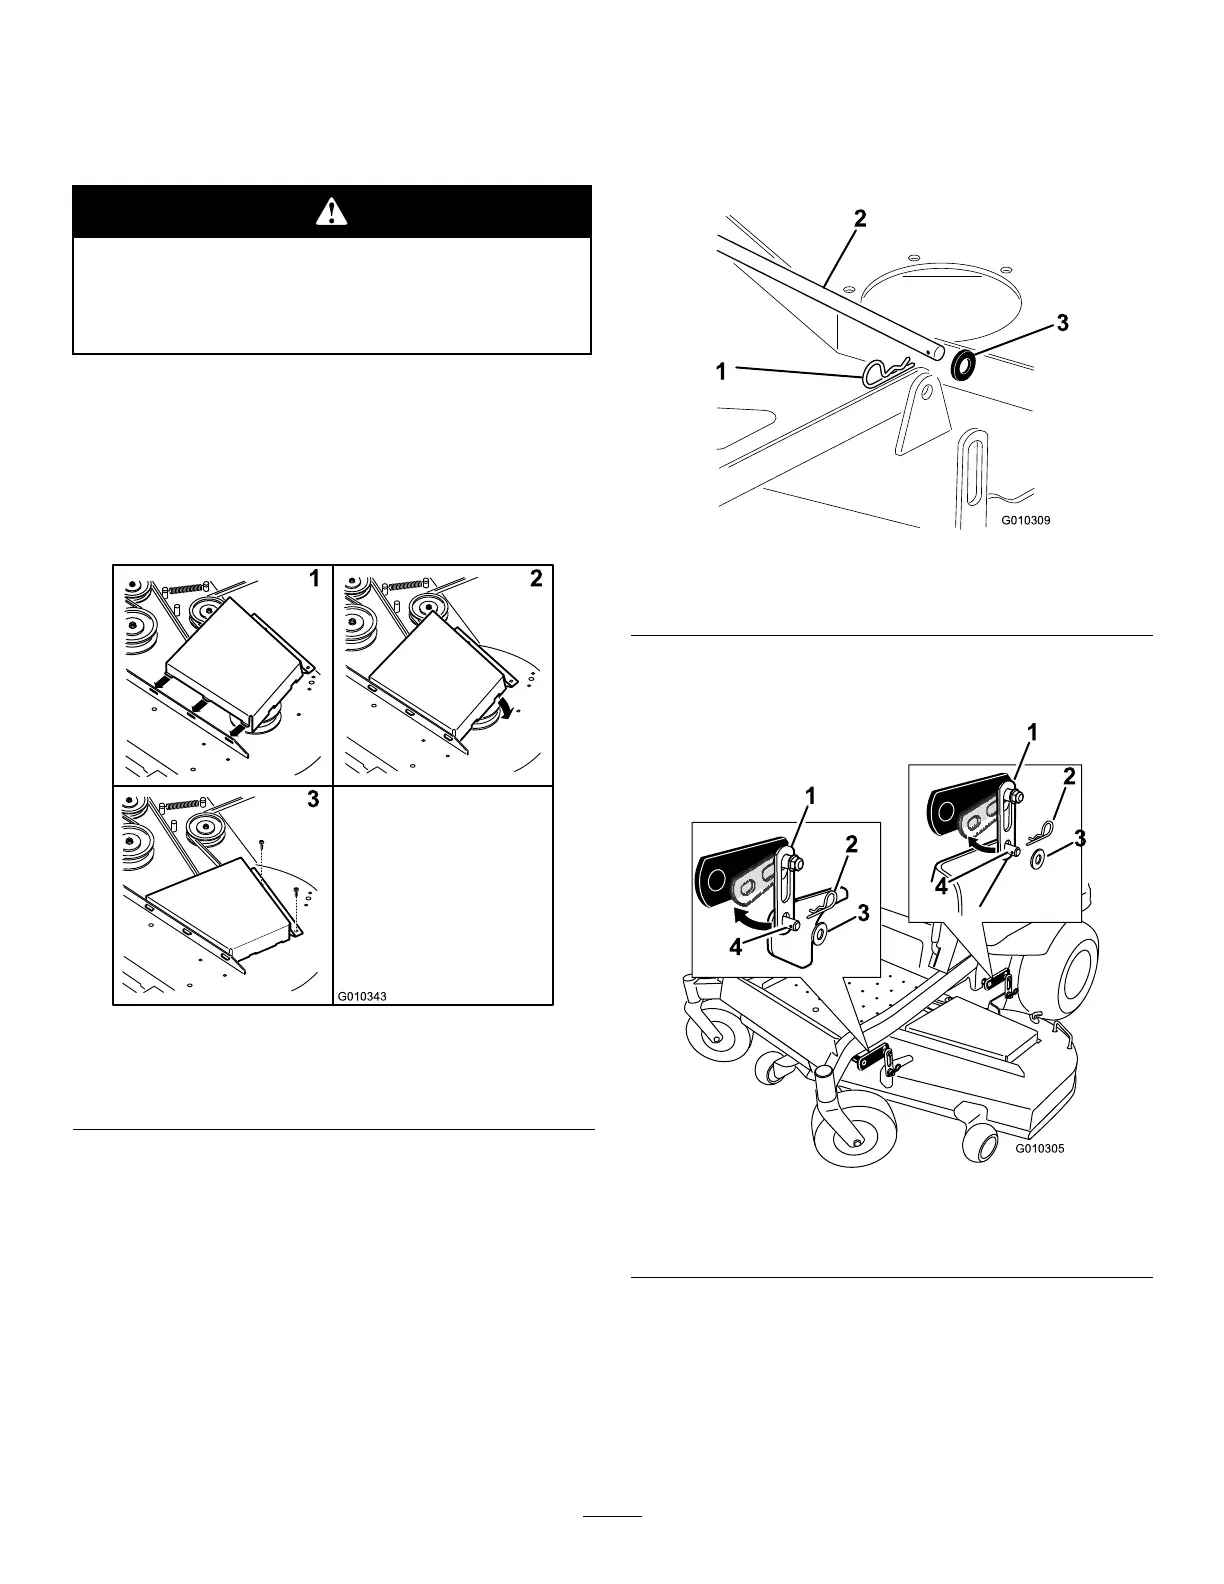
10.Usingaspringremovaltool,(Toropartno.92-5771),
installtheidlerspringoverthedeckpostand
placingtensionontheidlerpulleyandmowerbelt
(Figure66).
11.Ensurethatthebeltisproperlyseatedinallpulleys.
12.Installthebeltcovers(Figure67).
Figure67
1.Positionthebeltcover,
ensurethetabsseat
3.Installthescrews
2.Pivotthebeltcoverdown
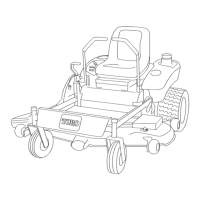
RemovingtheMower
Parkthemachineonalevelsurfaceanddisengagethe
bladecontrolswitch.Movethemotioncontrollevers
outwardtotheneutralposition,engageparkingbrake,
stoptheengine,removethekey,andwaitforallmoving
partstostopbeforeleavingtheoperatingposition.
Lowerthemowertothe3inch(76mm)height-of-cut
position.Removethemowerbeltfromtheengine
pulley;refertotheReplacingtheMowerBeltprocedure.
Lowerthemowertothelowestheight-of-cut.Selectone
ofthefollowingproceduresdependingonthemower
decksizeinstalledtocompletetheremoval.
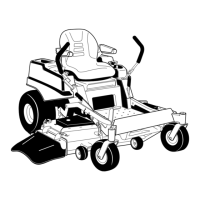
1.Removethehairpincotterandwashersecuringthe
long,linkbartotheframeanddeck;removethelink
bar(Figure68).
Figure68
1.Hairpincotter3.Linkbar
2.Washer
2.Removethehardwarefromthefrontandreardeck
hangersonbothsidesofthedeck(Figure69).
Figure69
1.Deckhanger3.Washer
2.Hairpincotter4.Weldedpostondeck
3.Raisetheheight-of-cuttothetransportposition
4.Slidethemoweroutfromunderneaththemachine.
Note:Retainallpartsforfutureinstallation.
46