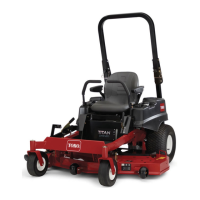
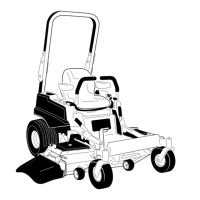
Convertingthe54-InchMower
toSideDischarge
Installthefastenersintothesameholesinthedeckasthey
wereoriginallyremovedfrom.Thisensuresthatnoholesare
leftopenwhenthedeckisoperated.
DANGER
Openholesinthemowerexposeyouandothersto
throwndebris.Debristhrownoutofholesinthe
mowercancauseinjury.
•Neveroperatethemowerwithouthardware
mountedinallholesinthemower.
•Installhardwareinmountingholeswhenthe
bafeisremoved.
RemovingtheMulchingBafe
1.Parkthemachineonalevelsurfaceanddisengagethe
blade-controlswitch.
2.Movethemotion-controlleversoutwardtothe
NEUTRAL-LOCKposition,settheparkingbrake,shut
offtheengine,removethekey,andwaitforallmoving
partstostopbeforeleavingtheoperatingposition.
3.Removethemower;refertoRemovingtheMower
(page48).
4.Turnthemowerupsidedown.
5.Removethe3locknuts(5/16inch)securedtothe
weldedpostsoftheleftbafeonthetopofthemower
deckatthecenter,leftofcenterandleftpositions
(Figure32).
Figure32
1.Locknut(5/16inch)3.Leftbafe
2.Carriagebolt(5/16x3/4
inch)
4.Installfastenershere
6.Removethecarriageboltandlocknutonthesidewall
ofthemowerdecksecuringtheleftbafetothedeck
(Figure32).
7.Removetheleftbafefromthemowerdeck(Figure
32).
8.Locatethe2boltsinloosepartsandusetheexisting
locknutsandinstallthesefastenersintotheholes
showninFigure32onthemowerdecktoprevent
yingdebris.
Note:Installtheboltup,throughtheundersideof
thedeckanduseanexistinglocknuttosecurefrom
thetopside.
WARNING
Openholesinthemowerexposeyouand
otherstothrowndebriswhichcancause
severeinjury.
•Neveroperatethemowerwithouthardware
mountedinallholesinthemowerhousing.
•Installthehardwareinthemountingholes
whenyouremovethemulchingbafe.
9.Removethecarriagebolt(5/16x3/4inch)andlocknut
(5/16inch)ontherearwallofthemowerdecksecuring
thebafetothedeck(Figure33).
Figure33
1.Carriagebolt(5/16x3/4
inch)
5.Hex-headbolt,forward
holeindeck(reinstallafter
bafeisremoved)
2.Locknut,frontofdischarge
plate(reinstallafterbafe
isremoved)
6.Carriagebolts,frontof
dischargeplate(reinstall
afterbafeisremoved)
3.Locknut,forwardholein
deck(reinstallafterbafe
isremoved)
7.Locknut(5/16inch)
4.Bafeguard,54inch
decks
10.Locatethebafeguardatthefrontedgeoftheside
dischargeopening(Figure33).
11.Removethefastenerssecuringthebafeguardandthe
rightbafetothemowerdeck(Figure33).
Note:Removethebafeguardandretainallfasteners.
27

 Loading...
