23
EN
Introduction Connections Basic Setup Playback
Editing
VCR Functions Others
Function Setup
Recording
Initial Setting
When you turn on this unit for the first time, you need
to follow these steps.
1 Press [ ON / STANDBY].
2 Turn the TV on. Select the input to
which the unit is connected.
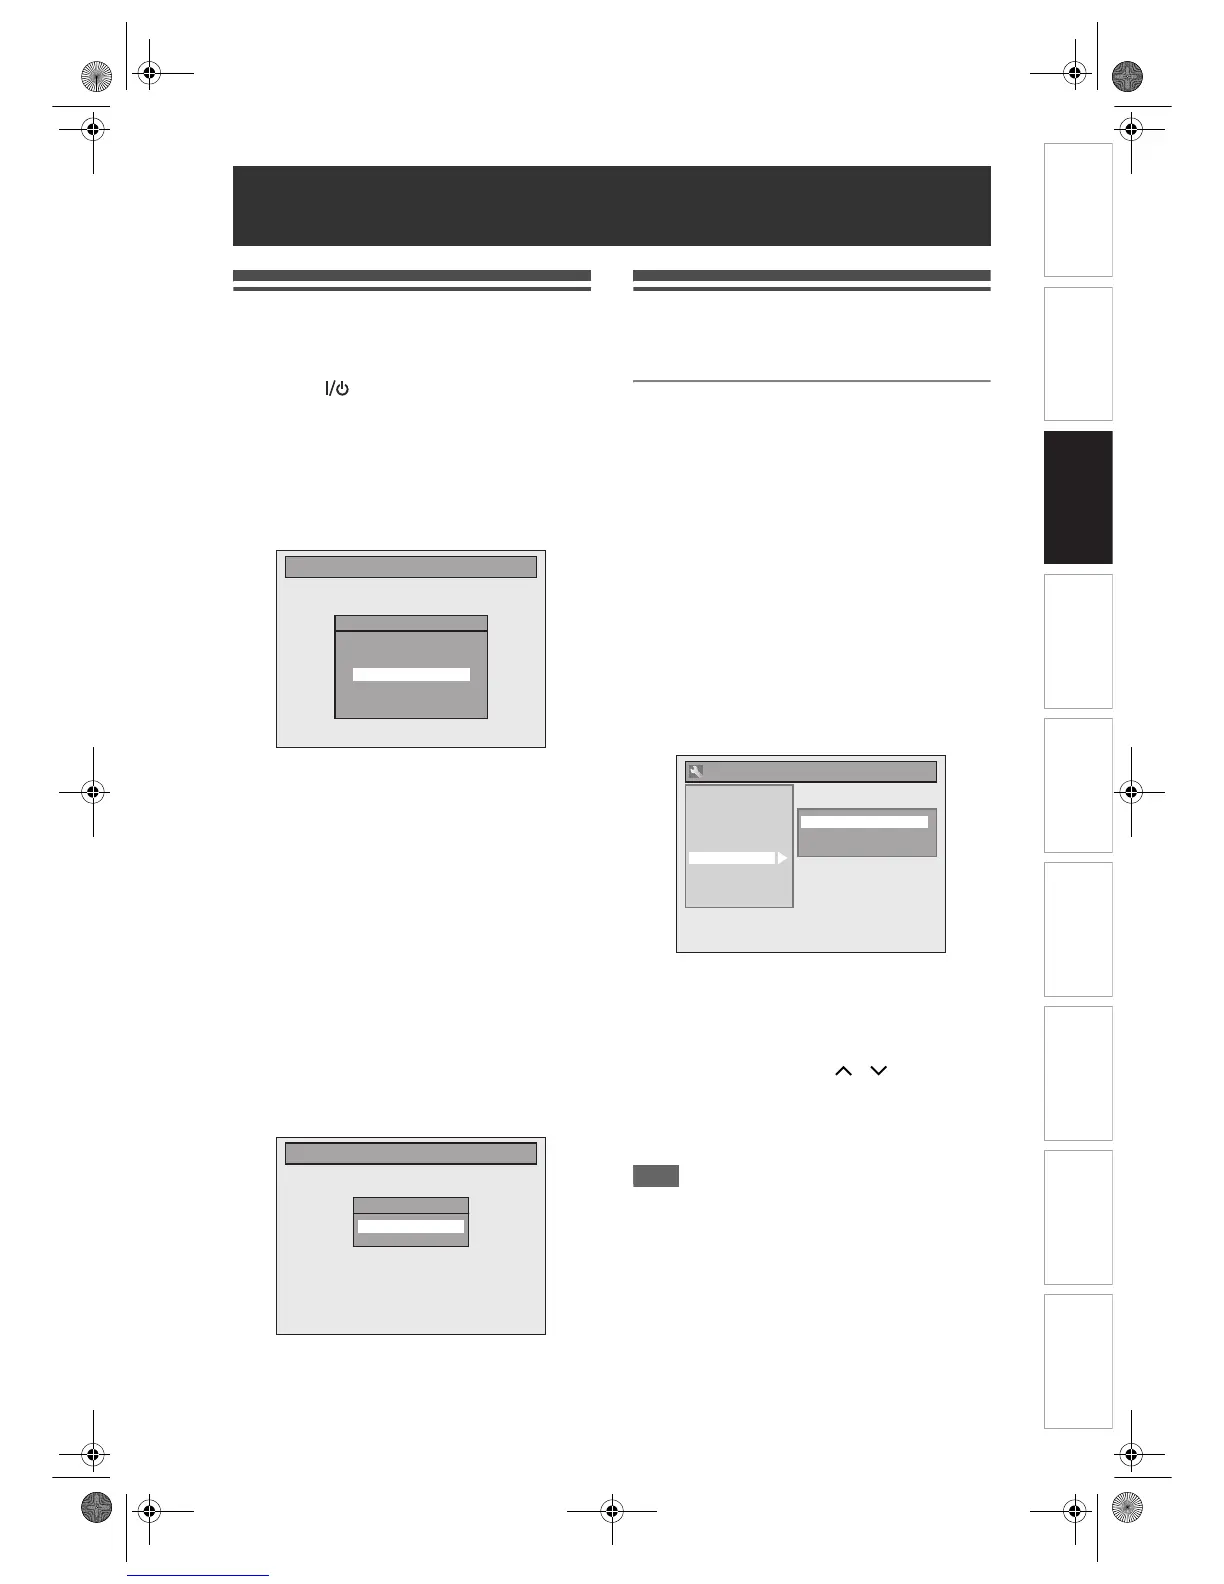
3 Select your desired channel preset
type using [U / D]. Then press
[ENTER / OK].
The unit will start getting channels available in
your area.
Digital tuning:
Only the DVB channels receivable in your area are
automatically scanned and memorised.
Digital & Analog tuning:
Both analogue and DVB channels receivable in your
area are scanned and memorised automatically.
Analog tuning:
Only the analogue channels receivable in your area
are automatically scanned and memorised.
• If no channel has been memorised, the antenna
confirmation display will appear. Press
[ENTER / OK] to start auto scanning again or press
[RETURN / BACK] to cancel the initial setting.
4 After finishing channel setting,
“Clock Setting” will appear. Then
press [ENTER / OK].
5 Follow to the step 5 on page 33 in
“Manual Clock Setting”.
Channel Setting
You can retune this unit or edit the channel setting by
the following methods.
Auto Tuning (DVB & ANALOG)
Programme the tuner to scan both analogue and DVB
channels you can receive in your area.
1 In stop mode, press [SETUP]. Select
“General Setting” using [U / D],
then press [ENTER / OK].
“General Setting” menu will appear.
2 Select “Channel” using [U / D], then
press [ENTER / OK].
3 Select “Auto Tuning (DVB &
ANALOG)” using [U / D], then press
[ENTER / OK].
The unit will start storing channels available in
your area.
Wait for several minutes to finish channel storing.
• Analogue channels will be stored in channel
901-999 after it is scanned by this unit.
4 Press [SETUP] to exit.
You can select only the channels memorised in
this unit by using [PROG. / ].
To cancel auto tuning
Press [RETURN / BACK] or [SETUP] during
scanning.
Note
• The selection will be affected by how you receive TV
channels in your local area.
• If the auto tuning is cancelled during scanning,
some channels not yet tuned may not be received.
• You cannot change the channel when this unit is in
any recording mode (normal recording, One-touch
Timer Recording or timer recording).
Basic Setup
Initial Setting
Auto Tuning
Make sure the antenna is
connected to “ANTENNA IN” jack.
Digital tuning
Digital & Analog tuning
Analog tuning
Initial Setting
Clock Setting
- - / - - / - - - - ( - - - )
- - : - -
General Setting
Playback
Display
Video
Recording
Clock
Channel
DivX
HDMI
Reset All
Auto Tuning (DVB & ANALOG)
DVB Channel Setup
ANALOG Channel Setup
E9NG1BD_EN.book Page 23 Monday, April 7, 2008 5:54 PM
 Loading...