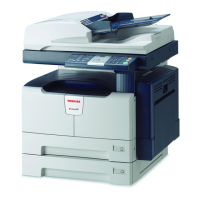
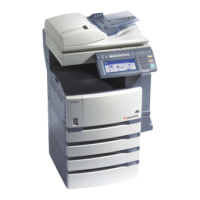
Description of Each Component
7
Left / Inner side
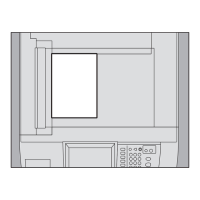
1. Scanning area
The data of originals transported from the Reversing
Automatic Document Feeder are scanned here.
& P.40 “Regular Cleaning” in this manual
2. Platen sheet
Use this to hold the original on the original glass to scan it.
& P.40 “Regular Cleaning” in this manual
3. Original scale
Use this to check the size of an original placed on the
original glass.
4. Original glass
Use this to copy three-dimensional originals, book-type
originals and special paper such as OHP lm or tracing
paper, as well as plain paper.
5. Bridge unit
Open it when paper jams occur.
6. Toner cartridge
When toner runs out, the message appears on the touch
panel. Replace the cartridge following the procedure
below.
& P.36 “Replacing Toner Cartridge” in this manual
7. USB port
Use this port when printing les stored in a USB device or
storing scanned data into the USB device.
8. Waste toner box
When “Dispose of used toner” appears on the touch panel,
replace the waste toner box according to the following
procedures.
& P.37 “Replacing Waste Toner Box” in this manual
9. Receiving tray
Printed paper exits into this tray. The loading capacity is
approx. 100 sheets (80g/m
2
or 20 lb. Bond). This may vary
depending on the paper conditions such as the degree of
paper curling.
10. Control panel arm
Use this to adjust the height of the control panel.
& P.9 “Adjustment of the height and angle of the control
panel” in this manual
11. Touch panel
Use this to set and operate various types of functions such
as copying, scanning and fax. This also displays messages,
such as when paper runs out or paper jams occur.
& P.10 “Touch panel” in this manual
12. Control panel
Use this to set and operate various types of functions such
as copying and fax.
& P.8 “Control panel” in this manual
12
11
10
5
4
3
1
2
9
8
7
6
Yellow MagentaCyan Black

 Loading...


