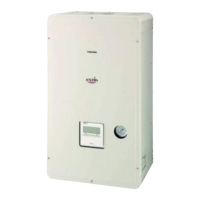
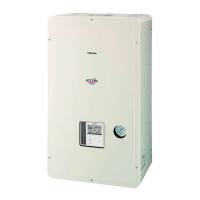
Press the TIME ▼▲buttons to set 07:00 on the time display of the RC
Press the ZONE1, 2 button to set the space heating function ON > check that a
numerical temperature is displayed on the RC for the zone 1 function
Press the OPERATING MODE button > check that the heating mode symbol is
displayed on the RC
Press the TEMPERATURE ▼▲ buttons to set the 50°C zone 1 set point
Press the SET button
Press the STEP button > check STEP 4 is displayed on the RC
Press the SET button
Press the TIME ▼▲buttons to set 10:00 on the time display of the RC
Press the ZONE1, 2 button to set the space heating function OFF > check that the
RC display changes to - - - - for zone 1
Press the SET button
4. Copy the data, shown above, for use on other days of the week:
Press the STEP button until STEP C is displayed on the RC
Press the SET button
5. Paste the copied timer schedule into the other days of the week
Press the DAY button until the ▼symbol is displayed above all day’s of the week
(timer schedule to run on all days of the week)
Press the SET button
Repeat the above steps for all the days of the week
6. Exit schedule timer function
Press the SCHEDULE button > check that the RC display changes back to the main
screen and that CLOCK icon, on the RC display is flashing
Press the SET button > check that the CLOCK icon changes from flashing to
continuously lit.
The timer schedule is now set
 Loading...
