35
Chapter 7
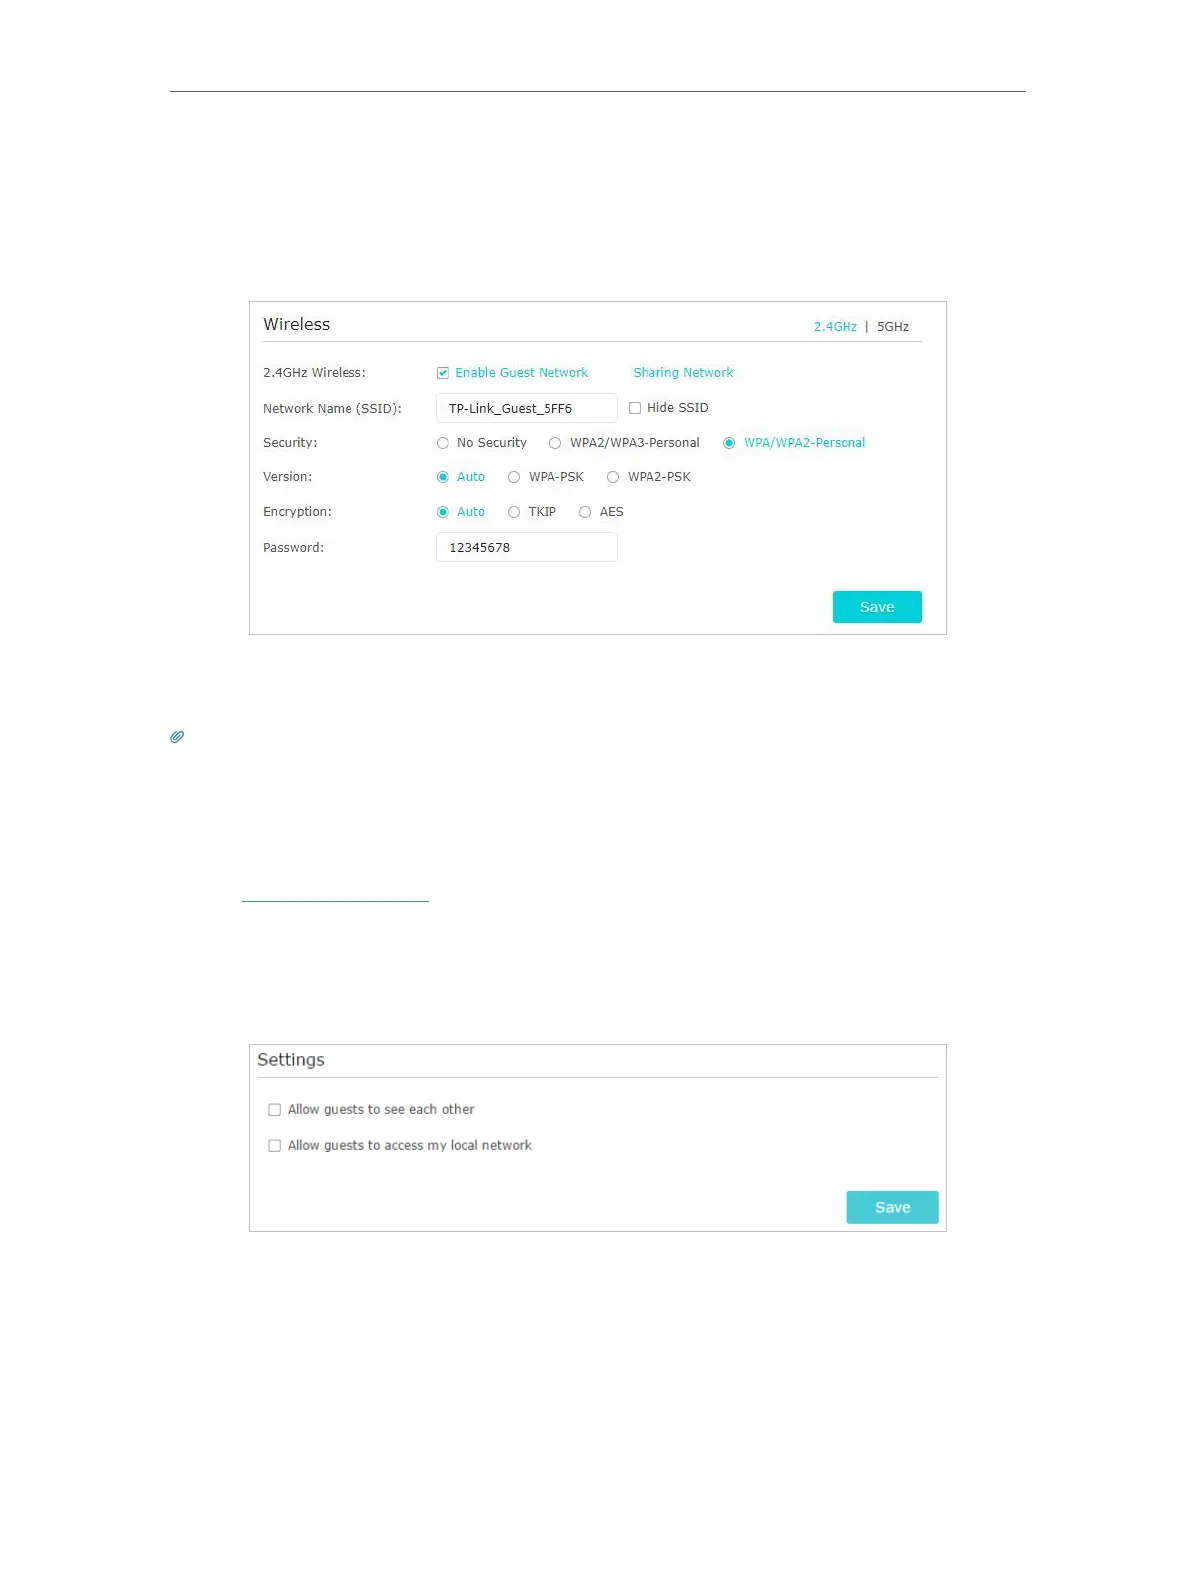
Guest Network
2 ) Set a password for the guest network.
• WPA/WPA2 Personal - Select this option to enable the standard authentication
method. If this selected, keep the Version and Encryption as default values and set a
password for the wireless network.
7. Click Save. Now your guests can access your guest network using the SSID and
password you set!
Tips:
To view guest network information, go to Advanced > Status and locate the Guest Network section.
7. 2. Customize Guest Network Options
1. Visit http://tplinkwifi.net, and log in with your TP-Link ID or the password you set for
the router.
2. Go to Advanced > Guest Network. Locate the Settings section.
3. Customize guest network options according to your needs.
• Allow guests to see each other
Tick this checkbox if you want to allow the wireless clients on your guest network
to communicate with each other via methods such as network neighbors and Ping.
• Allow guests to access my local network
Tick this checkbox if you want to allow the wireless clients on your guest network
to communicate with the devices connected to your router’s LAN ports or main
network via methods such as network neighbors and Ping.