129
Chapter 17
Manage the Router
3 ) Username: Enter the email address used for sending the system log.
4 ) Email Password: Enter the password to login the sender’s email address.
5 ) SMTP Server: Enter the SMTP server address.
Tips: SMTP server is available for users in most webmail systems. For example, the SMTP server address of
Hotmail is smtp-mail.outlook.com.
6 ) Email To: Enter the recipient’s email address, which can be the same as or
different from the sender’s email address.
7 ) Select Mail Log Automatically.
Tips: The router will send the system log to the designated email address if this option is enabled.
8 ) Frequency: This determines how often the recipient will receive the system log .
5. Click SAVE .
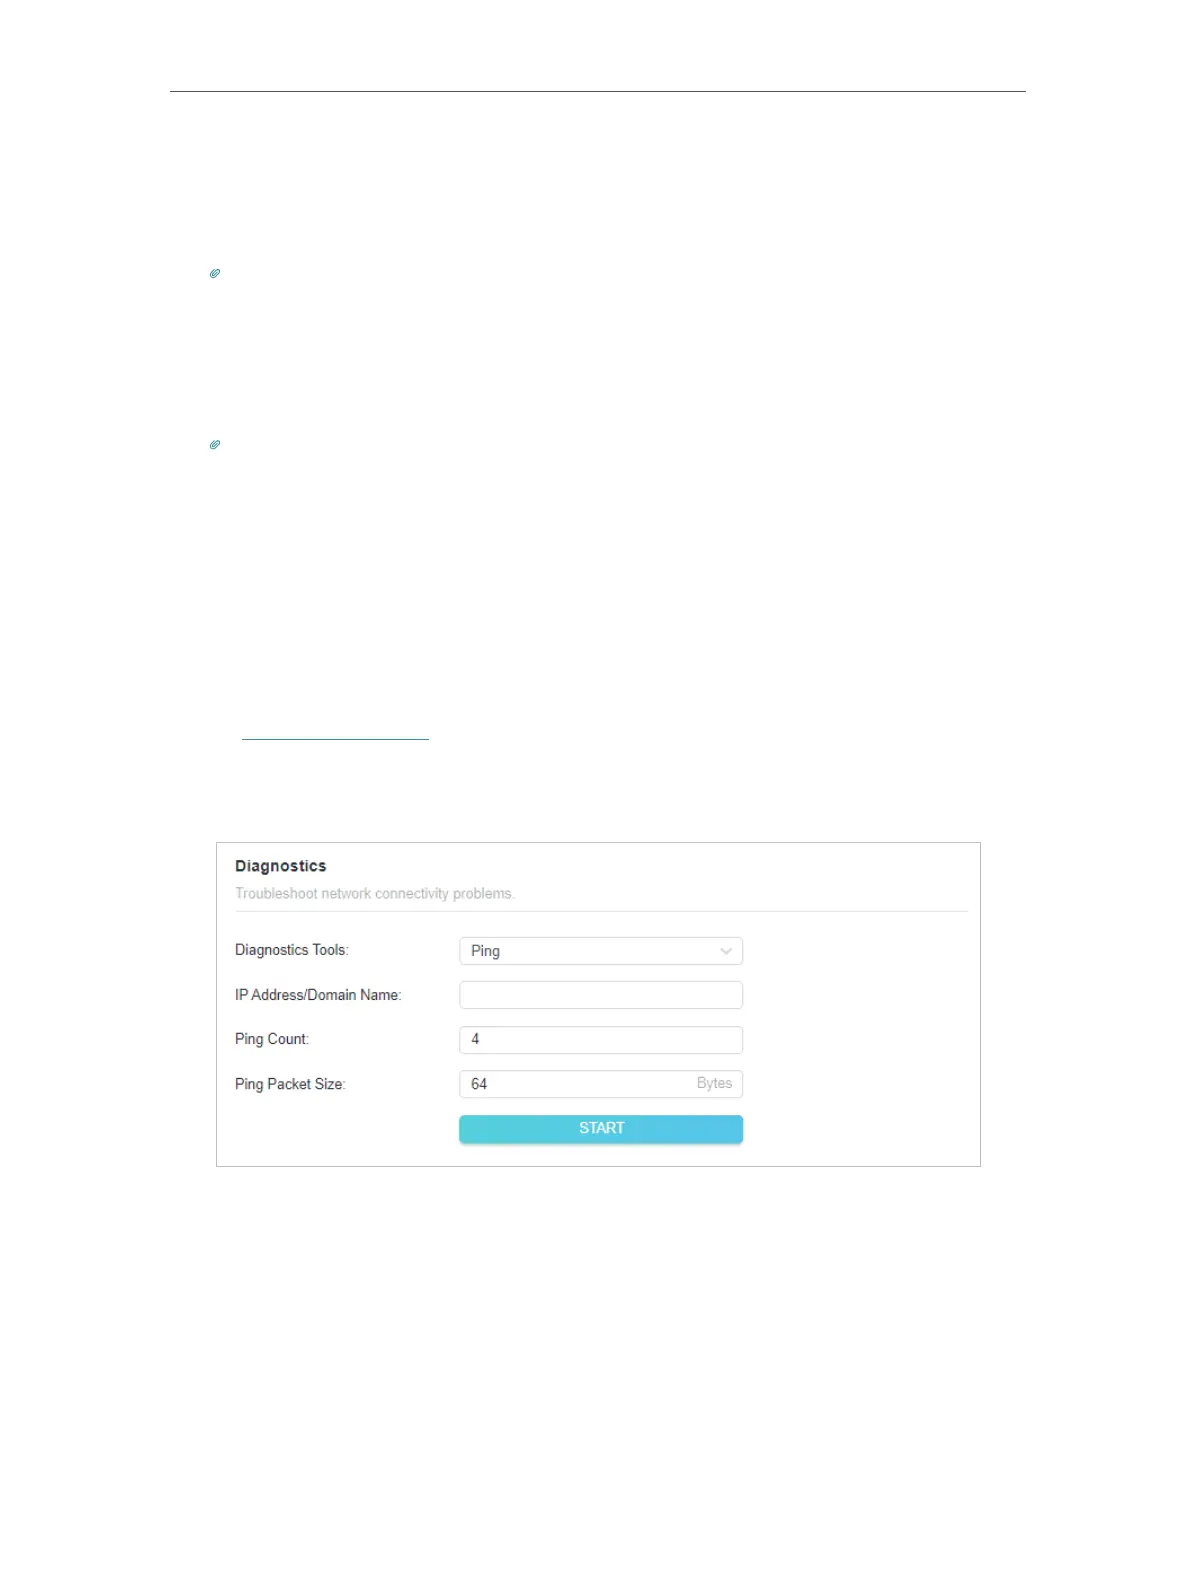
17. 8. Test the Network Connectivity
Diagnostics is used to test the connectivity between the router and the host or other
network devices.
1. Visit http://tplinkwifi.net, and log in with your TP-Link ID or the password you set for
the router.
2. Go to Advanced > System > Diagnostics.
3. Enter the information:
1 ) Choose Ping or Traceroute as the diagnostic tool to test the connectivity;
• Ping is used to test the connectivity between the router and the tested host,
and measure the round-trip time.
• Traceroute is used to display the route (path) your router has passed to reach
the tested host, and measure transit delays of packets across an Internet
Protocol network.
2 ) Enter the IP Address or Domain Name of the tested host.