Do you have a question about the TP-Link KS205 and is the answer not in the manual?
Turn off the circuit breaker, remove the old wallplate, and label the wires.
Disconnect wires from the old switch and connect them to the smart switch.
Line up the switch with mounting holes, secure it with screws, and attach the wallplate.
Identifies typical wire colors: Ground (green/copper), Neutral (white), Line/Load (black).
Get the Kasa Smart app from the App Store or Google Play.
Follow step-by-step app instructions to connect your smart switch to Wi-Fi.
Integrate the Matter-certified device into any Matter ecosystem for easy control.
Enable Bluetooth, use setup code or QR code, and follow app instructions.
Troubleshoot by connecting to 2.4 GHz Wi-Fi, restarting the device, or checking the FAQ.
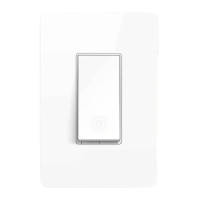
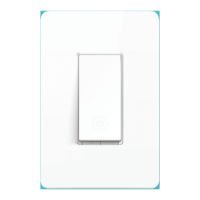
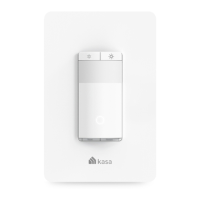
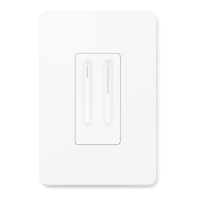
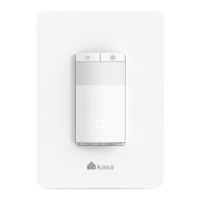
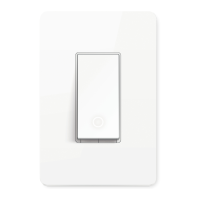
Details the physical appearance, On/Off button, Reset, and Restart buttons.
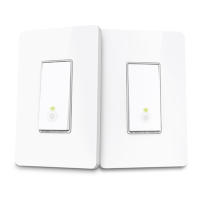
Explains the meaning of different LED states like solid amber, blinking green, etc.
Lists electrical ratings, operating temperature, mounting method, and other technical details.
Provides crucial safety information for installation and use, including high voltage warnings.
This document provides a quick start guide for the TP-Link Kasa Smart Wi-Fi Light Switch, including wiring instructions, setup procedures, device appearance, button explanations, LED status indicators, and technical specifications.
The Kasa Smart Wi-Fi Light Switch is a Matter-certified device designed to replace a standard wall switch, allowing for smart control of lighting fixtures. It enables users to turn lights on/off remotely via a smartphone app (Kasa Smart app or other Matter-supported smart home apps) and integrates into various Matter ecosystems for unified control. The switch supports both incandescent and motor loads within specified limits.
Installation involves replacing an existing wall switch.
The setup process involves two main steps: downloading the app and configuring the switch.
Download the Kasa Smart app from the App Store (for iOS devices) or Google Play (for Android devices).
This device is Matter-certified, allowing for integration into any Matter ecosystem.
https://www.tp-link.com/support/faq/3520/The Kasa Smart Wi-Fi Light Switch features a clean, minimalist design.
The device has two primary buttons for control and maintenance:
The LED provides visual feedback on the device's status:
For technical support, user guides, and other information, visit https://www.tp-link.com/support.