119
Chapter 6
Congure the Router in Access Point Mode
2. Enter the PIN of your device and click CONNECT. Then your device will get connected
to the router.
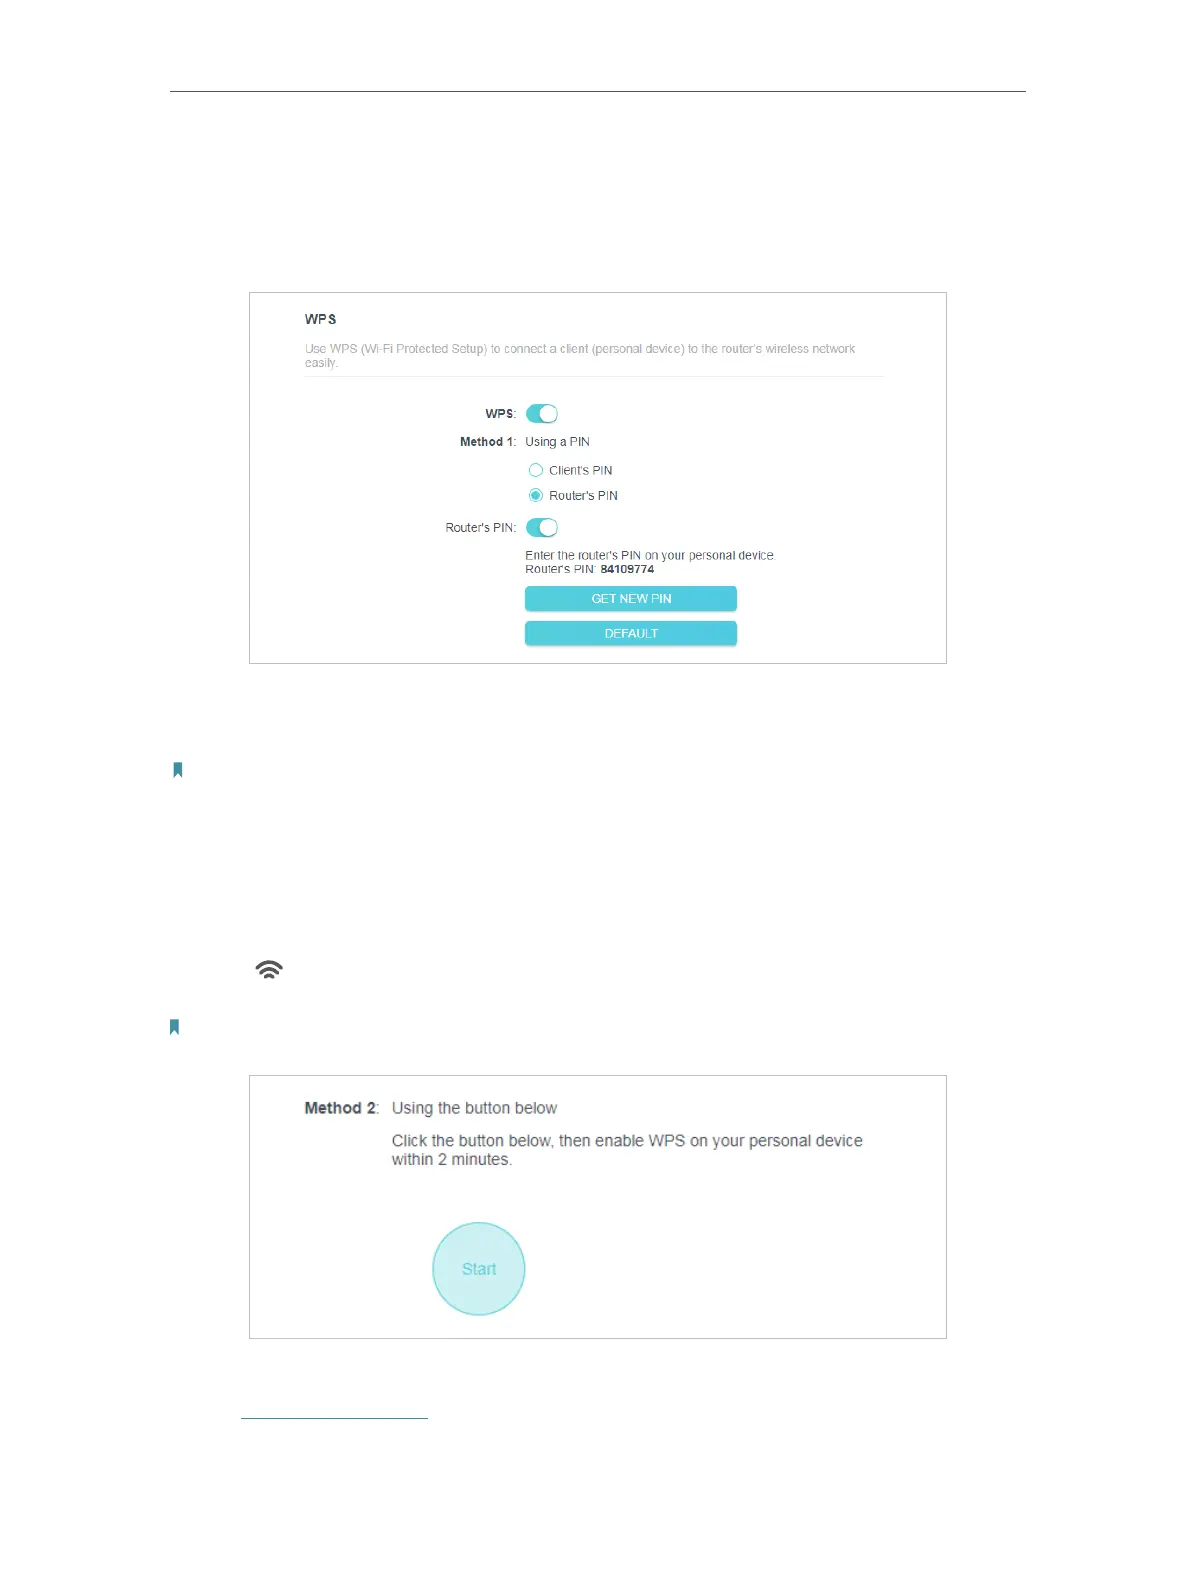
• Connects via the Router’s PIN
1. Keep the WPS Status as Enabled and select Router’s PIN.
2. Enter the PIN on your personal device. You can use the default PIN or generate a new
one.
Note:
PIN (Personal Identification Number) is an eight-character identification number preset to each router. WPS supported
devices can connect to your router with the PIN. The default PIN is printed on the label of your router.
Method TWO: Push the WPS Button
Click Start on the screen. Within two minutes, press the WPS button on your device.
A Device-(XX-XX-XX-XX-XX-XX) Connected message should appear on the screen
and the
LED should change from blinking to solid on, indicating successful WPS
connection.
Note:
XX-XX-XX-XX-XX-XX is the MAC address of your device.
6. 3. 5. Aditional Wireless Settings
1. Visit http://tplinkwifi.net, and log in with the password you set for the router.
2. Go to Advanced > Wireless > Additional Settings.
 Loading...