18
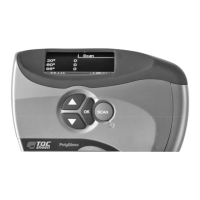
5. Logging
Select Log to store data in a batch or to define scan limits for a batch. The Log
option enables you to view a batch's statistics and clear data in a specific batch or
change the name of one or more batches.
1. Select Log in the main menu and press OK. The available batches display.
2. Use the arrow buttons to select the batch in which you want to save the data
and press OK. The batch menu for the selected batch displays.
The following options are available:
• Log Batch
• Limits
• Statistics
• Clear
• Rename
The options are described in this sequence in the following sections.
5.1 Log batch
Use this option to save scan data in a batch of your choice. Empty batches are
indicated by a □.Batches that already contain data are indicated by a ■.
Log
► Batch 1 □ Batch 5 □
Batch 2 □ Batch 6 □
Batch 3 □ Batch 7 □
Batch 4 □ Batch 8 ■
Back
Figure 5
‑
1 Log
1. Select Log in the main menu and press OK. The available batches display.
2. Use the arrow buttons to select the batch in which you want to save the data
and press OK. The batch menu for the selected batch displays.
3. Select Log batch and press OK. The data logging screen displays.
4. Press the red scan button shortly to make a single measurement. Press the scan
button longer to make several measurements.
Each log record is assigned a log number that is displayed in the top-right of the
screen during the measurement and contains measurements for the activated scan
angles. The screen also displays whether the measurements are inside or outside of
the set scan limits.
 Loading...