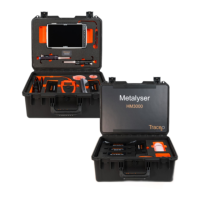
Electrodes
Counter electrode – this electrode needs the least maintenance
of all. A quick visual inspection to ensure the electrode has no
Reference Electrode – this electrode contains a liquid filled
tube, the liquid can be replenished by using the Reference
Electrode Fill Solution provided in the kit. Perform a visual
inspection to ensure it has no physical damage and ensure there
is enough liquid in the outer tube and that there are no bubbles in
the inner tube. For best performance, the Reference
Electrode tip should be kept wet. Please remove cap before
use, and replace after use. Always place a few drops of
deionised water in the cap before replacing it on the electrode.
Working Electrode – the electrode surface should be examined
for cracks and imperfections that will affect analysis. The
electrode should be regularly polished to remove contaminants
and ensure a smooth mirror-like surface using the supplied glass
platen, polishing cloth and polishing slurry (see below). Ensure
that the protective rubber cap is replaced during storage of the
electrode to prevent damage to the electrode surface. After
polishing, conditioning steps need to be undertaken before
analysis. The different Working Electrodes can be identified by
the number of connecting pins and are not interchangeable.
Electrode WE1 (6 pins) is to be fitted in position WE1.
Electrode WE2 (3 pins) is to be fitted in position WE2.
Do not mix up the electrodes.
Metalyser® Field Pro HM3000 Instruction Manual v 5.0
 Loading...