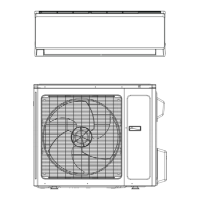
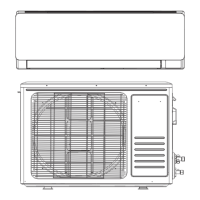
17 Series Mini-Split
Installing the Indoor Unit
WARNING
Hazardous Service Procedures!
The maintenance and troubleshooting procedures recommended in this section of the manual
could result in exposure to electrical, mechanical or other potential safety hazards. Always
refer to the safety warnings provided throughout this manual concerning these procedures.
Disconnect all electrical power including remote disconnect and discharge all energy storing
devices such as capacitors before servicing. Follow proper lockout/tag out procedures to
ensure the power can not be inadvertently energized. When necessary to work with live
electrical components, have a qualifi ed licensed electrician or other individual who has been
trained in handling live electrical components perform these tasks. Failure to follow all of the
recommended safety warnings provided, could result in death or serious injury.
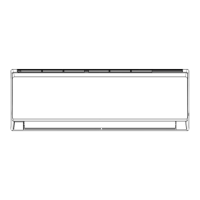
Mounting Location
1. Confi rm the mounting location with the customer. Keep in mind the basic installation
guidelines on page 7 and 8.
2. Place the wall-mounting frame on the wall and check that it is level. Mark the screw holes to
be drilled, ensuring they are in a place with adequate support.
a. It is equally important to assure the mounting surface (i.e. wall) is fl at. Use a straight
edge to assure the section of the mounting surface, in which the unit will be secured, is
neither concave or convex.
b. For corrugated walls, indoor unit installation is recommended on a solid backing affi xed
to the wall.
3. Drill the holes on the wall according to the selected marks. If the mounting bracket cannot
be directly affi xed to wall studs or other solid backing, wall anchors shall be used to secure
mounting bracket.
4. Attach the wall-mounting frame with the supplied tapping screws and check to make sure it is
fi rmly attached. If any of the screws or anchors are loose, select another point on the frame to
re-drill and attach securely.
5. Be sure that the wall-mounting frame has been secured fi rmly enough to withstand the weight
of the unit. The weight should be evenly distributed to the fasteners.
6. Prior to leaving the job site, seal any and all openings in the wall caused by the installation
process.
 Loading...