S9V2-VS-SVX001-1B-EN
51
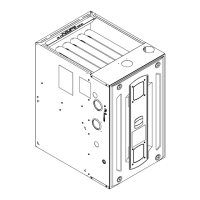
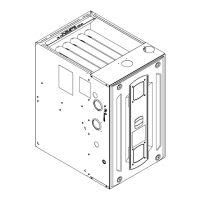
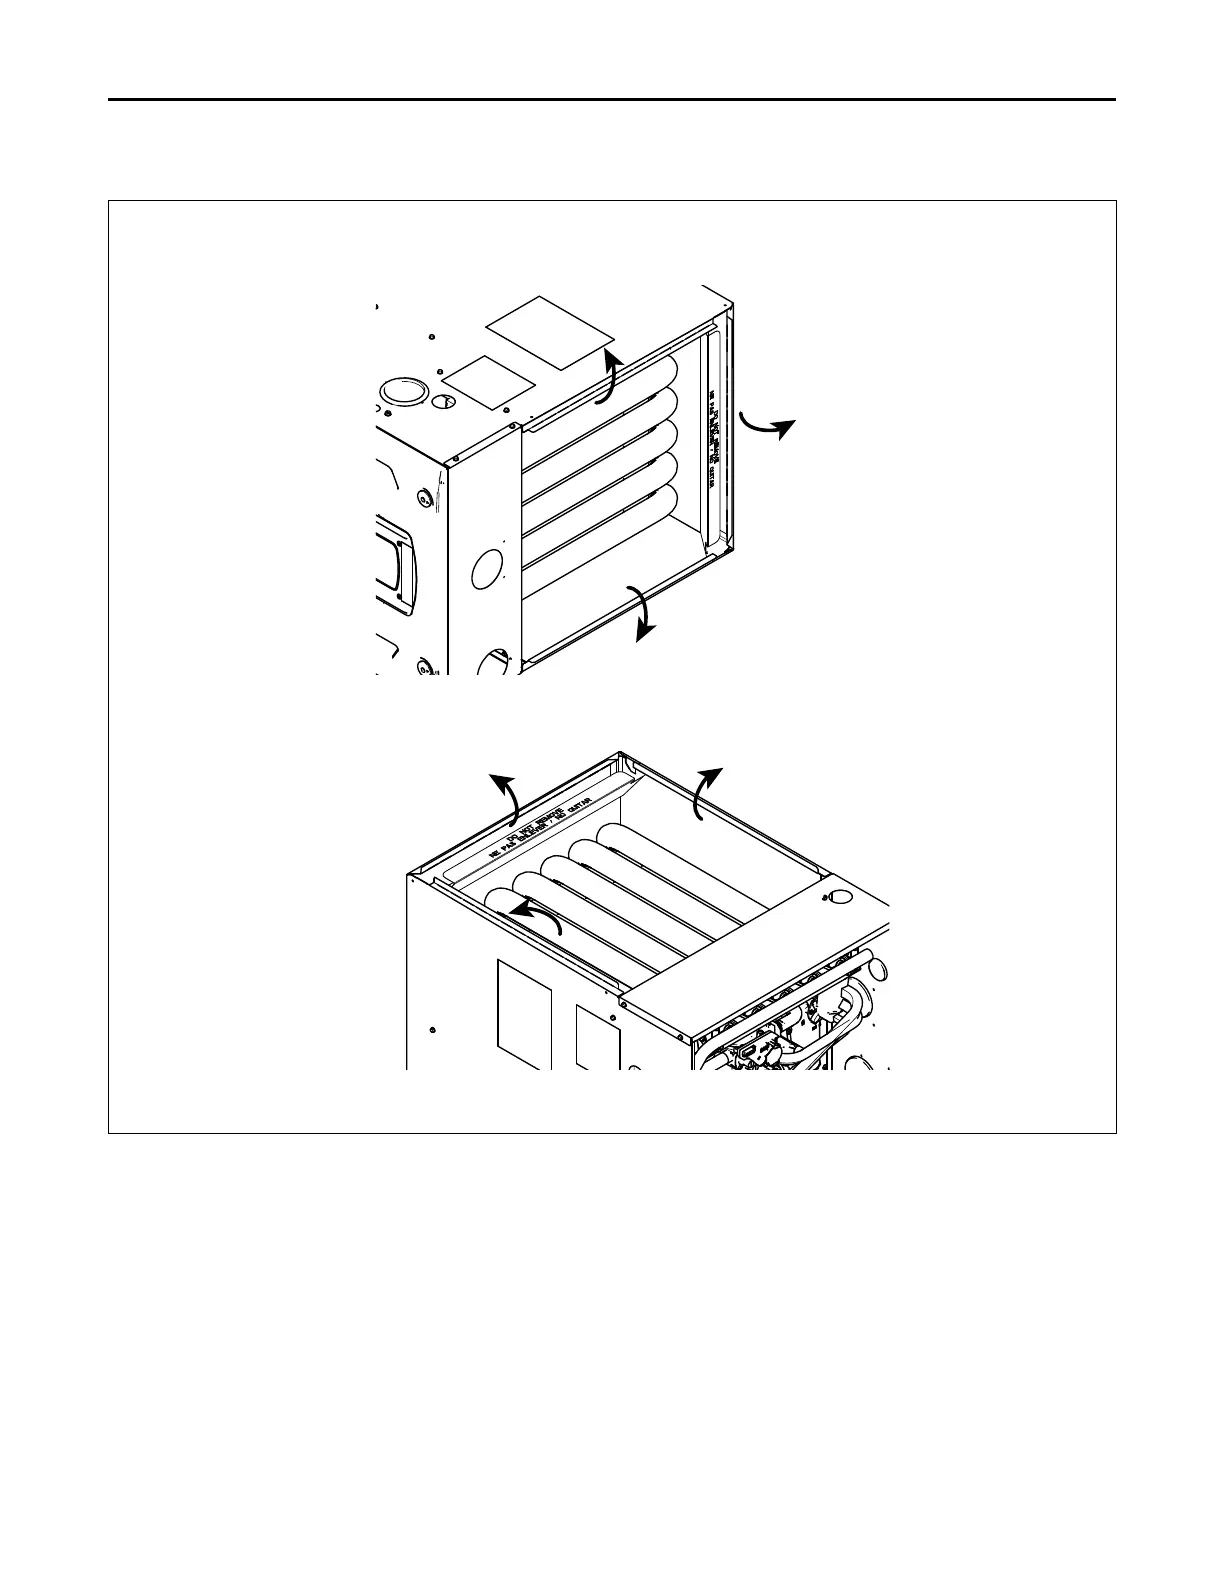
Table 17. Supply Duct Connections (continued)
Horizontal Right and Downflow Furnace — no Coil
Important: A BAYBASE is required when installing the furnace on a combustible floor.
Refer to Step 1., Step 12., Step 4.
IInnssttaallllaattiioonn IInnssttrruuccttiioonnss
1. Bend furnace flanges up.
2. Set the coil on top of the furnace.
3. Screw through the coil cabinet into the furnace
flange. Guide holes are located on the coil.
4. Seal per local codes and requirements.
5. Insulate the first 6–12 inches of the supply duct.
6. Support the furnace and coil independently.
7. Cut the back flange along perforation.
8. Starting at the back of the furnace, cut the side
flanges along perforations until past the end of the
heat shield to avoid interference when bending.
9. Bend furnace side flanges down.
10. Match the coil up flush to the back of the furnace.
11. Set the furnace on top of the coil so that it is flush
with the back of the furnace.
12. Attach ducting.
FFuurrnnaaccee GGeenneerraall IInnssttaallllaattiioonn
 Loading...