RT-SVX23D-EN 21
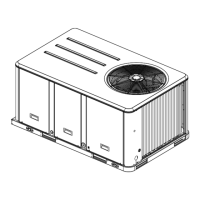
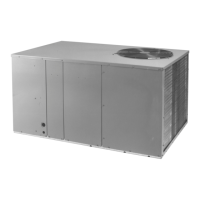
Installation
Recommendations for installing the Supply Air and Return Air ductwork joining the roof curb are
included in the curb instruction booklet. Curb ductwork must be fabricated and installed by the
installing contractor before the unit is set into place.
Note: For sound consideration, cut only the holes in the roof deck for the ductwork penetrations.
Do not cut out the entire roof deck within the curb perimeter.
If a Curb Accessory Kit is not used:
a. The ductwork can be attached directly to the factory-provided flanges around the unit’s
supply and return air openings. Be sure to use flexible duct connections at the unit.
b. For “built-up” curbs supplied by others, gaskets must be installed around the curb perimeter
flange and the supply and return air opening flanges.
Rigging
A Rigging illustration and Center-of-Gravity dimensional data table is shown in Figure 7, p. 17. Refer
to the typical unit operating weights table before proceeding.
1. Remove all drill screws fastening wood protection to metal baserail. Remove all screws
securing wooden protection to wooden top crate.
2. Remove Wooden Top Crate.
WARNING
Heavy Objects!
Do not use cables (chains or slings) except as shown. Each of the cables (chains or slings) used
to lift the unit must be capable of supporting the entire weight of the unit. Lifting cables (chains
or slings) may not be of the same length. Adjust as necessary for even unit lift. Other lifting
arrangements may cause equipment or property-only damage. Failure to properly lift unit may
result in death or serious injury.
WARNING
Improper Unit Lift!
Test lift unit approximately 24 inches to verify proper center of gravity lift point. To avoid
dropping of unit, reposition lifting point if unit is not level. Failure to properly lift unit could
result in death or serious injury or possible equipment or property-only damage.
3. Rig the unit as shown in Figure 7, p. 17. Attach adequate strength lifting slings to all four lifting
brackets in the unit base rail. Do not use cables, chains, or slings except as shown.
4. Install a lifting bar, as shown in Figure 7, p. 17, to protect the unit and to facilitate a uniform lift.
The minimum distance between the lifting hook and the top of the unit should be 7 feet.
5. Test-lift the unit to ensure it is properly rigged and balanced, make any necessary rigging
adjustments.