50 RT-SVX23D-EN
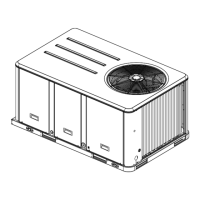
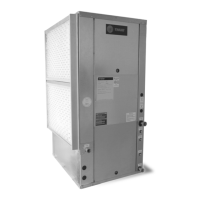
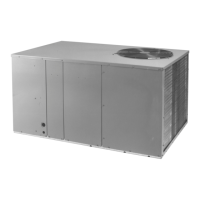
Maintenance
WARNING
Hazardous Chemicals!
Coil cleaning agents can be either acidic or highly alkaline. Handle chemical carefully. Proper
handling should include goggles or face shield, chemical resistant gloves, boots, apron or suit as
required. For personal safety refer to the cleaning agent manufacturer’s Materials Safety Data
Sheet and follow all recommended safe handling practices. Failure to follow all safety
instructions could result in death or serious injury.
1. Remove enough panels from the unit to gain access to the coil.
2. Protect all electrical devices such as motors and controllers from any over spray.
3. Straighten any bent coil fins with a fin comb.
4. Mix the detergent with water according to the manufacturer’s instructions. If desired, heat the
solution to 150°F maximum to improve its cleansing capability.
WARNING
Hazardous Pressures!
Coils contain refrigerant under pressure. When cleaning coils, maintain coil cleaning solution
temperature under 150°F to avoid excessive pressure in the coil. Failure to follow these safety
precautions could result in coil bursting, which could result in death or serious injury.
Do not heat the detergent-and-water solution above 150°F. Hot liquids sprayed on the exterior of
the coil will raise the coil’s internal pressure and may cause it to burst. Failure to follow proper
procedures can result in personal illness or injury or severe equipment damage.
5. Pour the cleaning solution into the sprayer. If a high-pressure sprayer is used:
a. do not allow sprayer pressure to exceed 600 psi.
b. the minimum nozzle spray angle is 15 degrees.
c. maintain a minimum clearance of 6" between the sprayer nozzle and the coil.
d. spray the solution perpendicular (at 90 degrees) to the coil face.
6. Spray the leaving-airflow side of the coil first; then spray the opposite side of the coil. Allow the
cleaning solution to stand on the coil for five minutes.
7. Rinse both sides of the coil with cool, clean water.
8. Inspect both sides of the coil; if it still appears to be dirty, repeat Steps 6 and 7.
9. Reinstall all of the components and panels removed in Step 1 and any protective covers
installed in step 2.
Note: For units equipped with hail guards follow reinstallation procedure listed below.
Hail Guard Reinstallation
To reinstall the hail guard, locate the bottom of the hail guard in the lower bracket and secure it to
the upper unit bracket with the attached fasteners.
Note: Secure hail guard latches.