17
GB
PLANING TO WIDTH
relocate the safety guard onto the router plate
their furthest setting. Lift the red lock tab at the rear
and depress the catch to remove the guard from the
fence, then re-fit it to the table. Reposition the front
guard back until it is flush against the rear guard
spacers reversed, as described in ‘Assembling the
pressure fingers’ (Fig. 13)
left side of the cutter (viewed from the switchbox end),
therefore a Series 2000 Workcentre, Extension Table or
planing jig is required – see guidance for each below
than 3mm (
1
⁄8") with each pass
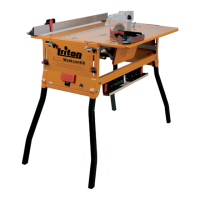
Using the Series 2000 Workcentre fence
See Fig 28
and the scale readings are the same front and rear.
Subtract this scale reading from your desired planing
width to obtain the required fence setting
blade and rip fence and adjust the fence until the
scale readings are approximately equal front and rear.
Remove the workpiece, reset the fence toward the
cutter by the desired planing amount and commence
your cut
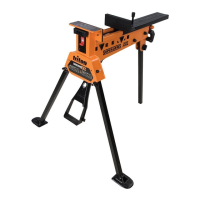
Using an extension table fence
See Fig 29
to a width
extension table fence; narrower workpieces will require
a spacer board between the fence and the workpiece
and measure the distance between the cutter and the
fence
desired planing width
cutter and the fence and adjust the fence until the
scale readings are approximately equal front and rear.
Remove the workpiece, reset the fence toward the
cutter by the desired planing amount and start your cut
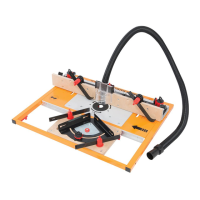
Using a planing jig
See Figs 30 & 31
1. To make a planing jig, cut two boards from 19mm sheet
material to fit perfectly within the table slider opening
2. Rebate the edges of one board (the base board) to
accommodate the slider tracks and ensure the jig sits
flush with the table
3. With the router fence set at maximum width, make a
slot in the base board using a
1
⁄2" (12mm) dia. straight
bit. Slot a little over half way through the board then flip
it and make a second slot in the same face
4. Use the same method to make slots in the other board,
but this time using a
1
⁄4" (6mm) dia. bit
Fig.28
Fig.29
Fig.30
Planing to Width
 Loading...